Trending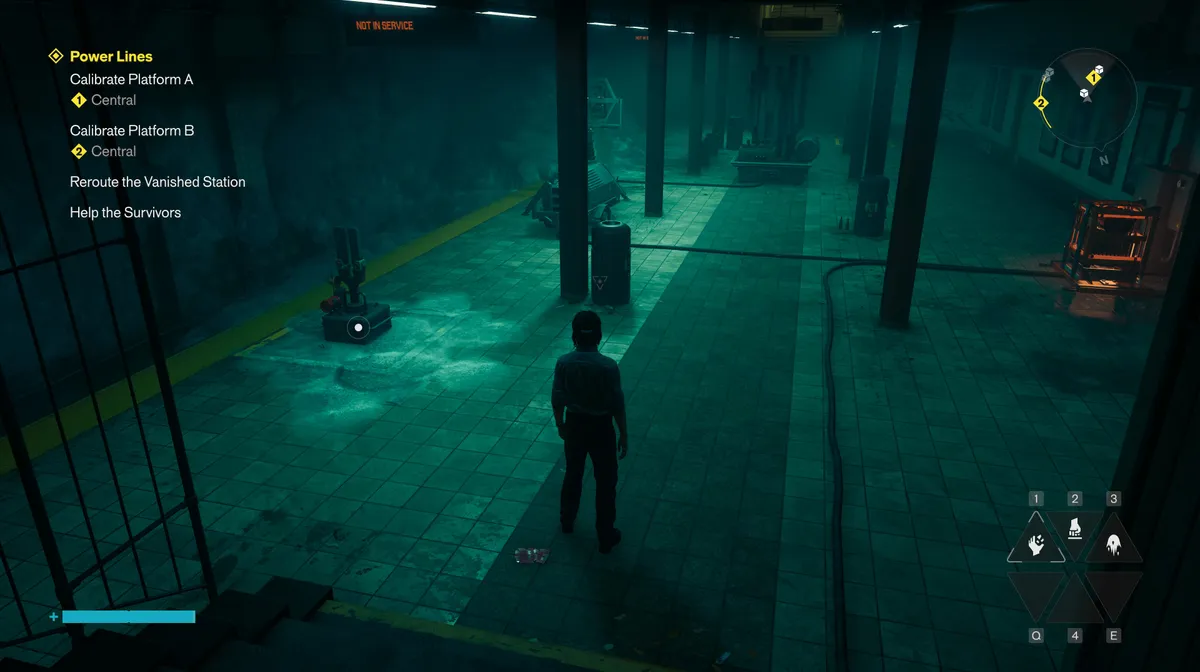
The goal of Power Lines is calibration, something the game has already walked you through once by this point, so the basics won't be new. What is new is the mould, and the order you have to do things in. It's a bit more difficult than the first quest, but here's every step on how to complete it.
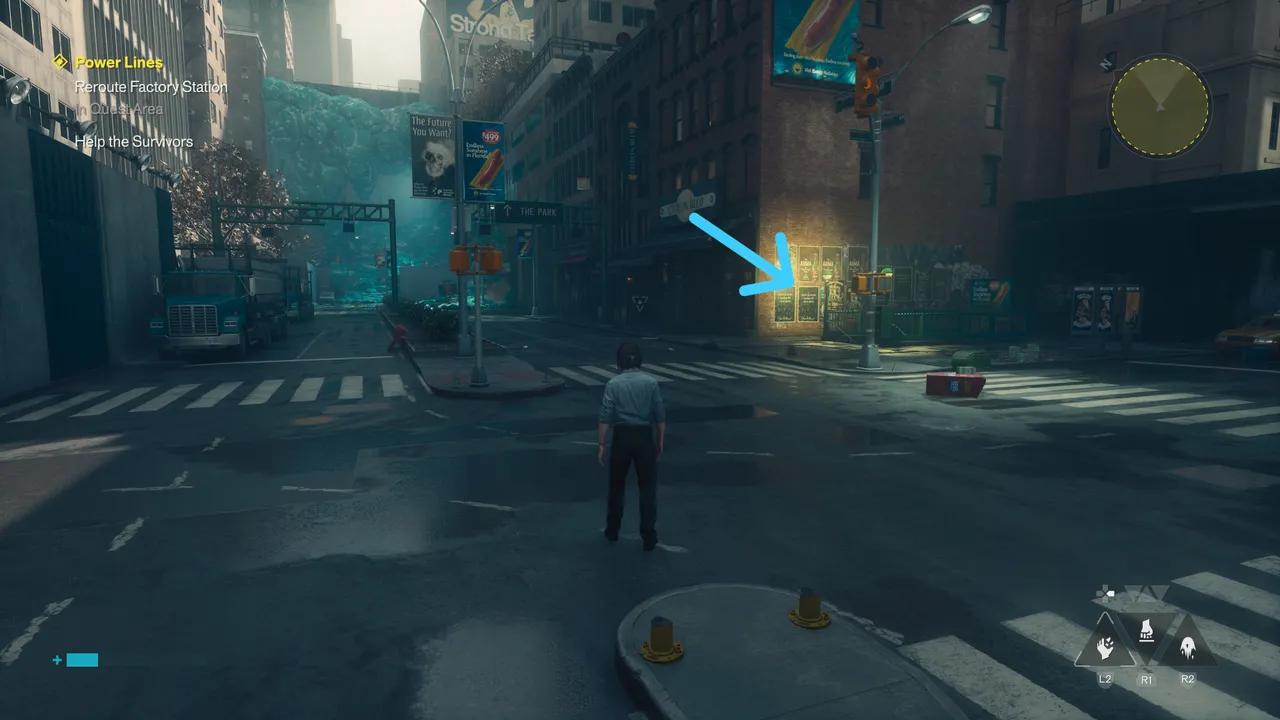
Where to start the Power Lines quest
The location is behind the Patterned factory, the one where you fight the second Resonant. Look for the subway entrance at the crossroads shown above.
Finding the calibration devices
Head down the stairs and inside, and you'll find the first calibration machine in the shop, not far in at all.
The second is further downstairs, at the top of the train carriage. The third is just to the left of the train carriage.
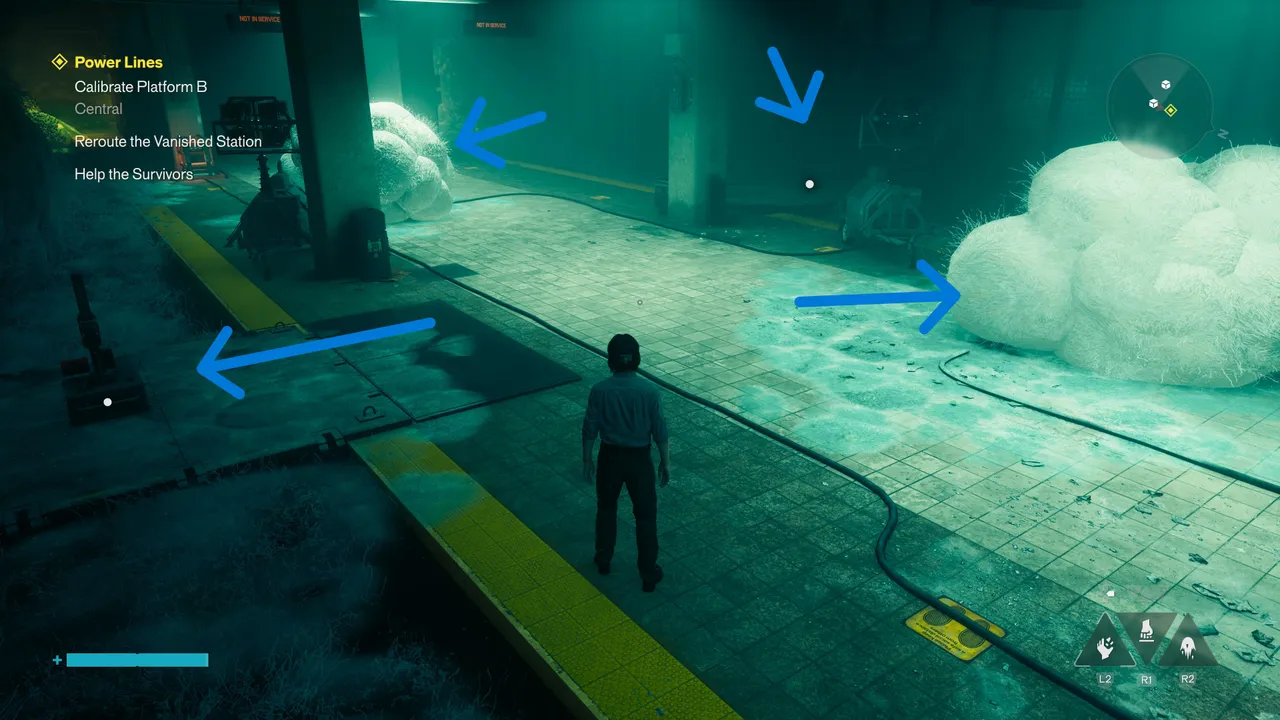
How to line up the calibration devices
The three devices need to be in one straight line, not scattered around the platform on other yellow taped rectangles. Line them up as shown in the screenshot below, and calibrate.
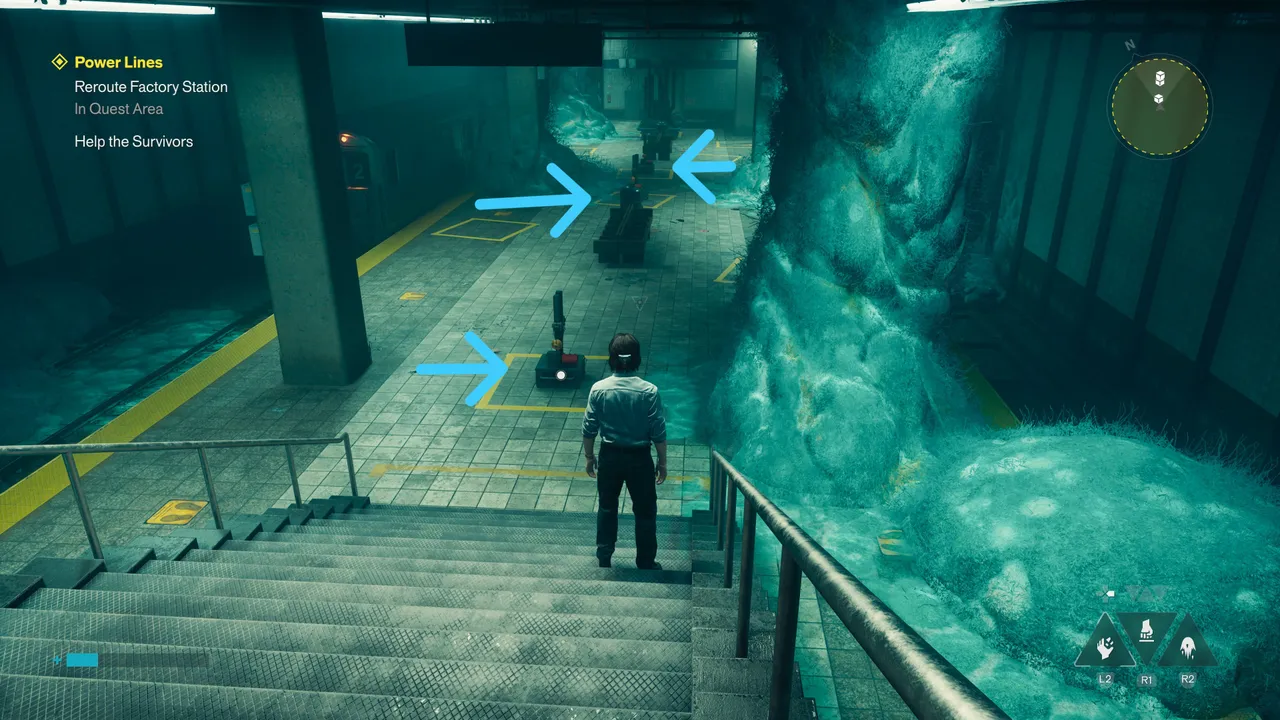
A cutscene plays once that's done.
Talking to the survivors on the intercom
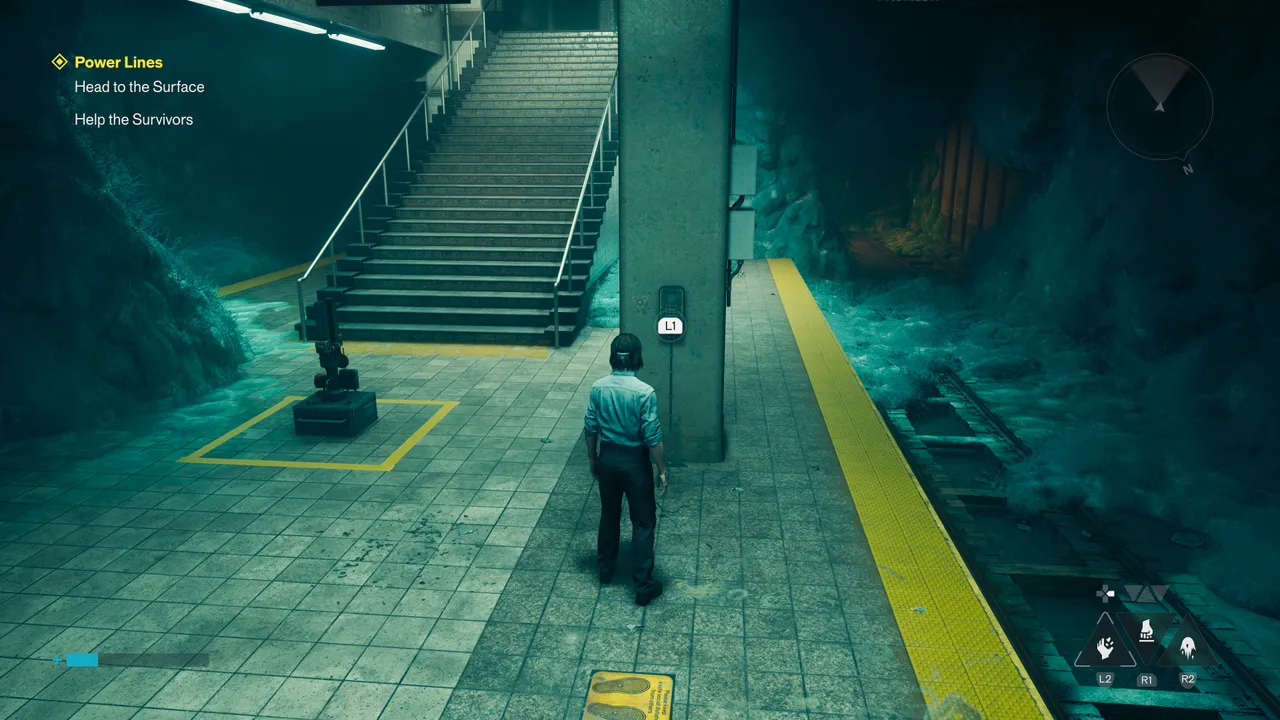
After the cutscene, go and speak to the survivors on the intercom. It's on the big concrete holding block near the stairs in the same location you're in right now.
Heading through the subway tunnel
Calibrating the first station opens up a new path. Head left of the stairs and into the metro tunnel.
You'll run into a mouldy Hiss on the way. Beat the group and keep going through the tunnel.
You'll arrive at another station. Calibrate it by standing on A and activating, and you'll be teleported to a new station - Station B.
Getting the generator and calibration device
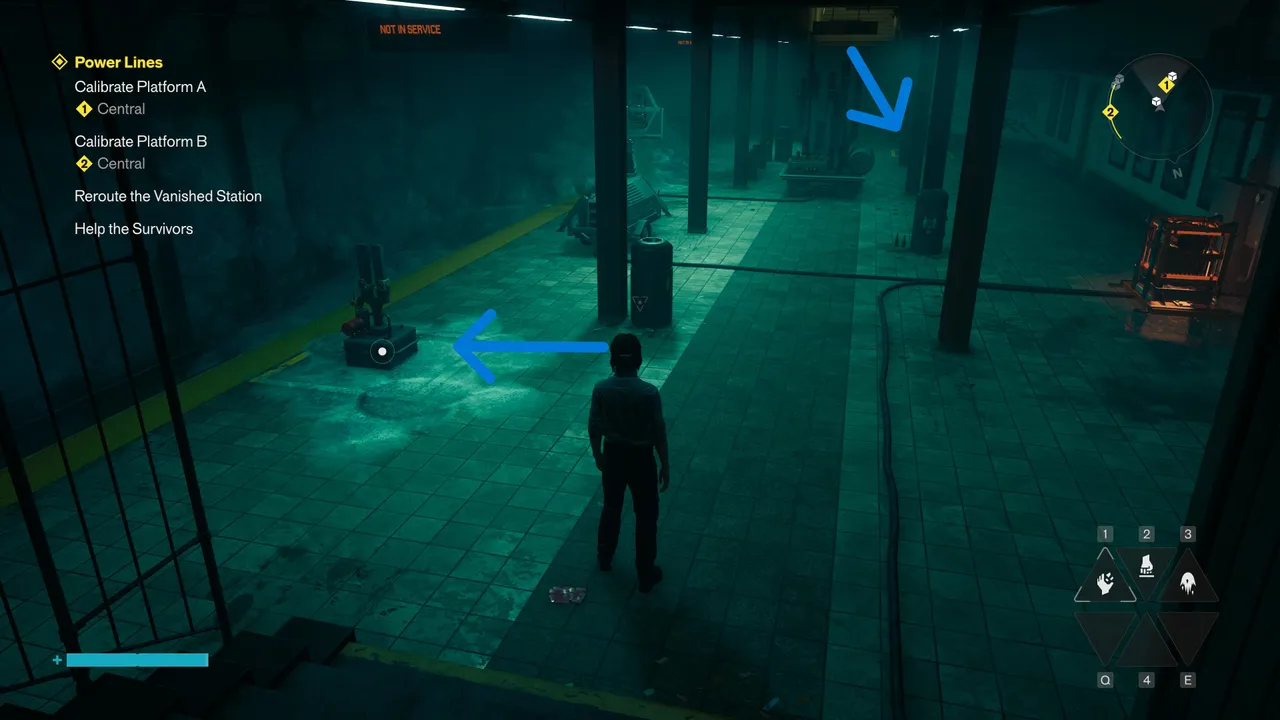
From there, head upstairs until you find two generators. The one you need working is the generator near the door. It should be working already when you get there. Inside that door, there's a calibration device, plus a chest holding a health upgrade.
Once you have those, carry on forward until you reach a closed-off door. There's a red blinking light next to it. Smash the light and the door opens. This is the way through to Station A.
How to calibrate Station A
Go back and take the power from the generator upstairs and bring it down to power the generator at Station A. That grows the mould, but it also opens the door directly upstairs, where there's another calibration device waiting.
Take that device and drop it at Station A. Then smash the powered-up generator at Station A and carry the power back upstairs to the generator near the door.
Head back down to Station A and destroy the mould blob so you can place the calibration device there.
Then stand on the yellow taped rectangle with letter A, activate the machine, and Station A is done.
How to reach the survivors
Once Station A is calibrated, go back upstairs to where the two generators are and smash the door near the floodlights. It should open.
One thing to be aware of here: the door will not open if you have the floodlights active, because light grows the mould.
Inside you'll find the survivors. Talk to Dr Florez.
How to calibrate Station B
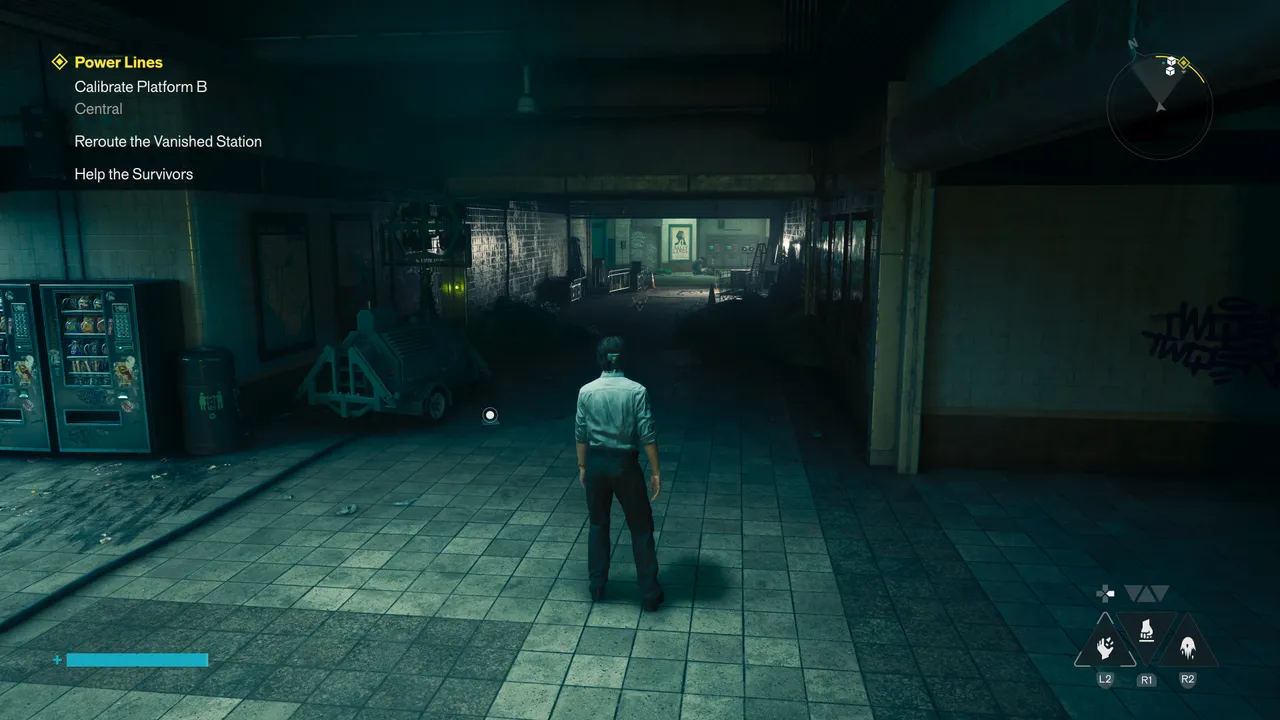
You'll spot two calibration devices where the survivors are. Take both of them to Station B downstairs.
Both generators at Station B need to be powered up. Bring the power from the generator upstairs to power them and grow the mould; this is the key part. Then turn the generators off and take the power back to the ones upstairs. Both Station B generators need to be off once the mould has grown.
With the mould grown, destroy it in the spots where the calibration devices need to go. Do not destroy the mould on the cables. That's what's carrying the power.
Once both devices are in place, hit calibrate.
A mini boss spawns at that point. Kill it, head upstairs and talk to Dr Florez again to wrap the quest up.