Trending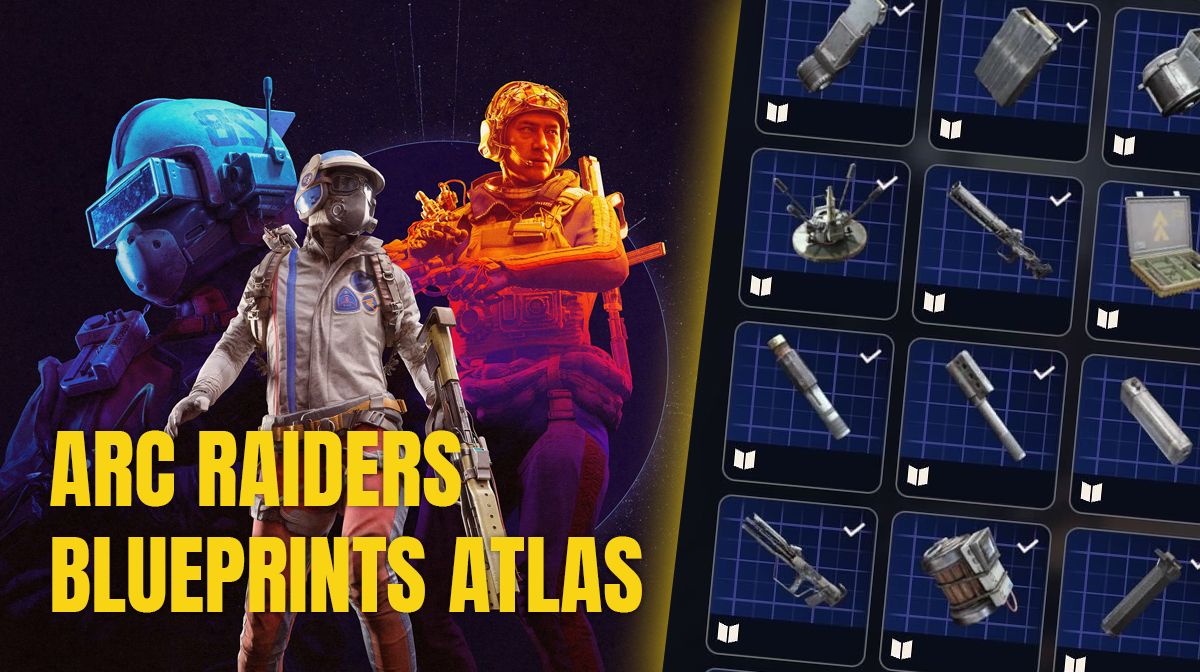
Arc Raiders is a newly released extraction shooter from Embark Studios. Since its release in last year's October, the game has managed to maintain its deserving fame with constant gameplay updates and new content.
As you progress through the levels in Arc Raiders, you have to slowly focus towards getting higher-tier items to upgrade your workshop and other items. To source high-tier items, you need to have high-tier weapons and items. The best way of getting these weapons and items is by looting and through blueprints.
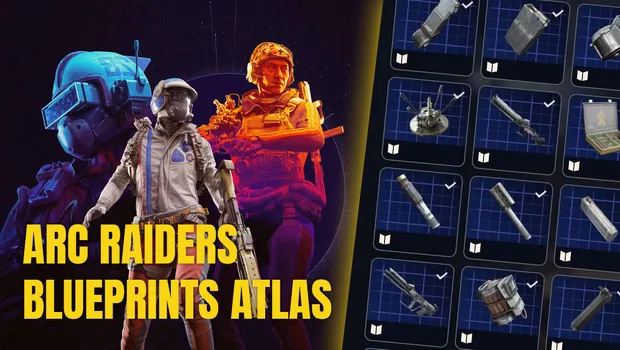
While by looting you can find these weapons and items in their readymade version, you can also make them on your own if you have learnt the blueprint for that item. Here's an in-depth guide on all blueprints and how to boost your chances of finding them in ARC Raiders.
All Blueprints and How You Can Effectively Find Them in ARC Raiders
Blueprints are a hot topic in the ARC Raiders community. Before the Cold Snap update's buff to blueprint drop rates, getting blueprints was the most difficult thing to do in the game.
For the past 100 hours in ARC Raiders, I have made rounds of every map and mode in ARC Raiders to round out my findings on how blueprint drops work. While the blueprint drop is fully RNG, I have rounded up a certain pattern on where most blueprints drop after finding multiple dupes. Currently, I have found all 72 out of 75 blueprints in the game. My blueprint collection was fully complete before the Cold Snap update, so most of my data is based on the initial blueprint drop rate and pattern.
Here's a complete table on all blueprints and how you can boost your chances of finding them:
| Blueprint | Category | Available on Mode/Quest | Available in Map |
|---|---|---|---|
| Bettina | Epic Weapon | All Modes | All Maps |
| Blue Light Stick | Quick Use | All Modes | All Maps |
| Aphelion | Legendary Weapon | Night Raid | Stella Montis |
| Combat Mk. 3 (Flanking) | Augment | All Modes | All Maps (High Chance - Blue Gate and all Medical Areas) |
| Combat Mk. 3 (Aggressive) | Augment | All Modes | All Maps (High Chance - Blue Gate and all Medical Areas) |
| Complex Gun Parts | Gun Parts | All Modes | All Maps |
| Fireworks Box | Quick Use | Cold Snap Exclusive | All Maps |
| Gas Mine | Quick Use | All Modes | Stella Montis |
| Green Light Stick | Quick Use | All Modes | All Maps |
| Pulse Mine | Quick Use | All Modes | Stella Montis |
| Seeker Grenade | Quick Use | All Modes | Stella Montis |
| Looting Mk. 3 (Survivor) | Augment | Night Raid, Electromagnetic Storm, Cold Snap, Hidden Bunker, and Locked Gate (High Chance) | All Maps (High Chance - Blue Gate and all Medical Areas) |
| Angled Grip II | Weapon Attachment | All Modes | All Maps |
| Angled Grip III | Weapon Attachment | All Modes | All Modes |
| Hullcracker | Epic Weapon | Major's Footlocker Quest (Tian Wen) | Dam Battlegrounds |
| Anvil | Uncommon Weapon | All Modes | All Maps (High chance - Raider Caches, Weapon Cases, Grenade Tubes, and Security Breach) |
| Anvil Splitter (Not in-game) | Weapon Attachment | ||
| Bobcat | Epic Weapon | Locked Gate | Blue Gate |
| Barricade Kit | Quick Use | All Modes | All Maps |
| Blaze Grenade | Quick Use | All Modes | All Maps |
| Unknown Blueprint | |||
| Osprey | Rare Weapon | All Modes | All Maps (High chance - Raider Caches, Weapon Cases, Grenade Tubes, and Security Breach) |
| Burletta | Uncommon Weapon | Industrial Espionage Quest (Tian Wen) | Buried City |
| Compensator II | Weapon Attachment | All Modes | All Maps |
| Compensator III | Weapon Attachment | All Modes (High Chance - Cold Snap) | All Maps |
| Defibrillator | Quick Use | All Modes (High Chance - Night Raid and Cold Snap) | All Maps (High Chance - Blue Gate, Stella Montis Medical, and all Medical Areas) |
| Unknown Blueprint | |||
| Equalizer | Legendary Weapon | Harvester Event Exclusive | All Maps with Harvester Event |
| Extended Barrel | Weapon Attachment | Night Raid, Electromagnetic Storm, and Cold Snap | All Maps |
| Extended Light Mag II | Weapon Attachment | All Modes | All Maps |
| Extended Light Mag III | Weapon Attachment | Night Raid, Cold Snap, and Locked Gate | All Maps |
| Extended Medium Mag II | Weapon Attachment | All Modes | All Maps |
| Extended Medium Mag III | Weapon Attachment | Night Raid, Cold Snap, and Locked Gate | All Maps |
| Extended Shotgun Mag II | Weapon Attachment | All Modes | All Maps |
| Extended Shotgun Mag III | Weapon Attachment | Night Raid, Cold Snap, Locked Gate, and Hidden Bunker | All Maps |
| Remote Raider Flare | Quick Use | Night Raid | All Maps (High Chance - Server Racks) |
| Heavy Gun Parts | Gun Parts | All Modes | All Maps (High chance - Raider Caches, Weapon Cases, Grenade Tubes, and Security Breach) |
| Venator | Rare Weapon | All Modes | All Maps (High chance - Raider Caches, Weapon Cases, Grenade Tubes, and Security Breach) |
| Il Toro | Uncommon Weapon | All Modes | All Maps (High chance - Raider Caches, Weapon Cases, Grenade Tubes, and Security Breach) |
| Jolt Mine | Quick Use | All Modes | All Maps |
| Explosive Mine | Quick Use | All Modes | All Maps |
| Jupiter | Legendary Weapon | Harvester Event Exclusive | All Maps with Harvester Event |
| Light Gun Parts | Gun Parts | All Modes | All Maps (High chance - Raider Caches, Weapon Cases, Grenade Tubes, and Security Breach) |
| Lightweight Stock | Weapon Attachment | Night Raid, Cold Snap | All Maps (High Chance - Dam Battlegrounds) |
| Lure Grenade | Quick Use | Greasing Her Palms Quest (Celeste) | Multiple Map Quest |
| Medium Gun Parts | Gun Parts | All Modes | All Maps |
| Torrente | Rare Weapon | All Modes (High chance - Raider Caches, Weapon Cases, Grenade Tubes, and Security Breach) | All Maps |
| Muzzle Brake II | Weapon Attachment | Night Raid, Hidden Bunker | All Maps |
| Muzzle Brake III | Weapon Attachment | Night Raid, Hidden Bunker | All Maps |
| Padded Stock | Weapon Attachment | Night Raid, Cold Snap, and Locked Gate | All Maps |
| Shotgun Choke II | Weapon Attachment | Night Raid, Locked Gate, and Hidden Bunker | All Maps |
| Shotgun Choke III | Weapon Attachment | Night Raid, Locked Gate, and Hidden Bunker | All Maps |
| Shotgun Silencer | Weapon Attachment | Night Raid | All Maps |
| Showstopper | Quick Use | All Modes | All Maps |
| Silencer I | Weapon Attachment | All Modes | All Maps |
| Silencer II | Weapon Attachment | All Modes | All Maps |
| Snap Hook | Quick Use | Electromagnetic Storm | All Maps (High Chance - Dam Battleground High Value Loot Areas) |
| Stable Stock II | Weapon Attachment | All Modes | All Maps |
| Stable Stock III | Weapon Attachment | Night Raid | All Maps |
| Tagging Grenade | Quick Use | Night Raid, Locked Gate, and Hidden Bunker | All Maps |
| Tempest | Epic Weapon | Night Raid Exclusive | All Maps (the rarest weapon blueprint in-game, with an estimated 1/500 drop chance) |
| Trigger Nade | Quick Use | Sparks Fly Quest (Apollo) | All Maps |
| Vertical Grip II | Weapon Attachment | All Modes | All Maps |
| Vertical Grip III | Weapon Attachment | All Modes | All Maps |
| Vita Shot | Quick Use | Night Raid | All Maps (High Chance - Buried City Hospital and all Medical Areas) |
| Vita Spray | Quick Use | Night Raid | All Maps (High Chance - Buried City Hospital and all Medical Areas) |
| Vulcano | Epic Weapon | Hidden Bunker Exclusive | Spaceport |
| Wolfpack | Quick Use | Night Raid | All Maps |
| Red Light Stick | Quick Use | All Modes | All Maps |
| Smoke Grenade | Quick Use | All Modes | All Maps |
| Deadline Mine | Quick Use | All Modes | Stella Montis |
| Trailblazer Grenade | Quick Use | All Modes | Stella Montis |
| Tactical Mk.3 (Defensive) | Augment | All Modes (High Chance - Night Raids, Electromagnetic Storm, and Cold Snap) | All Maps (High Chance - Blue Gate and all Medical Areas) |
| Tactical Mk.3 (Healing) | Augment | All Modes (High Chance - Night Raids, Electromagnetic Storm, and Cold Snap) | All Maps (High Chance - Blue Gate and all Medical Areas) |
| Yellow Light Stick | Quick Use | All Modes | All Maps (High Chance - Blue Gate) |
| Tactical Mk.3 (Revival) | Augment | All Modes (High Chance - Night Raids, Electromagnetic Storm, and Cold Snap) | All Maps (High Chance - Blue Gate, Stella Montis, and all Medical Areas) |
| Looting Mk. 3 (Safekeeper) | Augment | All Modes (High Chance - Night Raids, Electromagnetic Storm, and Cold Snap) | All Maps (High Chance - Blue Gate, Stella Montis, and all Medical Areas) |
| Canto | Rare Weapon | Hurricane Map Condition only | All Maps (High Chance - First Wave Caches) |
| Dolabra | Legendary Weapon | Close Scrutiny Map Condition | All Maps (High Chance - ARC Assessors) |
| Crash Mat | Quick Use | All Modes | Riven Tides |
| Powered Descender | Epic Quick Use | All Modes | Riven Tides |
| White Flag | Quick Use | All Modes | Riven Tides |
| Tactical Mk. 3 (Smoke) | Augment | All Modes | Riven Tides and Blue Gate (High Chance - Reinforced Reception) |
| Rascal | Rare Weapon | All Modes | All Maps (High Chance - Riven Tides) |
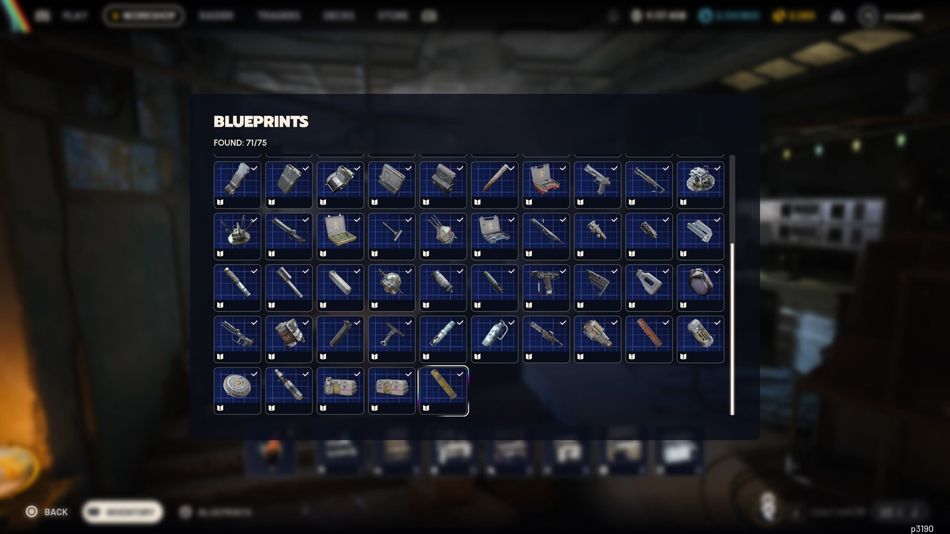
If you're not in a rush, I will suggest playing at your own pace, and you'll end up with most blueprints in the game in no time. To further boost your chances naturally, make sure to loot the high-value loot areas. Moreover, make a habit of looting everything and anything in the game. Blueprints can spawn anywhere, including trash cans, dumpsters, server racks, ammo boxes, and every container in the game.
Blueprints like the Bobcat and Vulcano are exclusive to two timed events, Locked Gate (Blue Gate) and Hidden Bunker (Spaceport). You cannot get these blueprints in any other way. Moreover, the drop rate of these blueprints still remains random, but you can boost your chances by looting everything during these modes.
As for the rarest blueprint in the game, the throne goes to the Tempest blueprint. With less than a 0.50% drop rate, Tempest's blueprint is the rarest thing in the game. While I have found the BP 6 times during my blueprint hunting runs, I noticed that there is no drop pattern to this blueprint. You can only loot everything and hope that the blueprint pops up. Moreover, the Tempest blueprint is exclusive to Night Raid, so there is no chance of getting this blueprint in any other mode.
Lastly, blueprints in this game drop in a completely random pattern. However, you can boost your chances by running different modes and maps consecutively. Also try playing the harder map conditions to boost your RNG luck.
DON'T MISS: