Trending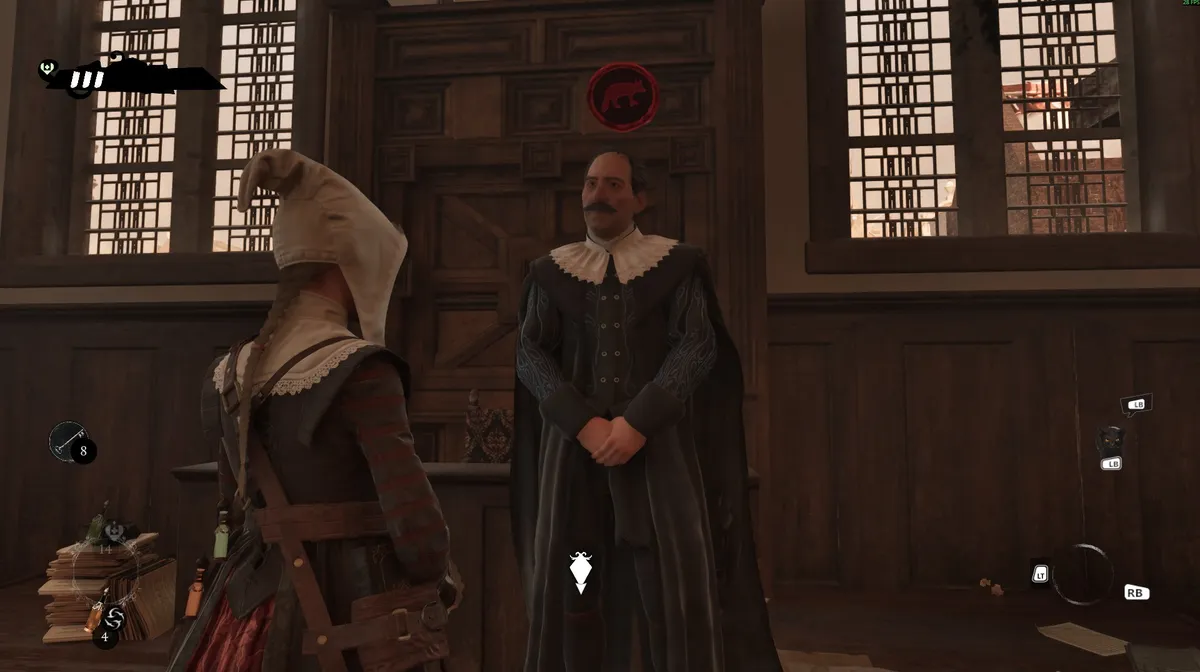
Eloquent Fox is the second Esbat in 1666: Amsterdam Noa has to expose and hunt down, and unlike the first, who stepped aside willingly, this one takes real digging. The quest spans two locations, a stretch of sneaking through a guarded house via possession, and a final fight the game gives almost no direction towards finding. Along the way there are two furniture rebuilds worth doing purely for the power-ups, so don't rush past them.

Step 1: Speak to Adriaan and learn the Eloquent Fox's identity
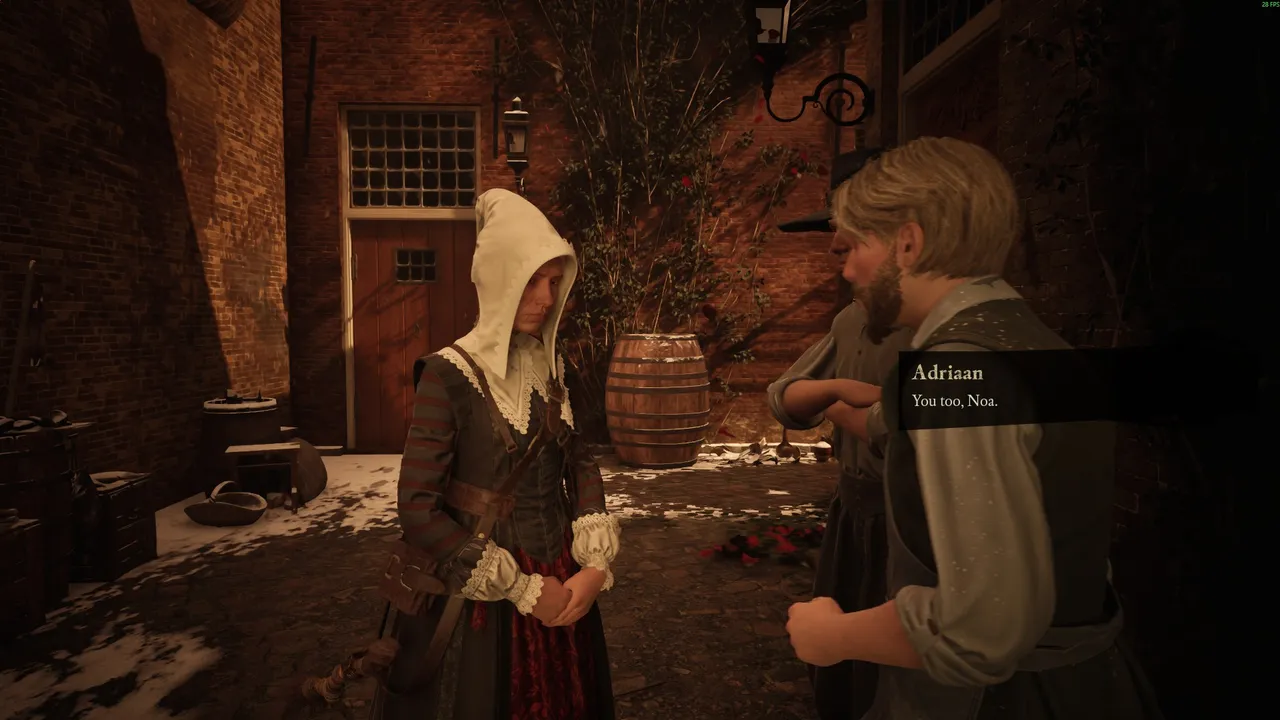
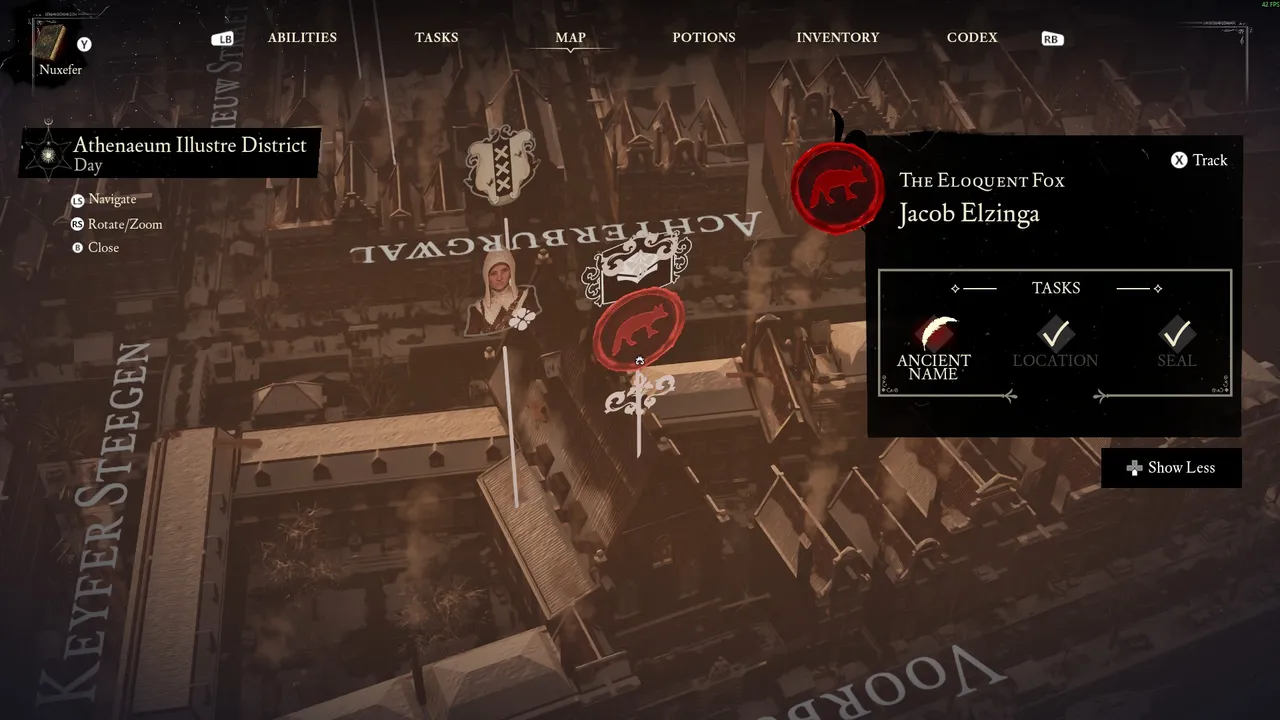
Head to the courtyard at home and talk to Adriaan. He reveals both the Eloquent Fox's real name, Jacob Elzinga, and his location: the Athenaeum Illustre, which then gets marked on your map along with the Eloquent Fox icon.
Step 2: Reach the second floor of the Athenaeum Illustre
Make your way to the Athenaeum Illustre and head up to the second floor. You'll witness Jacob accusing an innocent woman of sorcery, and your next task is getting into the room she's taken to.
Step 3: Send Aaron in through the ceiling
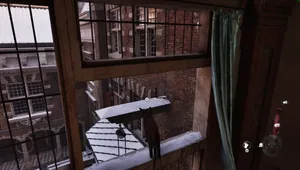
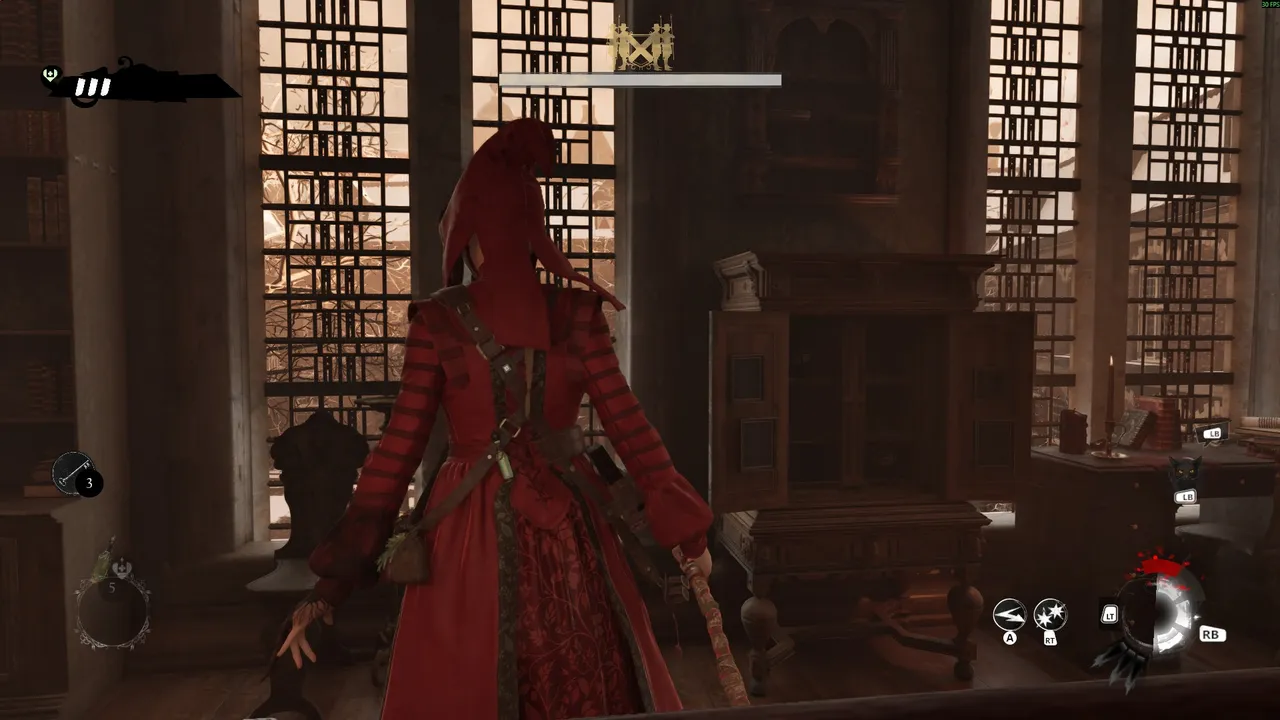
The room isn't accessible from the obvious route. Switch to Aaron and use the jumping points on the left side of the room, then cross the chandelier and slip in through the opening near the ceiling. Once inside, unlatch the floor door so you can reach the room from the floor below as well.
Step 4: Loot the room and rebuild the furniture
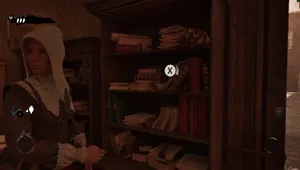
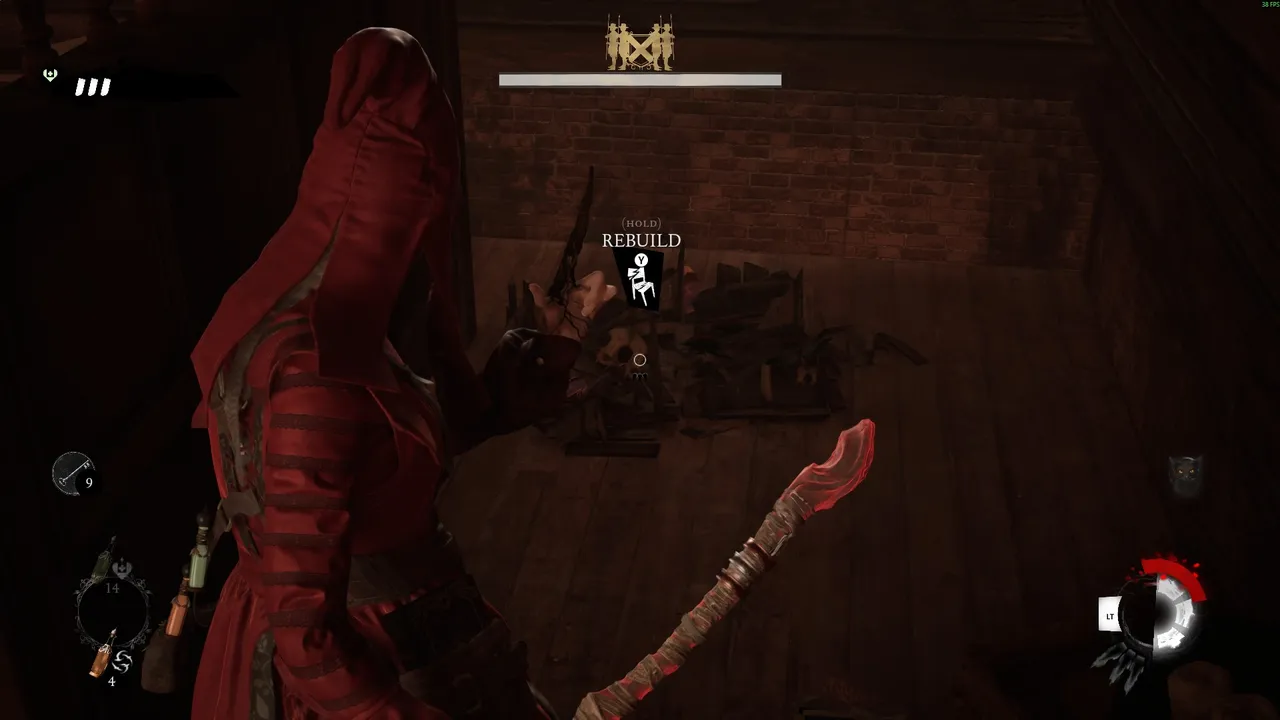
Read and loot everything in the room for the information you need. While you're in there, rebuild the broken piece of furniture too. It's easy to miss, but it's worth a power-up.
Step 5: Head to the House of the Balance
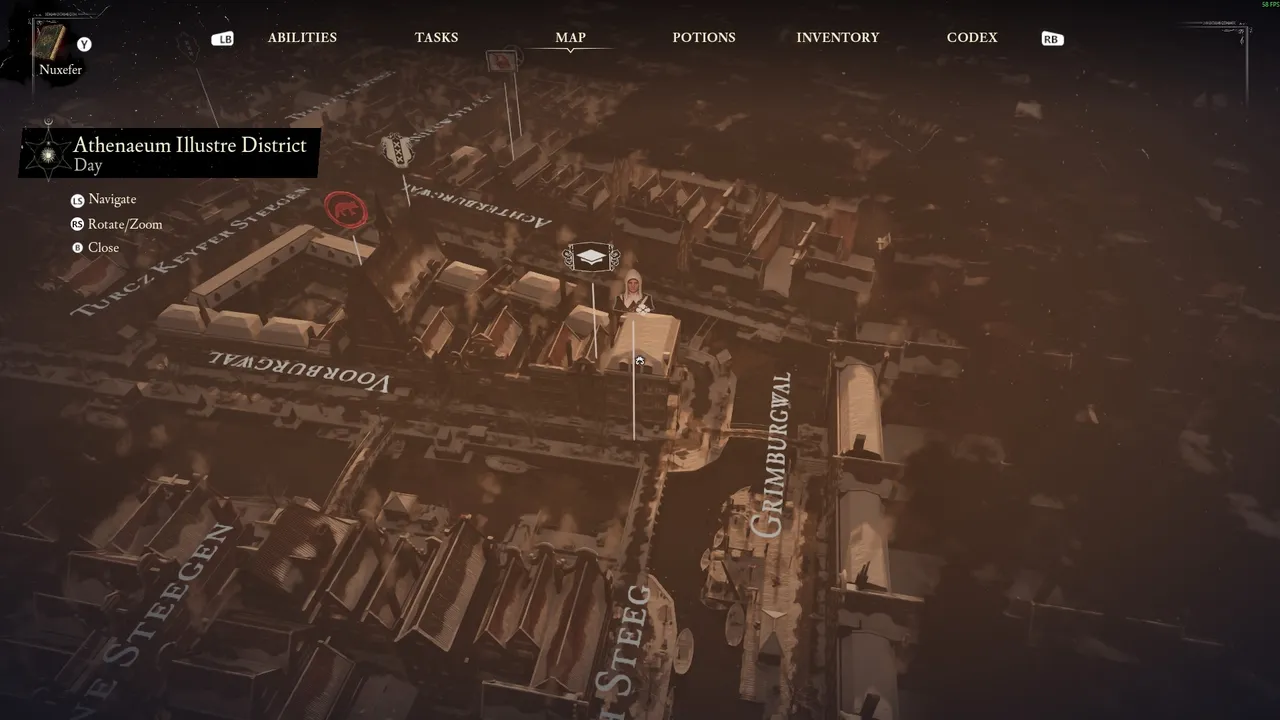
Noa and Aaron will point you towards Jacob's residence next, known as the House of the Balance, on Voorburgwal. The game won't tell you this outright, but it's only a couple of houses down the street from the Athenaeum Illustre. You'll know it by the guards posted at its entrances.
Step 6: Possess a servant through the basement window
Approach as Aaron and look for the open window to the left of the back entrance, which drops you into the basement. Possess one of the servants there, since that's your way inside the house.
Step 7: Walk Noa up through the house
Return through the back entrance as the possessed servant and bring Noa in with you. Every floor has soldiers on patrol, but Noa stays safe as long as she's walking alongside the servant. You'll need to send Aaron ahead a few times to unlatch trapdoors blocking the way up, so make sure you're out of sight before letting go of the possession to do it.
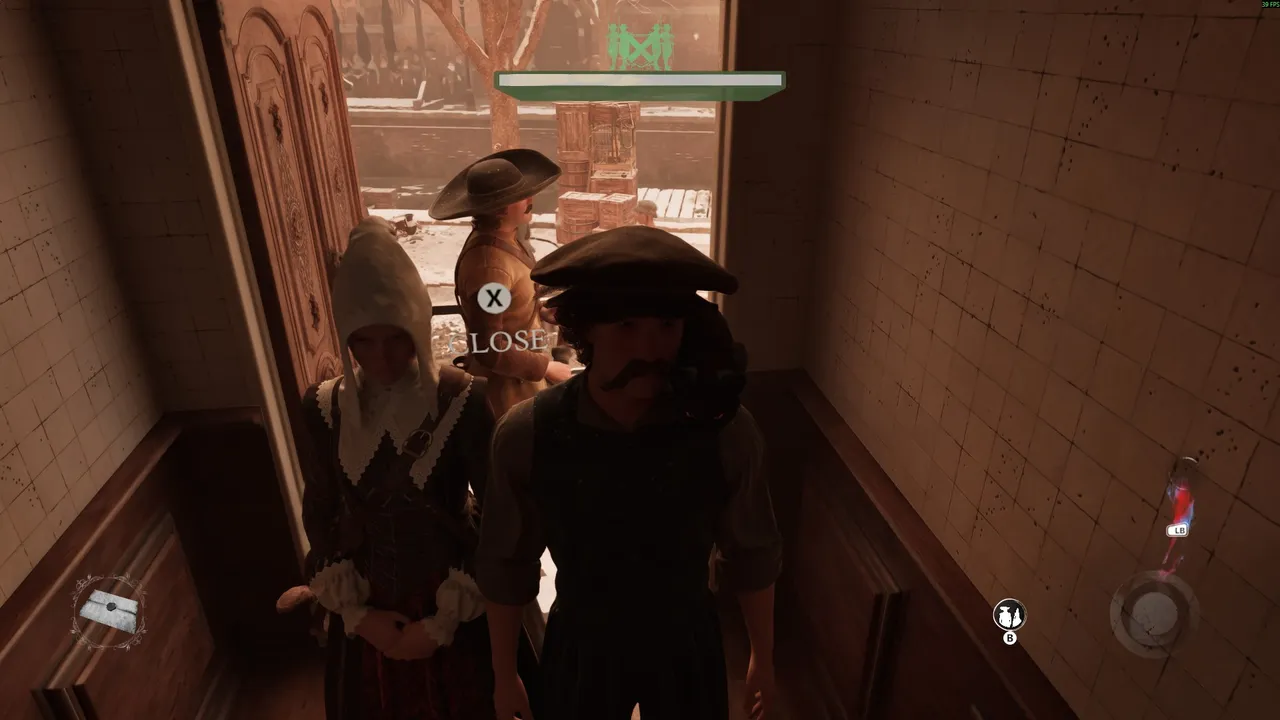
Step 8: Deal with the guards in the attic
Two guards are waiting once you reach the attic. Switch to Noa's witch form and handle them directly so you can search the room without interruptions.
Step 9: Find Jacob's ancient name
Search the shelves in the attic. One of them holds the document revealing Jacob's ancient name, Claes Shipper, which is what lets Noa perform the spell that turns him into the Amalgam. Rebuild the broken furniture here too for a second power-up.
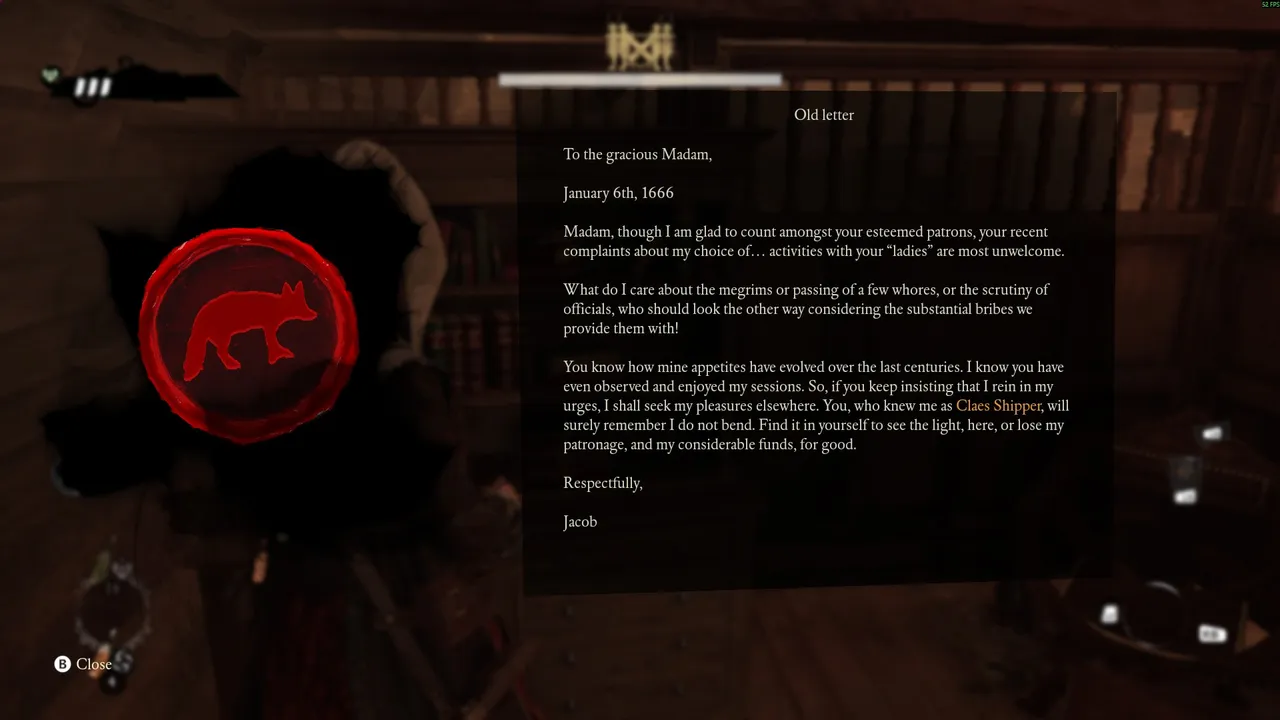
Step 10: Follow the moonlight to the fight
Once you've gathered everything, head home to wait for night and prepare for the fight against the Amalgam. The game is deliberately vague about where this takes place, so look for a beam of moonlight shining down on one specific spot in the city and follow it to the location.
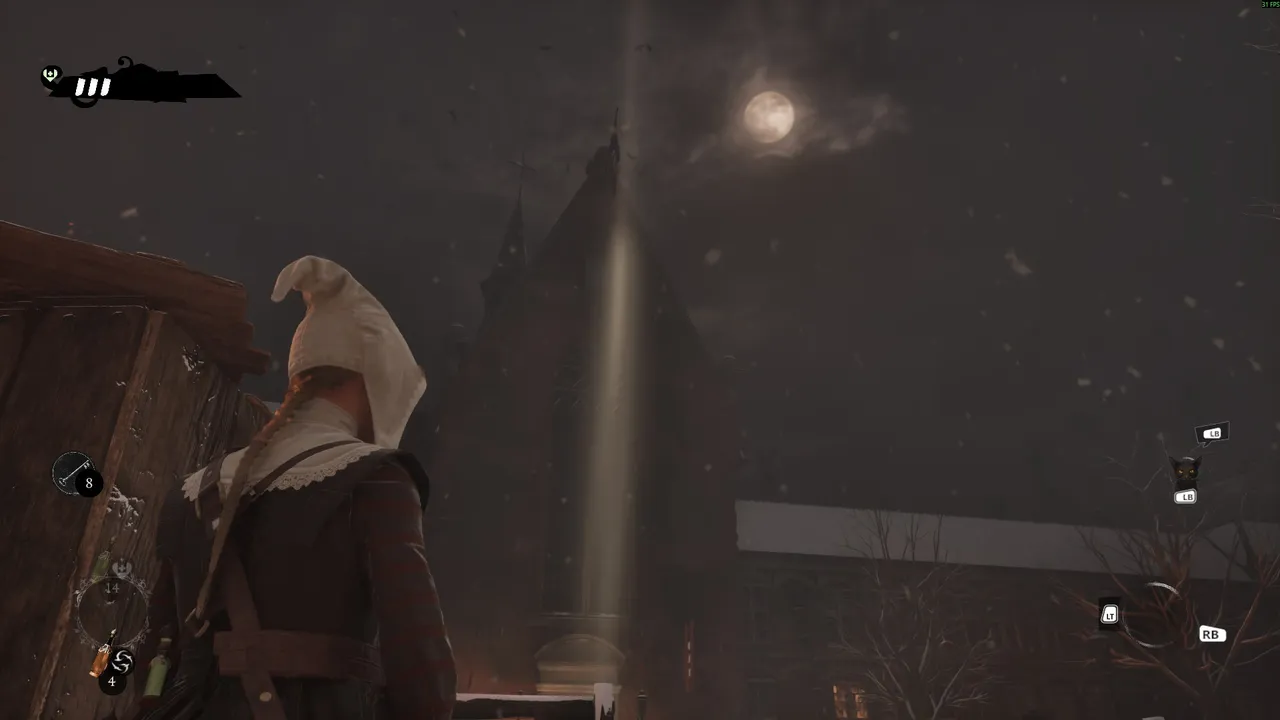
Step 11: Defeat the Amalgam and close out the quest
Beat Jacob in his Amalgam form to bring the quest to an end. All that's left is reporting back and performing the closing ritual, similar to the one from the start of the game.
Quick tip: Don't skip either furniture rebuild along the way. Both are easy to walk past while focused on looting, but they're free power-ups you won't get another chance at once the quest moves on.
DON'T MISS!