Trending
Time is one of the most important systems to understand in The Blood of Dawnwalker. Unlike a traditional open-world RPG, certain quests, activities, and upgrades consume Time Segments, gradually pushing the world between Day and Night. If you're trying to make the most of your limited time in Vale Sangora, this guide explains how Time Progression works, what advances the clock, and how to check the cost of an action before committing to it.
The Time Bar and Time Segments
In The Blood of Dawnwalker, Time is tracked on the Time Bar, split into eight Time Segments. Once all eight fill up, Day flips to Night, or Night flips to Day. There's no passive clock ticking in the background; the Time Bar only fills when you complete an activity that specifically costs Time.
Activities that advance Time are marked with an hourglass icon, with the number of icons showing exactly how many Time Segments the activity will consume. An objective marked with one hourglass costs one segment, while one marked with seven - like clearing the rubble blocking a gate early in the game - can eat almost an entire Day or Night phase in one go.
A handful of activities will also progress Time automatically the moment you engage with them, without a confirmation prompt. The game does give you a warning: the Time Bar, located in the upper-right corner of the screen, starts blinking and is accompanied by the sound of a ticking clock when you're about to trigger one of these activities. It also shows how many Time Segments are about to be filled. If you're not paying attention to the top-right corner of the screen, it's easy to burn Time you didn't mean to spend.
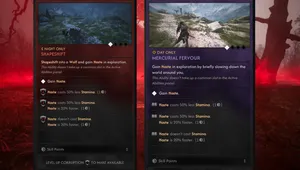
This isn't limited to quests, either. Learning advanced Perk or Ability tiers at Shrines also costs Time, on top of Skill Points, so it's worth factoring that into your plans before spending points on a major upgrade. Shrines can also be used to deliberately advance Time, making them useful when you want to move from Day to Night, or vice versa.
What needs to be emphasised is that simply free roaming does not consume any Time.
Checking the Cost Before You Commit
Open the Quest Journal and you'll find a Timeline running along the bottom of the screen. It shows two things at once: a bar representing how much Time has already passed, and a grey-highlighted section showing how much additional Time will pass if you complete the currently selected Quest Objective.
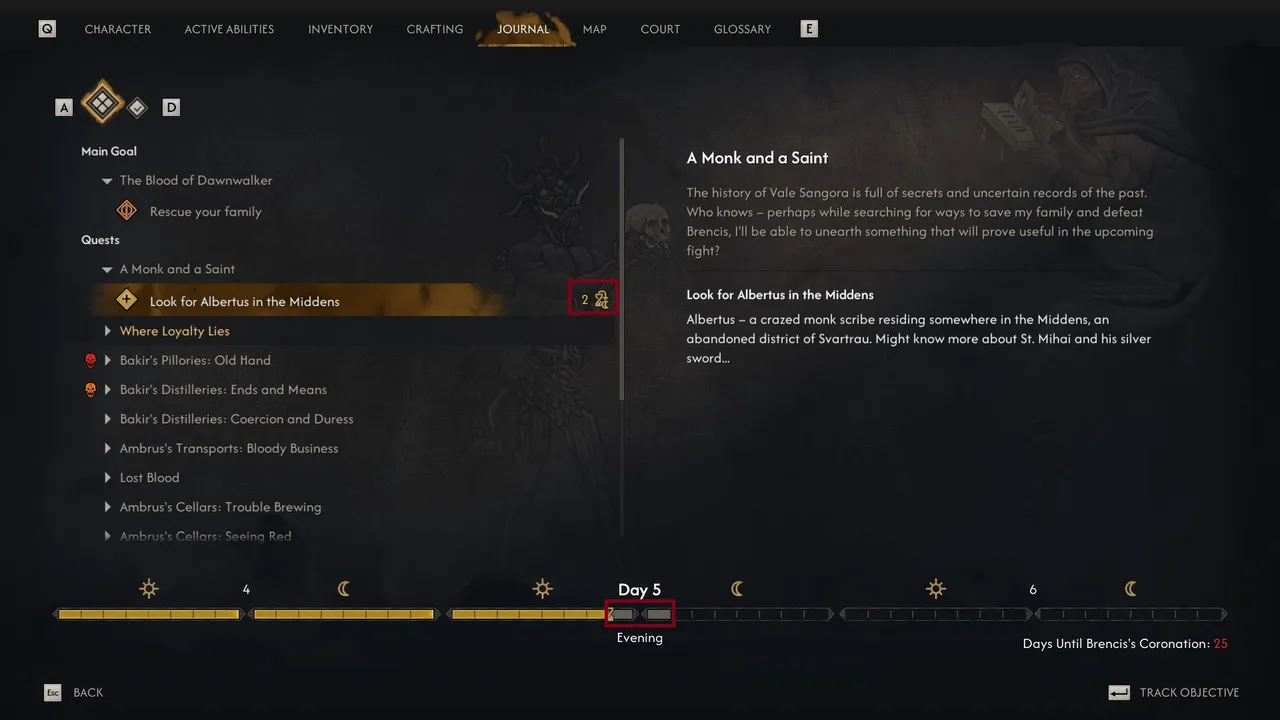
Hover over different objectives in the Journal and watch the highlighted section shift. It's the easiest way to compare the Time cost of different paths before deciding which one to take.
Some Quest Objectives also carry a Time Sensitive tag, indicated by a small clock icon. Ignoring these for too long can lead to their own outcomes and consequences, separate from how you're managing your Day/Night cycle. Treat the tag as a soft deadline rather than something you can safely leave for later.
Some quests are also restricted to a specific time of day. Quests that can only be completed during the Day are marked with a Sun icon, while those that require Night have a Moon icon. Keep an eye out for these when planning how to spend your Time Segments, particularly if you're working through several objectives at once.
The Bigger Clock: 30 Days Until the Coronation
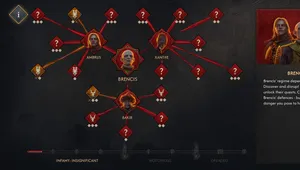
Layered on top of the Day/Night Segment system is a much larger countdown. From early on, you're told you have 30 Days and Nights to find and save your family before Brencis' Coronation. Which Quests and Activities you complete during that window is entirely up to you - the game is explicit that you choose what to prioritise before confronting Brencis, and those choices have weight.
Quick Tip: Check the Journal before committing to a quest or activity to see exactly how much Time it will consume. If you prefer playing at Night while in Vampire form, consider using the Day to handle Perk and Ability upgrades that cost Time, leaving more of your Night available for exploration and combat.
DON'T MISS!