Trending
Before anything else: do not let the difficulty label put you off. In Pragmata, Lunatic is hard, meaningfully so, but it is not unfair once you understand what it demands of you. The mode unlocks after you complete the main story on Casual or Standard, and importantly, it requires you to start a brand new game rather than carrying over a New Game Plus file. Enemies hit harder, have considerably more health, and there are more of them in every encounter.
The window for mistakes is tight throughout, and it only narrows as the game goes on. What Lunatic is really asking you to do is stop playing reactively and start playing proactively: control rooms, manage resources, upgrade deliberately, and use your full kit at all times. Players who do that will find that Lunatic feels like the most satisfying version of the game. Players who don't will find themselves staring at the Game Over screen with surprising regularity.

Early encounters: hack, dodge, repeat
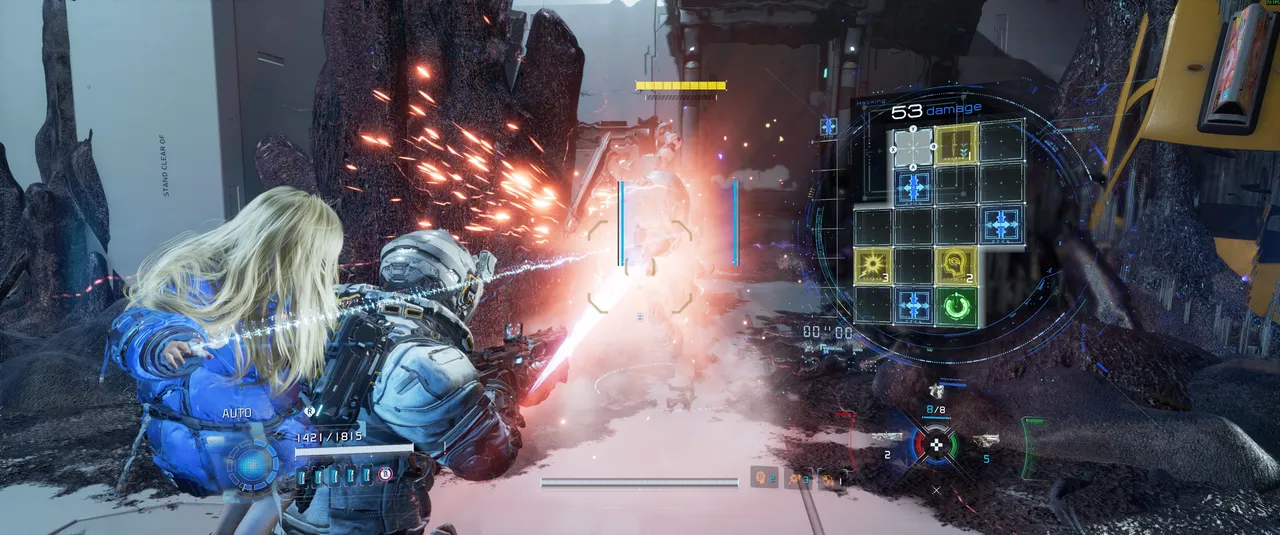
The single most important habit to build in the opening hours of Lunatic is the hack-and-relocate loop. When you encounter an enemy early in the game, do not stand still and trade shots. Initiate the hack, and the moment it lands, immediately dodge to the opposite side of the room. Use that window of enemy vulnerability to deal your damage, then reset the position and do it again. This rhythm hack – relocate, attack, reposition – is the core of Lunatic combat, and it never stops being relevant, even deep into the game. The enemies in the early sections are manageable if you commit to this loop and don't get greedy. The moment you start trying to stand and fight head-on, the damage adds up fast.
Use your thrusters for air control as often as possible, since running does not cost energy. Jumping and dodging using Fast Moves opens slow-motion windows that make attacking and hacking considerably easier. Get into the habit of using these movement tools from the very first encounter rather than saving them for when things get desperate.
Group encounters: target priority and cover
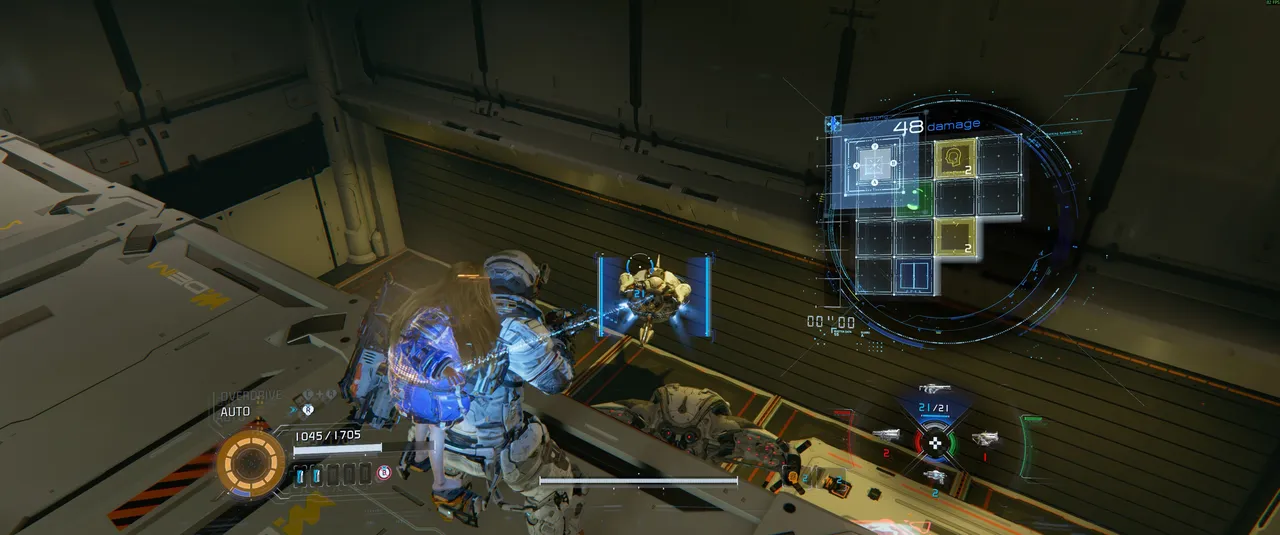
Once the game starts throwing mixed groups at you, including ground enemies alongside flying bots, your target priority needs to be firm. Flying bots are stationary, which sounds like a small thing until you realise it means you can find a reliable piece of cover that completely removes their line of sight on you. Get into the habit of identifying the flying units at the start of every room encounter and immediately locating the cover that nullifies them. With the aerial threat neutralised, you can deal with ground enemies on your own terms without taking chip damage from above throughout the fight.
The key principle in group encounters is that you cannot allow pressure to build from multiple directions at once. If you are locked onto one enemy while three others are freely applying pressure, you are already losing. Control the room, or the room controls you. Deal with ranged threats first, use cover aggressively, and never let yourself get surrounded.
Upgrading: what to prioritise and when
Lunatic rewards players who invest in upgrades early and deliberately. Do not rush through sections hoping to outplay enemies with raw skill alone. Take every opportunity to explore side areas, gather resources, and complete training missions. Training missions run on regular difficulty, which means the upgrade points and Pure Lunum you earn there come at essentially no cost or risk. There is no reason not to do all of them.
The most important upgrades to prioritise are Diana's hacking damage, OPEN Duration, Hacking Gauge Buildup, Overdrive Pool, Recharge, Deletion Protocol, and Overdrive upgrades. For hacking nodes, Heat and Multihack are your workhorses, with Decode, Freeze, and Critical Shot also worth having. Farm Sweeper Bots in side areas whenever you have the opportunity, as they drop resources consistently and can be cleared without significant risk if you apply the hack-and-relocate approach.
Hacking damage in particular is worth far more on Lunatic than it is on Standard. On regular difficulty, hacking is useful, but you can get by treating it as a secondary tool. On Lunatic, it is your primary damage source. Learn the hack board patterns for every enemy type and memorise which ones are most efficient to complete. Some enemies, particularly once you have hacking nodes equipped, can be killed without firing a single bullet if your hacking is fast and accurate enough.
The Jackhammer: buy it immediately and upgrade it constantly
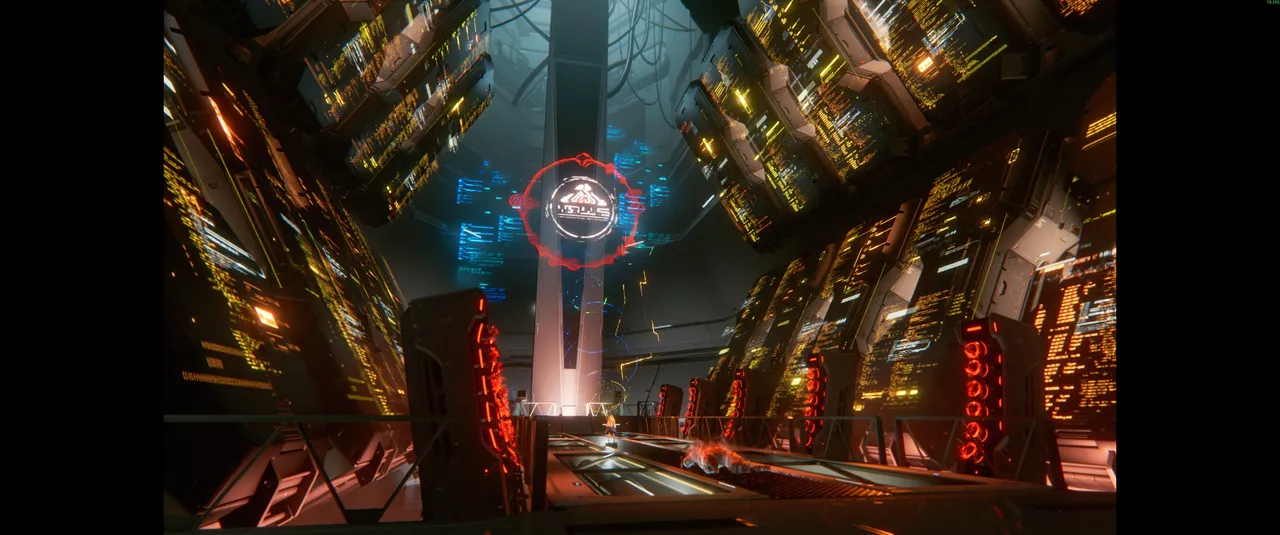
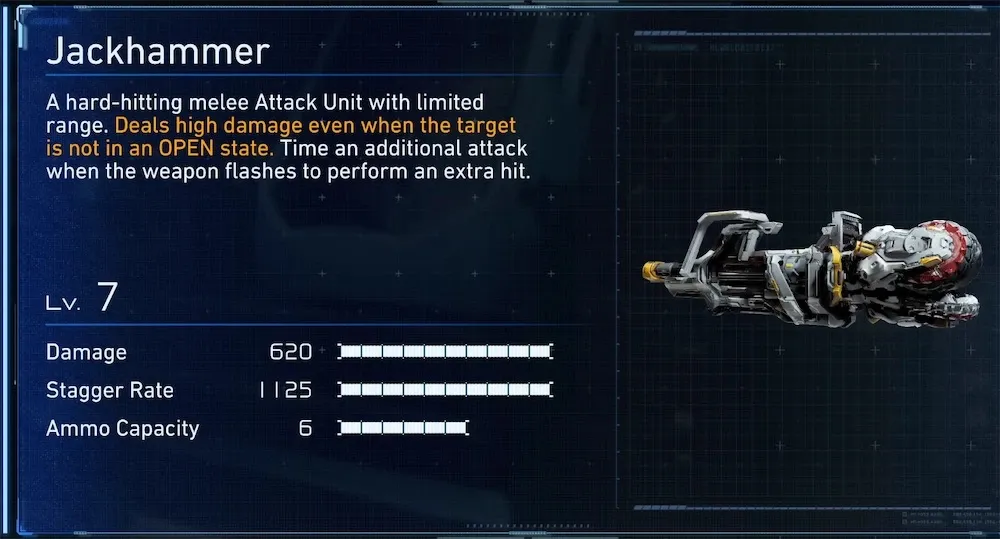
Get the Jackhammer as early as you possibly can and start sinking upgrade resources into it right away. This is not optional advice. For every major boss encounter after Creator, the most reliable damage formula is a combination of upgraded hacking, well-chosen hacking nodes, and several hits from a fully upgraded Jackhammer. That combination will carry you through the game's toughest fights more reliably than any other approach. Do not save resources hoping for a better weapon to appear later. Invest in the Jackhammer now and keep it upgraded as the game progresses.
Creator: the first real test
Creator is the boss at the end of Mass Production Array and the first point where Lunatic genuinely tests whether you have understood the game's fundamentals. The good news is that Creator is not a complicated fight. The bad news is that it is a slow one, and on Lunatic you have a very limited number of mistakes available before it ends badly.
The strategy is straightforward: dodge the laser attacks to the side, circle around to the boss's rear, and deal your damage while the hack is active. Be patient. Do not rush, do not get greedy with extra attacks, and do not panic when the fight drags on. Creator is a patience test more than anything else. Once you've beaten it, you've cleared the first genuine hurdle of the difficulty.

The recommended Lunatic build
For the best overall performance across Lunatic, the most consistent and widely recommended approach is a hacking-focused build built around Overdrive generation and heat damage. The core of the build is Recursive Learning, which gives you a fifteen per cent Overdrive buildup bonus every time you hack. The more frequently you hack, the faster your Overdrive charges, and the more often you can use it to shut enemies down. Set your hacking mode to Combust so that enemy heat builds faster. For hacking nodes, use Exposed and Heat as your standard loadout, swap to Multihack when fighting groups, and switch to Defence Down for boss encounters.
For weapons alongside the Jackhammer, bring Hacking Mines and Sticky Bombs. Sticky Bombs reduce the size of enemy hack boards, making hacks faster. Overdrive builds quicker, and your exposure time is shorter. Hacking Mines help control the battlefield and make tough rooms considerably more manageable.
When hacking, maximise blue tiles for stronger hacks and use Cleanse often to remove static and corruption, which slows your hacks and drains Overdrive. Don't rely on passive regeneration for health. Stock up on Repair Cartridges and use them actively rather than waiting until you're nearly dead.
The final boss: Eight
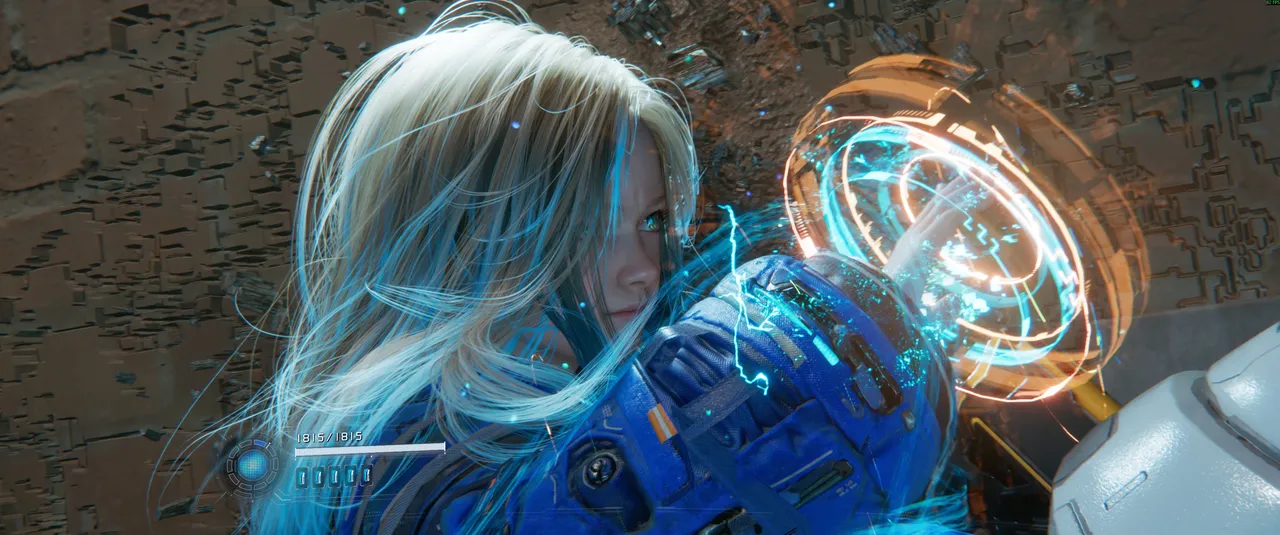
Do not be afraid of Eight. The final boss of Pragmata on Lunatic sounds intimidating, but if you have invested in your hacking ability throughout the game, this fight is far more manageable than its reputation suggests. The key is to have your hacking damage upgraded as close to maximum as possible before entering the encounter. Equip hacking mods that boost hacking damage output and use the Lim Recycler to push your damage to its ceiling.
A fully upgraded hacking build with the right mods equipped makes Eight genuinely beatable through hacking alone. Use Overdrive early and often, keep moving to avoid beam attacks, and apply your Sticky Bombs before attempting to hack the boss to shrink the board and speed up the process. If you have maintained a consistent upgrade path throughout the run and not skipped training missions or side content, Eight should feel like a satisfying conclusion rather than a wall.

Quick tip: Lunatic difficulty is locked to a fresh save and cannot be accessed via New Game Plus, so plan your upgrade path from the very first sector. Every training mission, every side area, and every resource node matters more here than on any other difficulty. The players who enjoy Lunatic the most are the ones who treat every room as a resource opportunity rather than an obstacle to get through as quickly as possible.

DON'T MISS!
- Pragmata: How to Easily Unlock 'Can I Borrow That?' Trophy/Achievement
- Pragmata: How to Find the REM in Warehouse
- Pragmata: How to Clear Red Crystal Deposits in Business District
- Pragmata: How to Easily Unlock 'You're Not Getting Away That Easy' Trophy/Achievement
- Pragmata: How to Find the REM in Regolith Lab