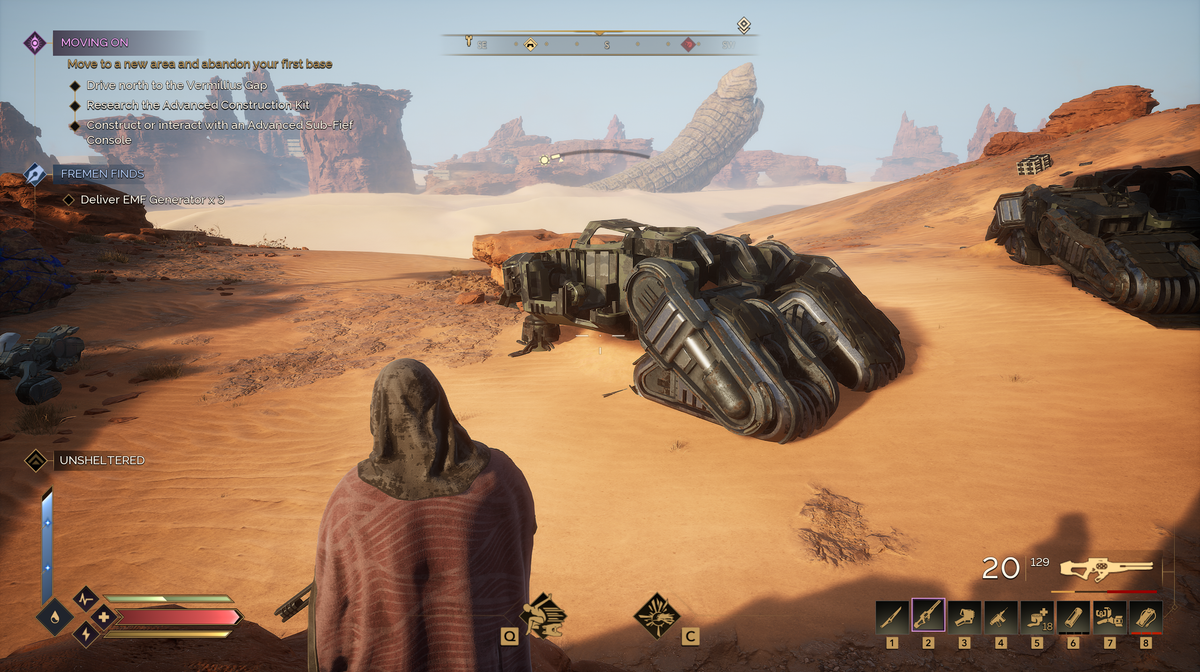
Crossing Vermillius Gap is one of the earliest, yet most deceptively tricky challenges in Dune: Awakening. The mission directs you to leave the safety of the starting region and head north—but unclear map indicators and harsh terrain often lead new players into deadly quicksand traps. Here's how to cross the gap safely and reach the northern territories without unnecessary deaths.
What Is Vermillius Gap, and Why It’s So Misleading
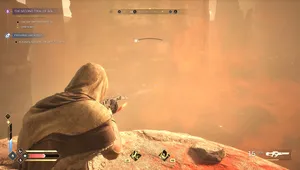
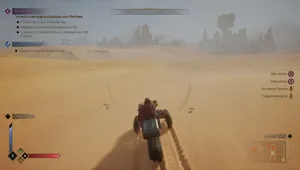
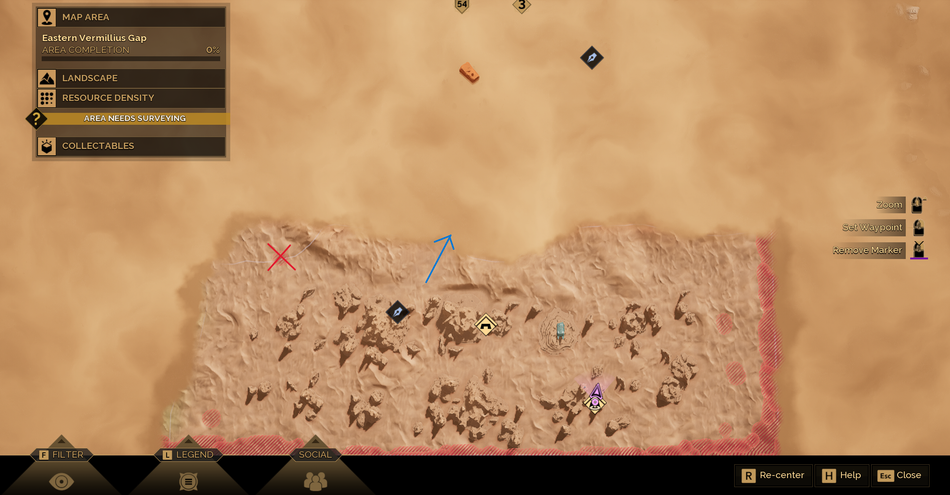
Vermillius Gap lies directly north of your starting area - often Hagga Basin South - and serves as the transition point to higher-tier zones. However, many players mistakenly head east due to the game’s red-circled map areas, thinking these highlight paths. In reality, those zones mark danger zones filled with quicksand and unstable drum sand. The moment you step into them, it’s instant death - no warning, no recovery.
How to Navigate Vermillius Gap: The Right Way
1. Follow the Landmark in the Distance
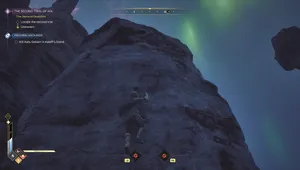
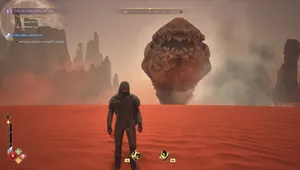
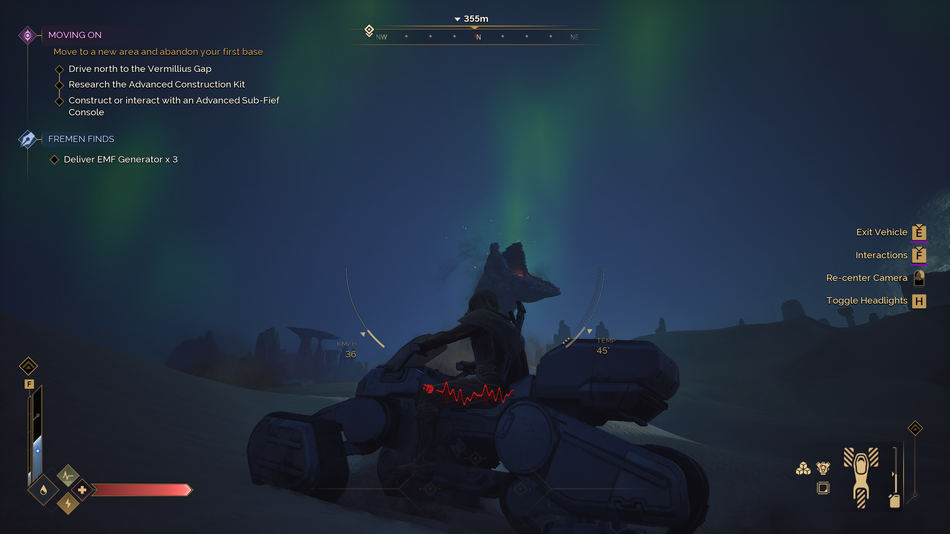
From the moment you reach the northern edge of the region, you’ll spot a large, hammer-shaped rock formation on the horizon. That’s your target. Players who stay focused on this natural marker tend to cross without issue. It's not just visually distinctive - it aligns almost perfectly with the safest route through the region.
Rather than wandering blindly or following vague compass directions, use this formation as your guiding landmark. It’ll lead you through the narrowest stretch of safe terrain between dangerous sand zones.
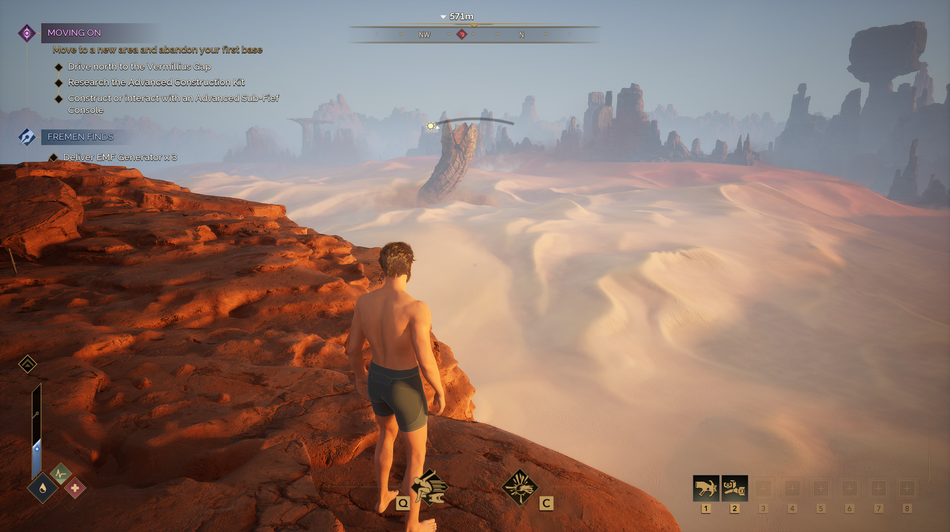
2. Stick to Rocky Terrain
The biggest mistake most players make is venturing across open desert. It may seem faster, but the flat, featureless sands are often laced with quicksand. The smarter approach is to trace a path along rocky outcrops and higher ridgelines, even if it takes a bit longer.
Experienced players have learned to treat the edges of cliffs and rock walls as their best allies. Not only are these surfaces more stable, but they’re also less likely to trigger sandworm alerts or sudden environmental hazards.
3. Bring a Sandbike Booster - Or Plan Carefully Without One
If you’ve already upgraded your sandbike with a booster, crossing becomes much easier. You’ll move fast enough to stay ahead of danger and minimize time spent in exposed terrain.
But even without a booster, it’s still possible to make the crossing. The key is to leave from the northernmost rock outcrop in your current zone, then follow the clearest line toward the hammer rock, hugging higher ground as much as possible.
4. Prepare for the Worst
Before attempting the journey, deposit any valuable gear into your local storage. The crossing is dangerous, and a single misstep can result in a frustrating death. Bring a reserve of 700 Solaris, just in case you need to fast-travel from The Anvil (the first northern hub) after crossing.
This not only protects your equipment but gives you flexibility to return south or proceed deeper into the northern territories depending on your needs.
5. If/When you die
You have died, what now? Well, to rebuild the bike, a single run of Imperial Testing station together with easily available scrap metal and copper should do the trick. You should have enough materials to rebuild your bike.