Alone in the Dark, THQ Nordic's newest horror adventure, presents a multitude of puzzles that will challenge your problem-solving abilities at various points throughout the game.
The puzzles featuring pad locks with three different zodiac signs are one of those, and, to be honest, solving them will require a keen sense of perception and a great deal of walking around because these puzzles will combine a lot of elements, all with the same goal, which is to retrieve the item locked behind them.
One such puzzle is tackled during the game's second chapter, where your goal will be to figure out the combination for the lock using information found in Perosi's room. If this puzzle is giving you a headache, we have a guide to help you solve it with ease.

How to solve the puzzle in Perosi's room
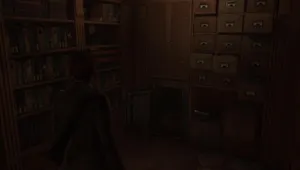
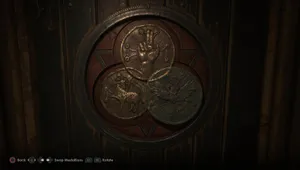
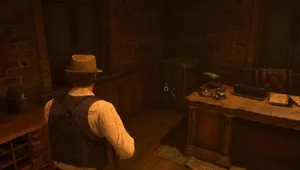
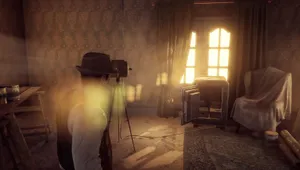
Once you enter the room, notice the locked chest on the right side of the room. Upon inspecting it, you will see that it is locked with three zodiac signs. To find the right combination, go to the opposite side of the room and check out the paintings on the wall you can interact with. Those paintings have some kind of rot on them. Line them up to connect the rot between them. Once you do it, the screen will flash, letting you know that you did it correctly.
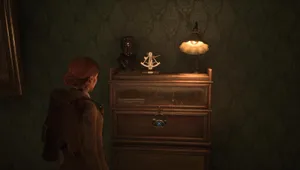
Memorize the three names revealed on the paintings and cross-reference them with the picture of previous inhabitants of the mansion hanging on the wall to the right.
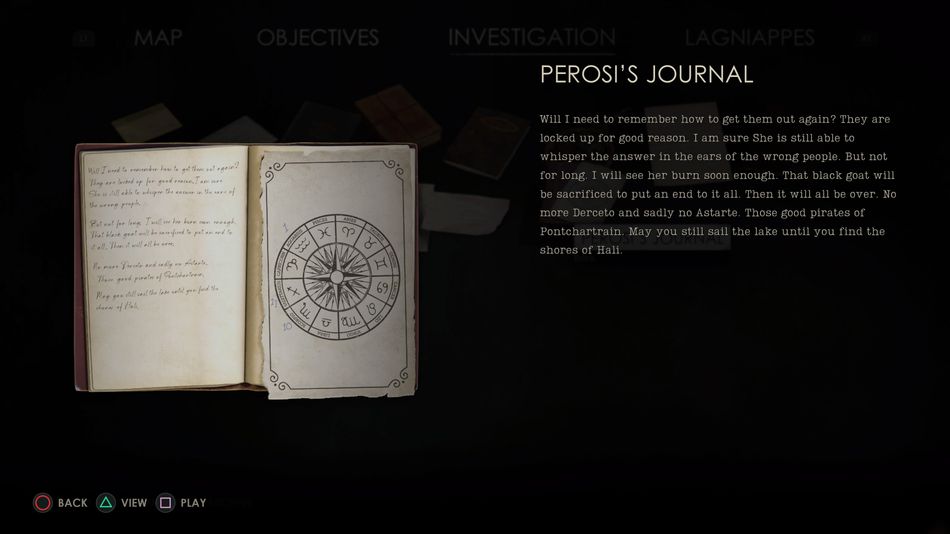
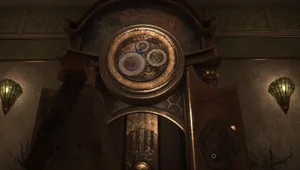
Now, pick up Perosi's journal lying on the table and notice the cypher wheel showcasing all twelve zodiac signs. Three signs are already numbered, and it is up to you to fill in the gaps. What you want to do now is cross-reference the three numbers behind the three inhabitants shown on the paintings and choose the corresponding zodiac signs from the cypher wheel.
Enter the zodiac signs, and the lock will open. It is as simple as that. Once you open the lock, you will be able to go on with the story.

DON'T MISS!