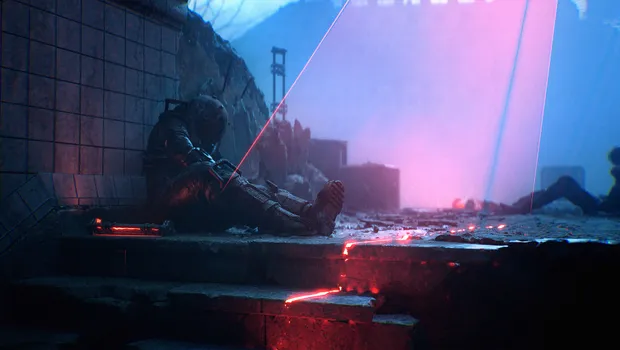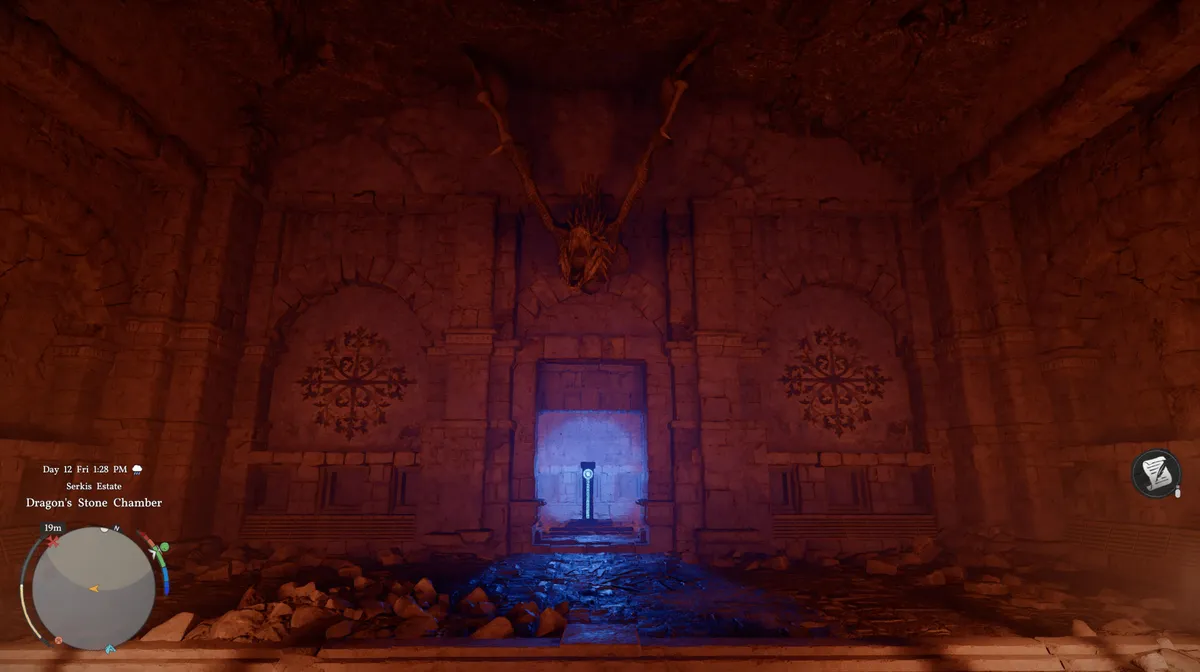
The Dragon's Stone Chamber is a hidden puzzle dungeon in Crimson Desert that, once solved, unlocks an Abyss Cresset fast travel point. It's not a combat challenge, but it will send you across the map before you can open the door inside. The puzzle is split across two locations: the cave itself and a cluster of outdoor murals to the east, and you'll need to visit both before anything clicks into place.
Step 1: Find the Dragon's Stone Chamber
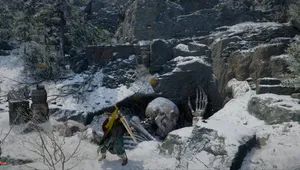
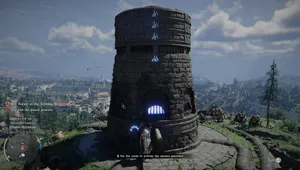
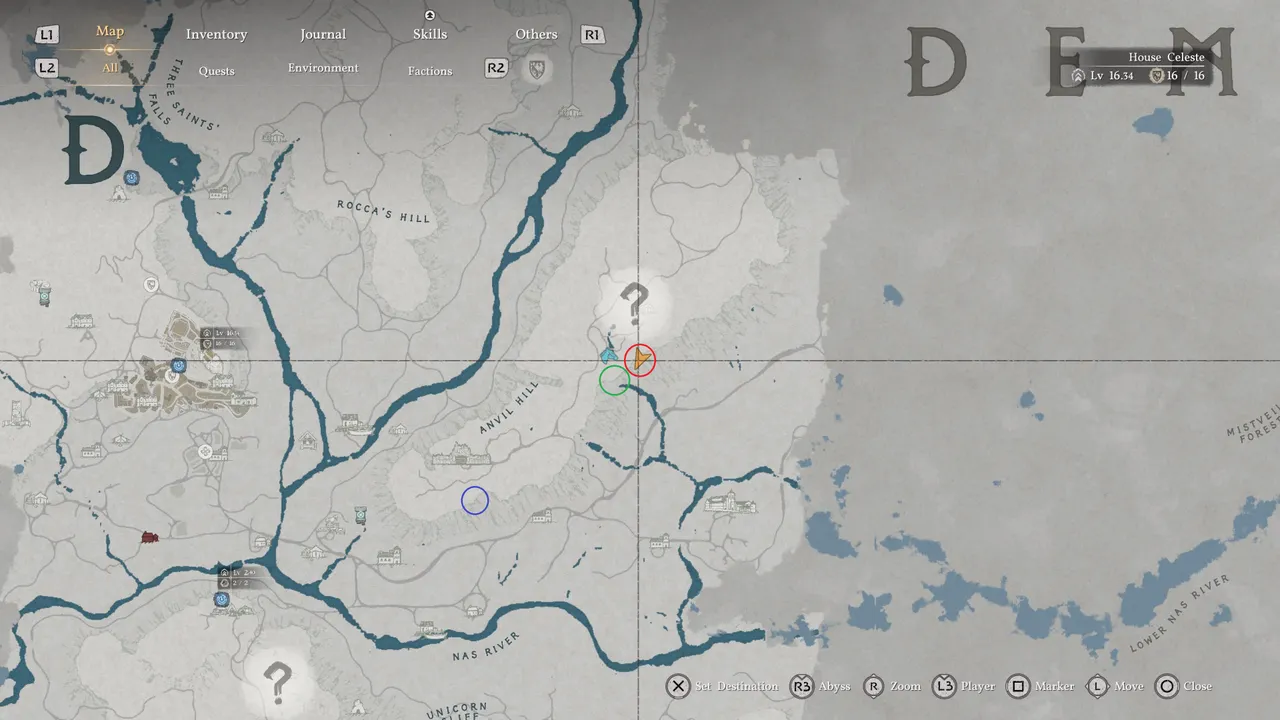
The cave is located just south of Thinker's Meadow, in the Serkis Estate area south of Anvil Hill. On the map, look for the area slightly south of the Greymanes' base at Howling Hill and head towards the cave entrance on foot. Once you arrive, push open the stone door to enter. Inside you'll find a large chamber with a sealed door straight ahead and three circular switches arranged in the middle of the floor.

Step 2: Read the wall maps
Before touching anything, look at the left and right walls on either side of the sealed door. Both walls display an identical carved map of the surrounding region. Study it carefully and you'll notice three faint Xs marked at specific points on it. These aren't decorations. They're telling you exactly where to go next. Compare the carved map to your in-game map, and you'll find the three marked locations correspond to an area on the east side of Anvil Hill, not far from the cave itself.
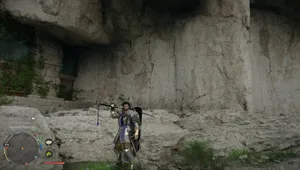
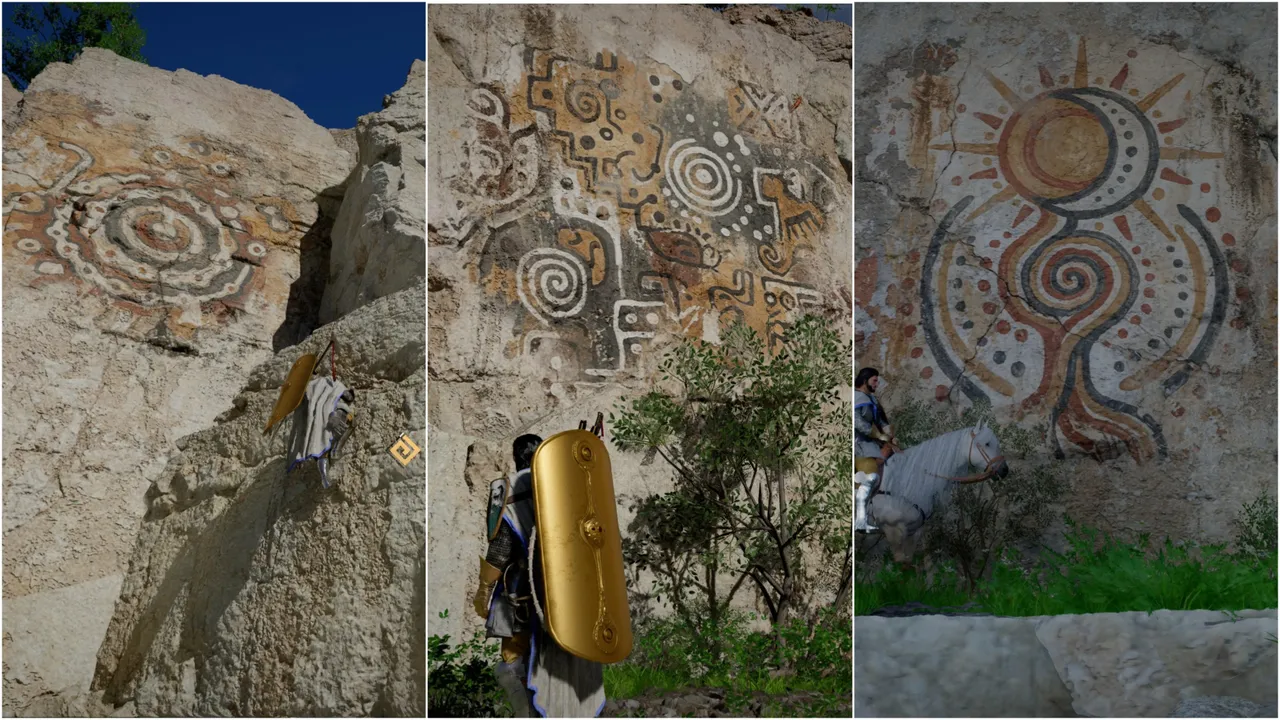
Step 3: Find the three outdoor murals
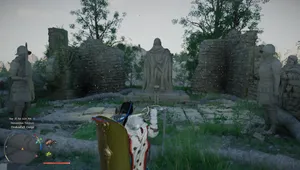
Leave the cave and head east towards Anvil Hill. At each of the three map locations marked by the Xs, you'll find a large mural painted or carved onto a rock face out in the open. The murals are easy to spot once you're close, as each one features bold circular patterns painted onto cliff surfaces. All three show the same style of spiral and geometric imagery as the switches back in the chamber, but crucially, each mural is positioned differently. One is angled, another is upright, and the third sits at its own distinct orientation. These positions are the solution to the puzzle. Take note of how each one is rotated before heading back, as the chamber offers no reminders once you're inside.
Step 4: Set the switches
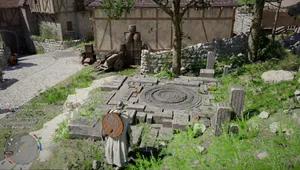
Return to the Dragon's Stone Chamber and approach the three switches in the centre of the room. Each switch corresponds to one of the three murals you found outside, and your job is to rotate each one to match the orientation shown on its corresponding mural.
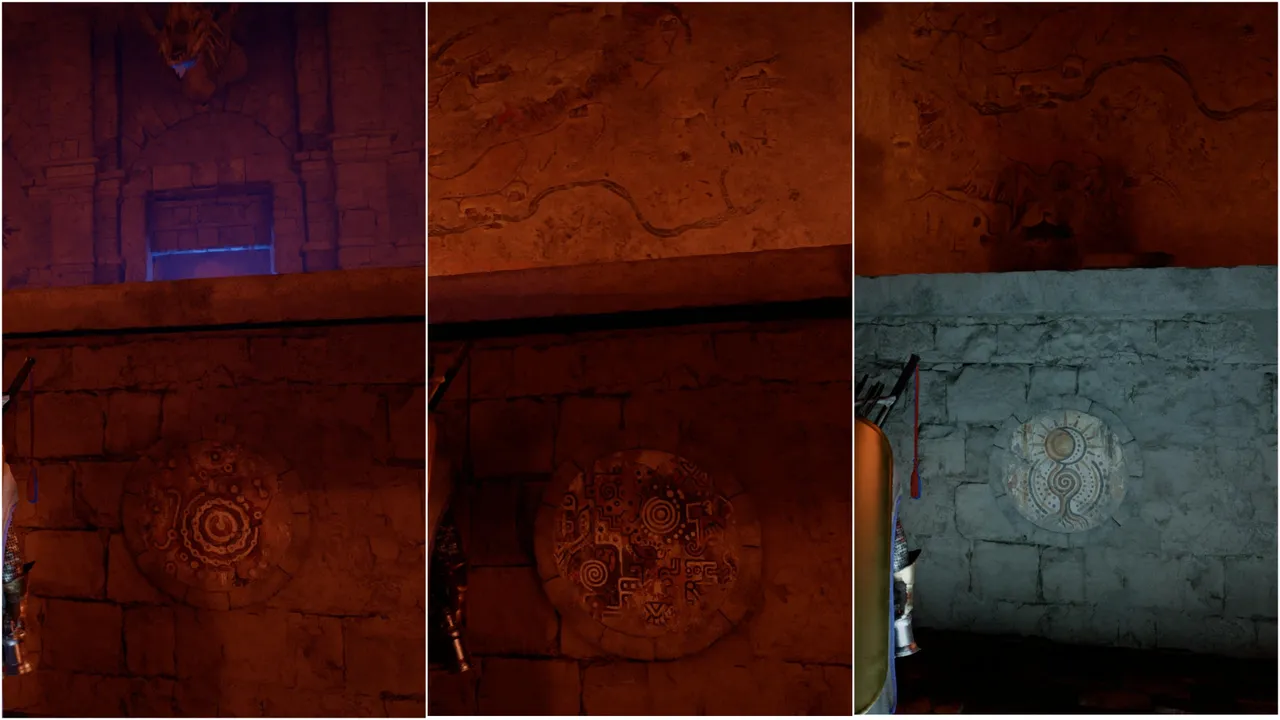
The imagery on the switches mirrors the imagery on the murals directly, so matching them up is a case of careful comparison rather than trial and error. Once all three are set to the correct positions, the sealed door will open on its own.
DON'T MISS!
- Ten hours in, Crimson Desert has yet to show me its magic
- Crimson Desert: How to get a two-handed katana early in the game
- Crimson Desert: How to craft arrows
- Pearl Abyss apologise after AI-generated art found in Crimson Desert, and promise to replace affected assets
- Crimson Desert: How to fast travel