Trending

Senua's Saga: Hellblade 2, the latest action adventure from Ninja Theory and Xbox Game Studios, doesn't have many collectibles; there are only two types of them, and the stones in the shape of faces are one of them.
There are in total 17 face stones, and they are way harder to find than lorestangirs, the other one of the collectibles, because they simply blend in with the environment, and you will have to have a very keen eye to notice them. However, there is a trick on how to find them easier. Once you are near one of the faces, the image becomes a bit burred where the face is hiding.
If you're having trouble finding the faces in the vast world of Senua's Saga: Hellblade 2, we have a guide with the locations of each of them, as well as instructions on how to reach them all.

All stone face locations
1. This one is the tutorial one and will be shown to you automatically. It cannot be missed and is located inside the abandoned village at the start of the second chapter.
2. After escaping the draugar village with Fargrímr, you'll walk together for a bit. When you drop the first ledge, follow him to the broken drawbridge. Just left of the bridge is the face at the end of the path.
3. Once you free Thórgestr and he joins your little party, you'll descend a small hill and enter the destroyed settlement. When you reach a marker stick, go to the left (Thórgestr and Fargrímr will go straight forward). Pass the burned house and keep to the left. You'll enter a bit bigger area. On the left of this area is the next face.
4. In the same area, just instead of going left from the marker, go to the right. Follow the path, and at the end of this path is the next face.
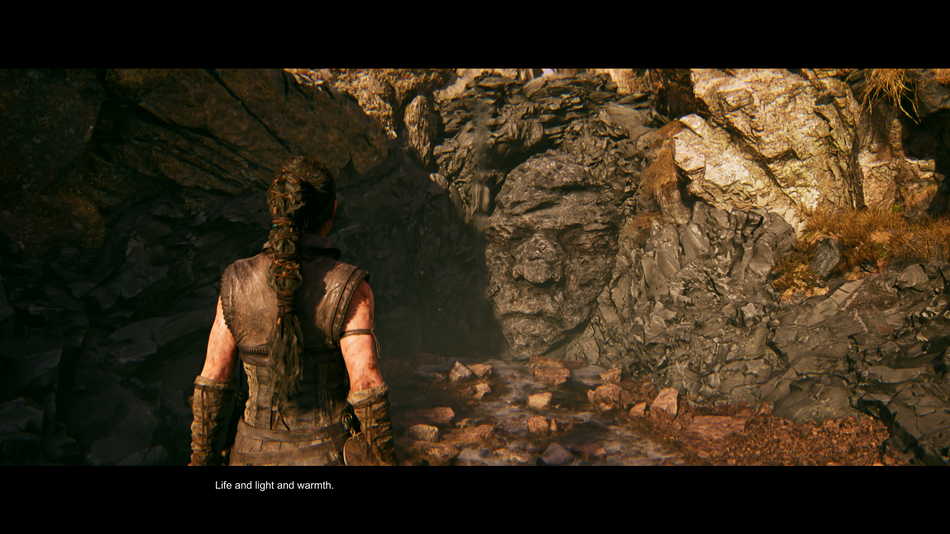
5. After you set out on the task to find the Hiddenfolk, drop down a couple of ledges and enter the bigger area. Keep moving forward, and just before the small hill and some red soil in front of you, look to the left, and you'll see the face. This area is just before the first Hiddenfolk test.
6. After you solve the first Hiddenfolk test (the easy one), continue forward and you'll reach the next face located to the right.
7. After the second test (a bit harder one), continue walking forward, and you'll eventually come to a ledge on your left. Climb this ledge and the one that follows. The next face is located immediately to the right after the second ledge.
8. As soon as you enter the Hiddenfolk caves and gain the torch, follow the path, and soon you'll come to a wider area. Look to the left in this area. The next face is located there. As usual, if you cannot find it, just look for the blurred traces on the screen.
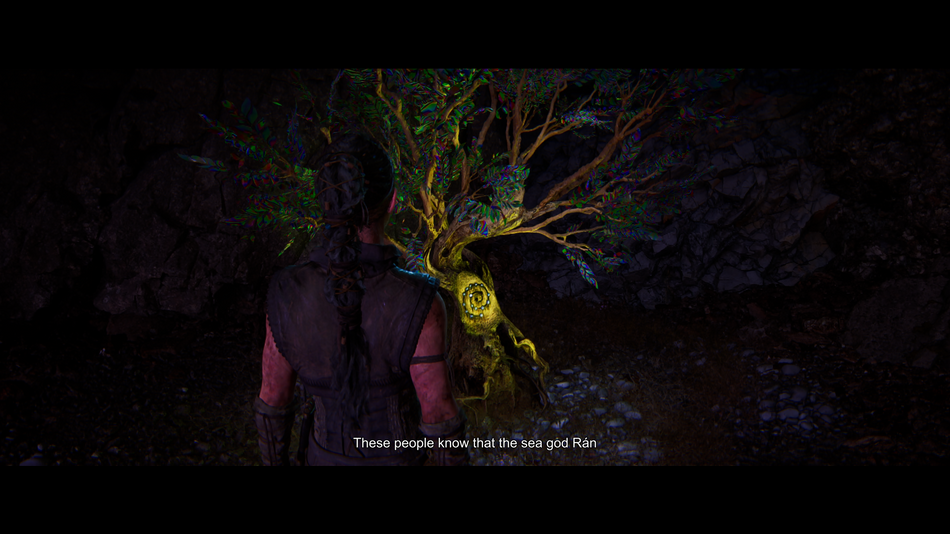
9. The first time you extinguish the brazier to reveal a hidden path inside the Hiddenfolk caves, apart from the hidden path, one more path is revealed, exactly behind you as you stand in front of the brazier. The next face is located there.
10. A little bit after the last face, you'll drop down inside the flooded corridor. As soon as you do that, turn around. The next face is at the end of that corridor.
11. When Senua gives up her sword and finishes the sequence where she must stay in the light to survive, at the end of this sequence, you'll come to an area with two large holes and some floating stones above them. Just left of the left hole is the next face.
12. At the beginning of the fifth chapter, when Fargrímr and Thórgestr mysteriously disappear, follow the path until you reach a small waterfall. The next face is just beneath the waterfall.
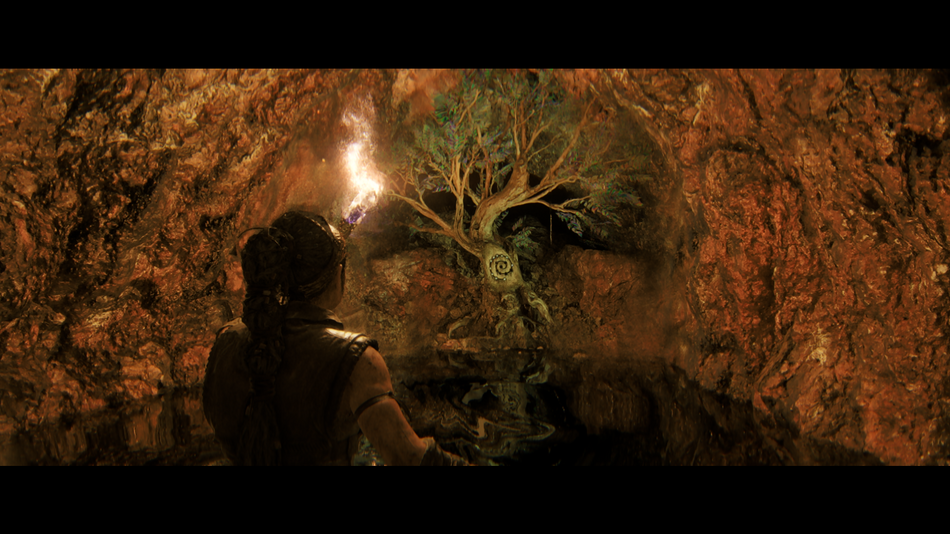
13. When you meet Ástríðr for the first time and begin your journey with her, follow her to a place where you must squeeze between the rocks to progress. Do not squeeze through yet; instead, look to the right. The next face is just before those rocks.
14. After you solve the first combined puzzle (the one that reveals the polar light), pass through the unlocked passage. The next face is immediately to the right.
15. Before entering the second Hiddenfolk hideout, you'll have to solve one of their puzzles. The third and farthest rune you'll have to activate will be located all the way to the right, just under the cliff you came into this area from. To solve this puzzle, you must activate water-drop-like devices to switch realities. One such device is located just above the water. Opposite of it is a blue mist that turns to a stone once you activate it. Do not activate this drop but instead, go through the mist and pass through a crack between rocks. Continue on all the way to the end of this path, where you'll find one of the lorestangirs. Now, turn back to return to where you came from, and just before entering the tunnel here, look slightly to the left. The face is hidden here.
16. As soon as you enter Ástríðr's village on the beach (You'll see the second giant appear occasionally), follow the torches through the village. When you reach the third torch, turn right, and you'll see the forth torch close to a fence. The face is located next to this torch on the right side.
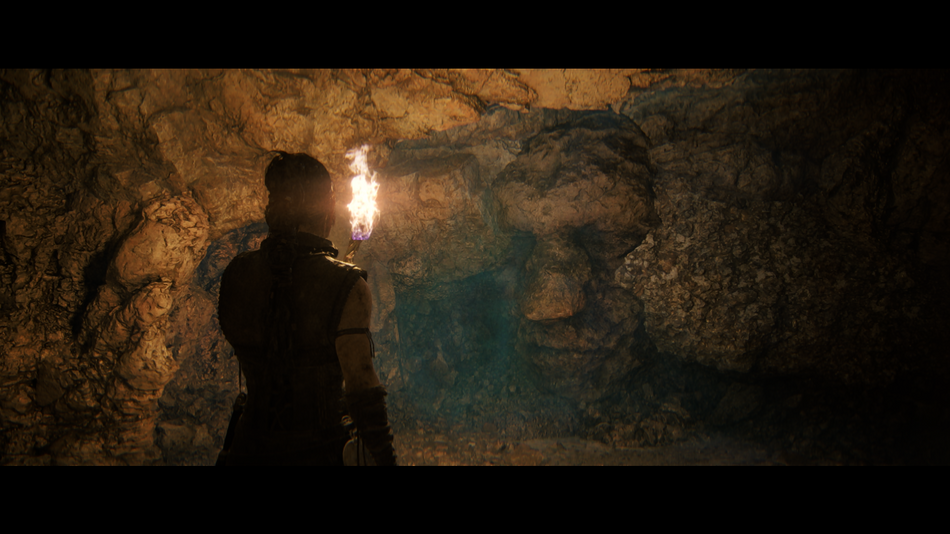
17. Before entering Ástríðr's hut, look to the left, and you'll see a ledge too high to be climbed. Next to this ledge is a house located in the highest spot in the village. To reach this house, you must backtrack a bit and go left up the small hill. Once you reach this house, go behind it. The last face is located just left of the ledge, behind the house.