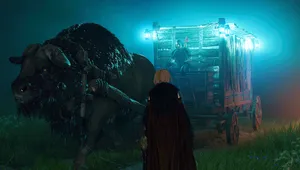
Dragon's Dogma 2 is known for its extensive sidequests that often require travelling vast distances across the map, sometimes with unpredictable outcomes. One such quest begins in the northern region of the starting town of Melve.
Inside Eini's home, you will encounter a young girl named Trysha who has a desire to learn the art of magic. Despite the potential challenges involved, helping Trysha is worth the trouble as it unlocks the Maister's Teachings for both the Mage and Sorcerer vocations.
Initially straightforward, the quest involves locating five grimoires to help in Trysha's pursuit of arcane knowledge. However, what the quest in Dragon's Dogma 2 fails to mention is the amount of extensive travel required across the map and the lack of guidance regarding the grimoires' locations.

That is why we are here with this guide to help you tackle this quest with minimum effort.
Location of the Fulminous Shield in Dragon's Dogma 2
The first grimoire, the Fulminous Shield, can be conveniently purchased from Dudley, the merchant situated near the entrance to Melve. However, it comes with a hefty price tag of 5,000 gold, which may require some saving up, especially in the early stages of the game.
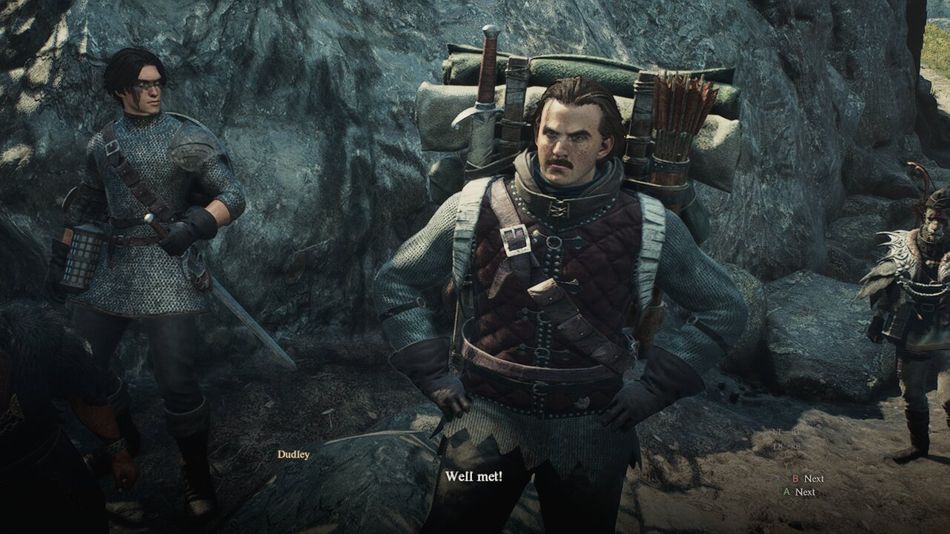
It's important to note that purchasing the grimoire from Dudley prompts him to relocate from this area. Therefore, if you have any other items you wish to acquire from him, it's advisable to do so before acquiring Fulminous Shield to avoid the inconvenience of tracking him down in Vernworth later on.
Location of the Howling Blizzard and Nation's Death Knell in Dragon's Dogma 2
Acquiring the next two grimoires, Howling Blizzard and Nation's Death Knell, presents a slightly more challenging task, even though they are located in the same area. That is because, they are guarded by a formidable wight boss.
To prepare for this encounter, it's recommended to bring along a mage capable of casting the Empyrean spell, as wights are particularly vulnerable to holy damage.
First of all, you'll need to advance through the main story of Dragon's Dogma 2 until you can leave the Melve region. Then, head towards the Waterfall Cave dungeon, which can be found not far from the Borderland Campground campsite. Once inside, navigate to the second floor of the cave.

On your way, you will encounter a chimaera, and it is best to avoid engaging the chimaera, as it poses a formidable challenge and isn't directly related to this quest. However, if you revisit the area at a later, higher level, feel free to confront the chimaera as you progress.
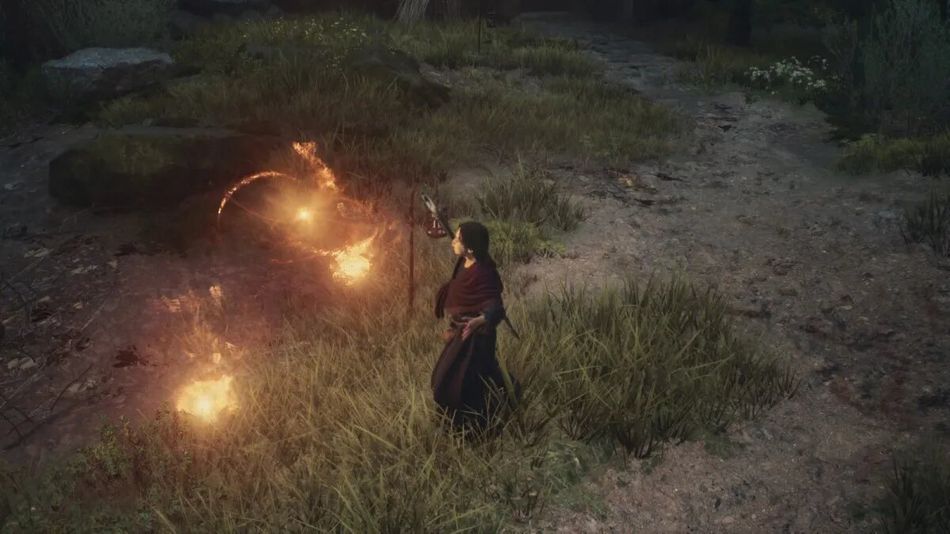
On the second floor of the cave, you'll come across an old study adorned with scrolls and a chest positioned in the room's centre, containing the coveted Howling Blizzard and Nation's Death Knell grimoires.
Be prepared for combat, as opening the chest will summon the wight guardian. While fleeing from the battle is an option, facing the wight head-on is recommended, as the loot obtained from defeating it, including the Eminent Coat, makes the struggle worthwhile
Location of the Towering Earth in Dragon's Dogma 2
The next grimoire on your quest list is Towering Earth. To obtain it, you'll need to progress further in the main storyline until you arrive at Vernworth. Once there, head to the Stardrop Inn and speak with Captain Brant. Ask about Magistrate Waldhar to initiate the Caged Magistrate quest.

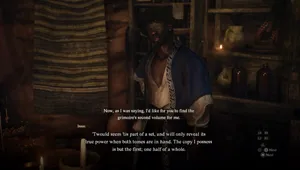
Now visit Waldhar, and he will initially refuse to leave until you find him a suitable location to hide and indulge in his book-reading activities.
However, if you speak with him again immediately afterward, he will provide you with the Towering Earth grimoire while still in confinement. While eventually you will need to assist Waldhar, you can prioritise obtaining the grimoires for the time being.
Location of Let There Be Light in Dragon's Dogma 2
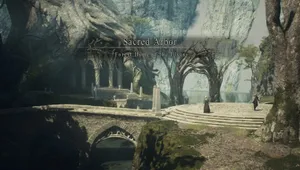
To locate the final grimoire, head west of Vernworth to Checkpoint Rest Town. At the top of the hill, you'll find Myrrdin's house, the residence of Trysha's father. He'll only engage in conversation if you're donning the Courtly Tunic and Courtly Breeches acquired from the main quest, The Stolen Throne.
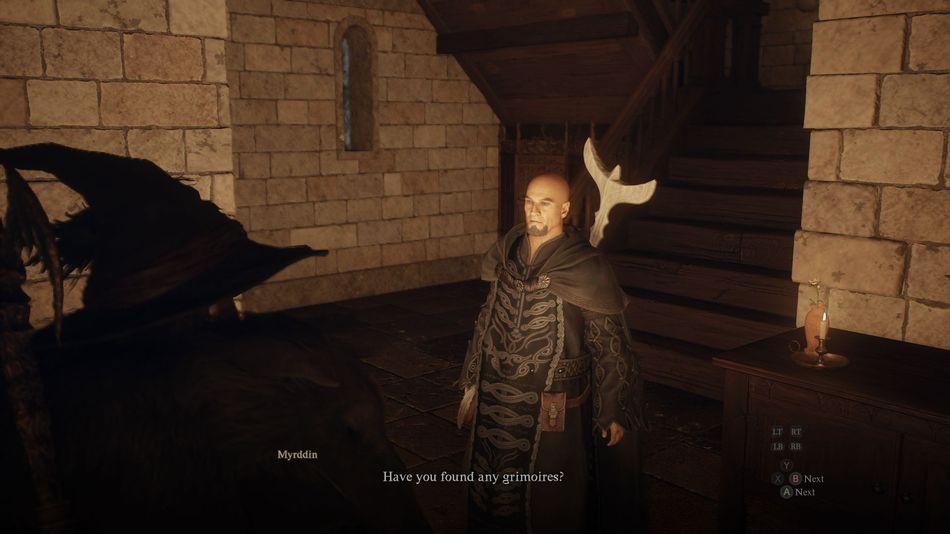
If you lack formal attire, fret not. You can still gain entry to his house by leaping over his fence and onto the balcony. Once inside, proceed through the glass doors and locate the Let There Be Light grimoire on the table, completing your collection.
Saving Trysha In Dragon's Dogma 2
Return the spells to Trysha, and she will reward you with the Turquoise Ring. But that's not the end of the rewards. Trysha will leave to study, and if you return after a few days, you'll find her in a troubling situation. She'll be attacking her grandparents with magic.
To resolve this, refrain from attacking Trysha. Instead, evade her spells and wait for her to tyre out. Once she stops casting, restrain her by picking her up. Her grateful grandparents will thank you for your intervention.
Return the next day to check on Trysha's progress. She will express her gratitude by giving you the Conjurer's Jottings, the Maister's Teaching for Sorcerers, and the Cast Stone wand. Before leaving, make sure to speak with Eini, who will reward you with the Enchanter's Almanac and the Maister's Teaching for Mages.
The Conjurer's Jottings unlock the Meteoron spell, which deals massive damage but requires a lengthy casting time and can only be cast outdoors. The Enchanter's Almanac grants you Celestial Paean, a potent support spell that provides temporary infinite stamina and damage reduction.
Read More

Dragon's Dogma 2 Review
That concludes the Spellbound quest and the search for all five Grimoires for Trysha. While it may not be the simplest mission, the rewards make it well worth the effort. We hope this guide proves helpful.
DON'T MISS: