Adamantine Forge in Baldur's Gate 3 is a great way to get a couple of powerful items, although some are way better than others, rendering them useless.
Still, to craft anything, you will have to gather the necessary materials and go through a boss fight.
Here is a quick rundown of the necessary items, boss fight tips and recommendations on what to build.
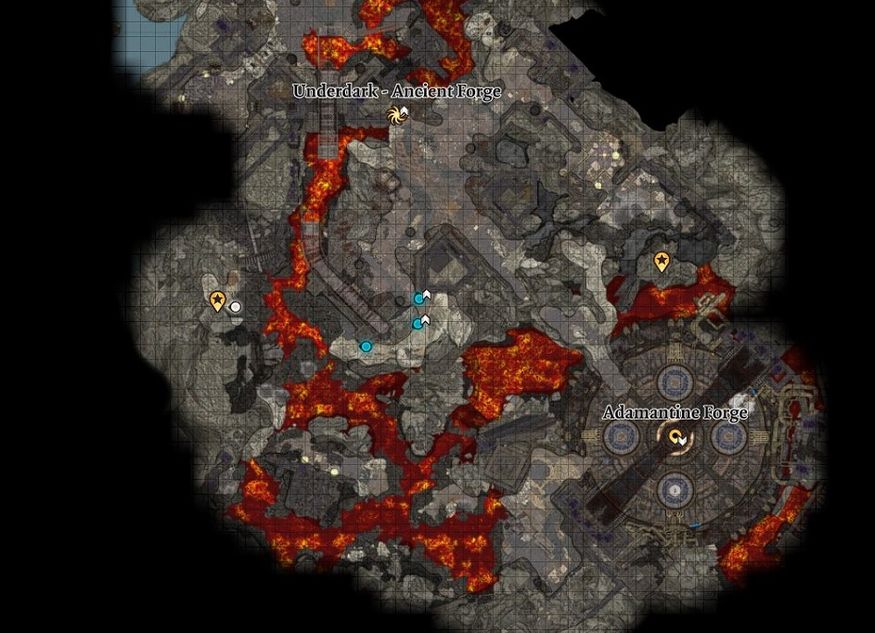
Materials for Mithral crafting
To craft anything in the Adamantine Forge, you will need a Mould and Mithral ore.
Moulds are scattered all over Grymforge and you will need to find the ones that correspond to the item you want to craft. The list of craftable items is as follows:
- Scimitar
- Longsword
- Mace
- Heavy armour (Splint Mould)
- Medium armour (Scalemail Mould)
- Shield
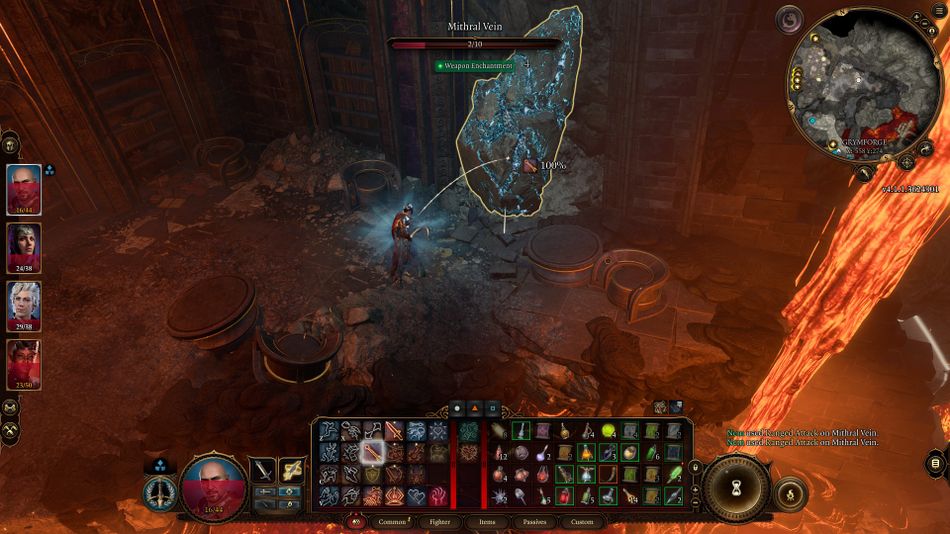
You can use the same mould to craft an item twice. The mould is technically not limited at all but you can only find two Mithral ores, which means you can't get more than two items.
To mine Mithral Ore, you will need to attack the deposit with Piercing damage. This can be anything from rapiers and picks to bows, crossbows and certain spells.
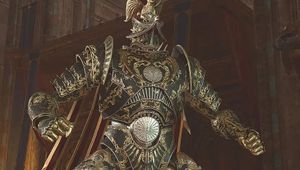
Grym boss fight
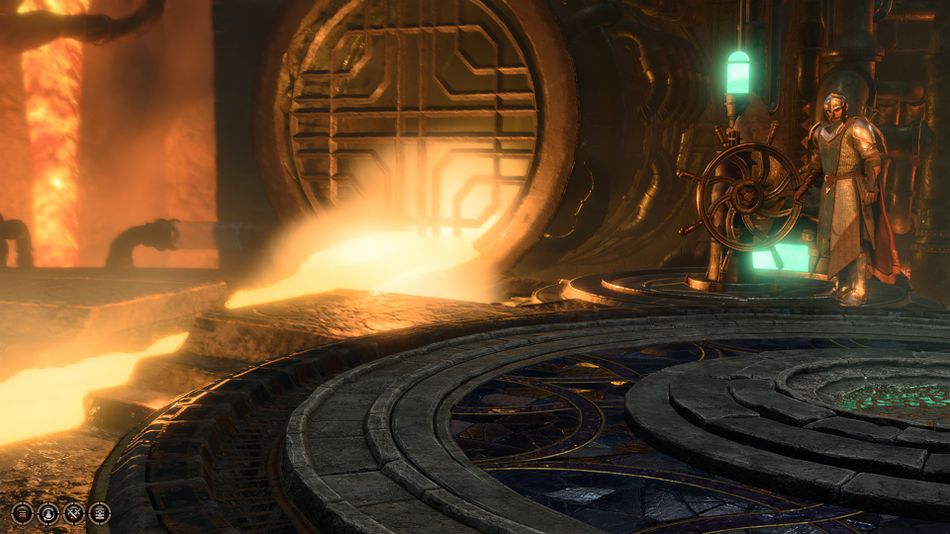
Once you have the materials, you will need to proceed to the Adamantine Forge and start the process of creating items. Insert the mould in the receptacle, insert the ore in the crucible and then trigger the lever to take you to the lower level, closer to lava.
You will now notice a lava valve. Trigger it and a boss will come out to play.
Grym proved to be the easiest boss I faced but it's one of those occasions where I was accidentally well-prepared so it could prove to be a nightmare if you try whittling it down with a different team composition. In any case, Grym is weak to Bludgeoning damage and takes double the punishment when you hit him with it.
He can only be damaged while standing in lava. Thankfully, he will be in Lava the moment he pops out so just get your hammers out and and beat him down. With a Fighter and Barbarian in my party, I took him down in less than two turns. He can be killed on the first turn if you afflicted him with Perilous Stakes (Illithid power).
If your party doesn't have bludgeoning damage
Grym will always attack the party member that damaged him last. You can use this to kite him to the crucible of the forge and then drop it on top of his head. It will take 33 per cent of his health. Just make sure he's soaked in lava because you can't damage him otherwise.
Crafting recommendations
Upon finishing Grym off, you will need to drop the crucible hammer down while lava is on the floor. It will withdraw soon and then you can open the mould chamber to get the mould back as well as your item.
We highly recommend getting the armour for both ores if you have more than one character in your party that is proficient with Medium or Heavy armour.
The shield is also a great item but those three stand head and shoulders above what the weapons offer. Alway prioritise the armours and the shield.
More Baldur's Gate 3 guides: