Trending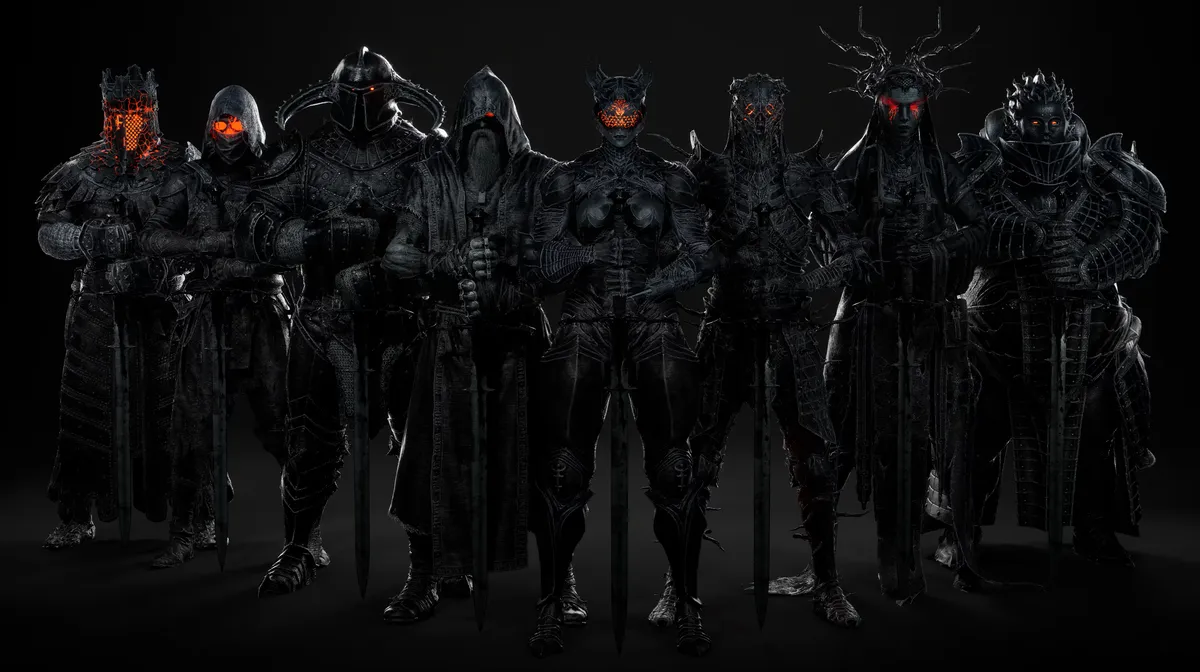
Shells are just one piece of the wider combat system in Mortal Shell 2, which also includes the Seals you equip, the Weapons and Sidearms you wield, and the Tarstones that support your weapons. Harros, Tiel, and Eredrim are all returning Shells from the original Mortal Shell, and Sester Genessa also appeared there as an NPC, while the rest are new additions worth getting familiar with.
Harros is only available during the game's prologue, serving as a straightforward introduction to the Shell system before the game opens up. All other Shells can be unlocked simply by exploring the game's main biomes, with no major boss fights required to obtain any of them. You can track down each Shell just by exploring on your own, or head to the Shellkeeper's room and pay 3 Glimpse to have a Shell's shadow marked on your map instead.
Worth keeping in mind though, Glimpse is a fairly scarce resource, so spending it on map markers for every Shell adds up fast and might leave you short elsewhere.

Below is a quick overview of every playable Shell and what their abilities do, in case there's one you've been eyeing and want to check out before committing to it.
Tiel, The Acolyte
Tiel rewards a hit-and-run playstyle built around dodging into danger and picking targets off before repositioning.
- Lingering Shadow (active): Tiel gains Shadow and prepares to perform a Shadow Strike with his dagger.
- Shadow Dash (passive): Dashing just before getting struck grants Tiel Shadow and inflicts Stagger Damage.
While Shadow is active, Tiel can't be detected by enemies.

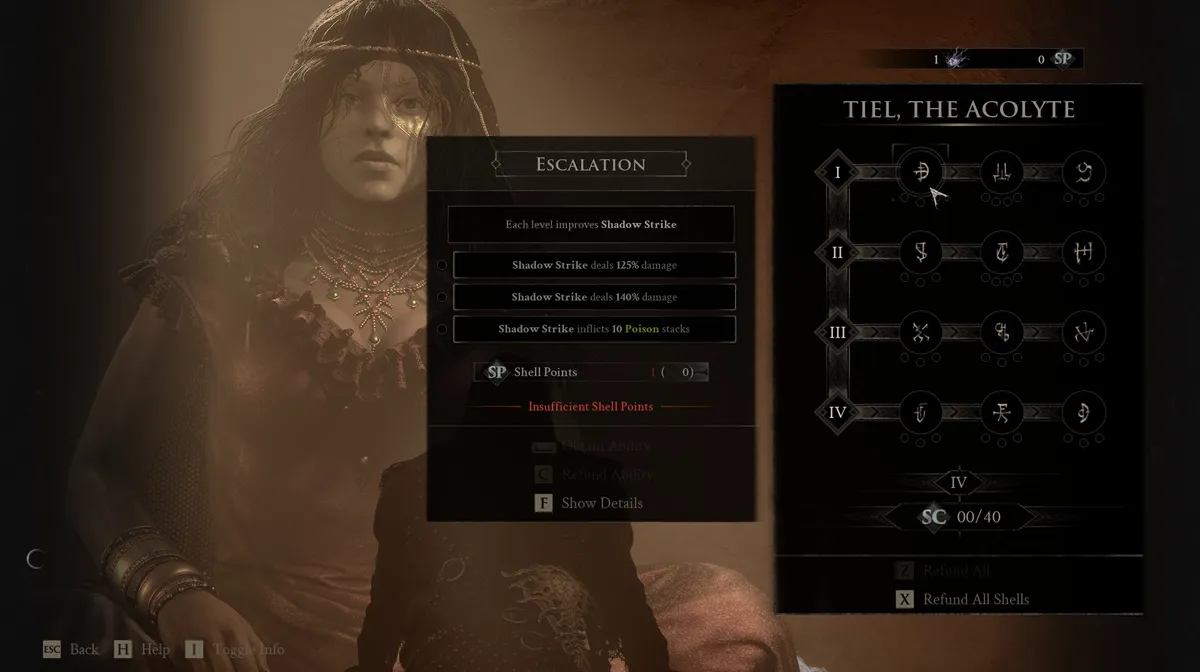
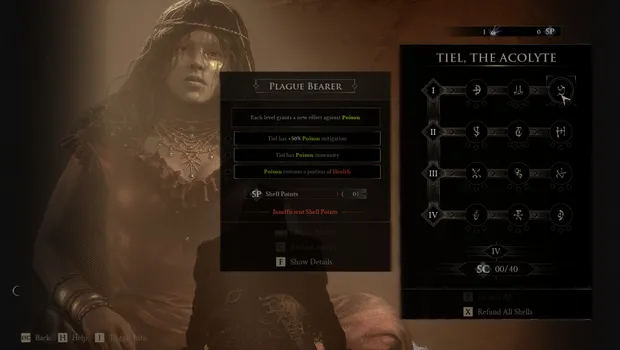
Tiel, The Acolyte's complete Ability upgrade tree


Proxima, The Broodseer
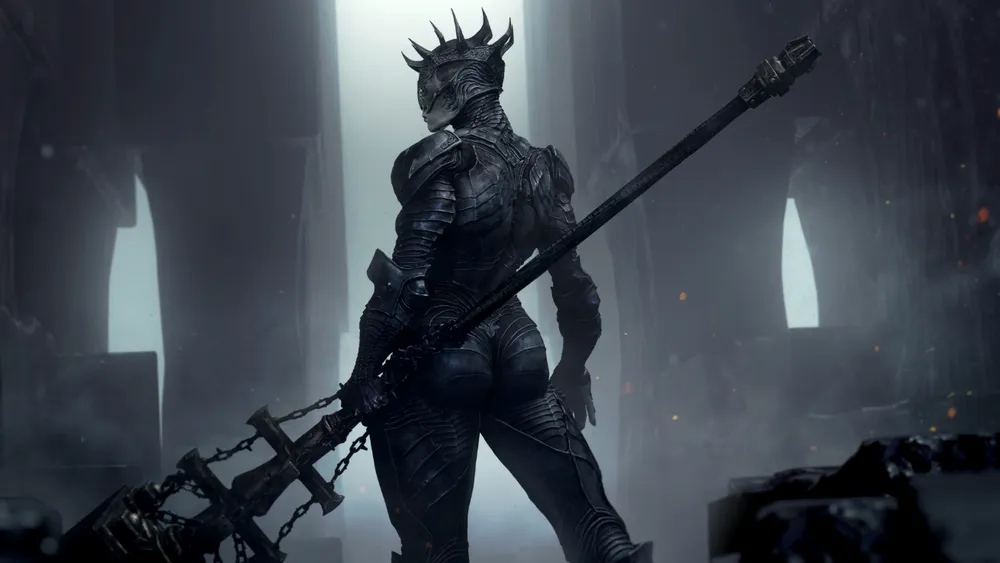
Proxima blends offensive utility with survivability, mitigating damage while pulling enemies into range for follow-up strikes.
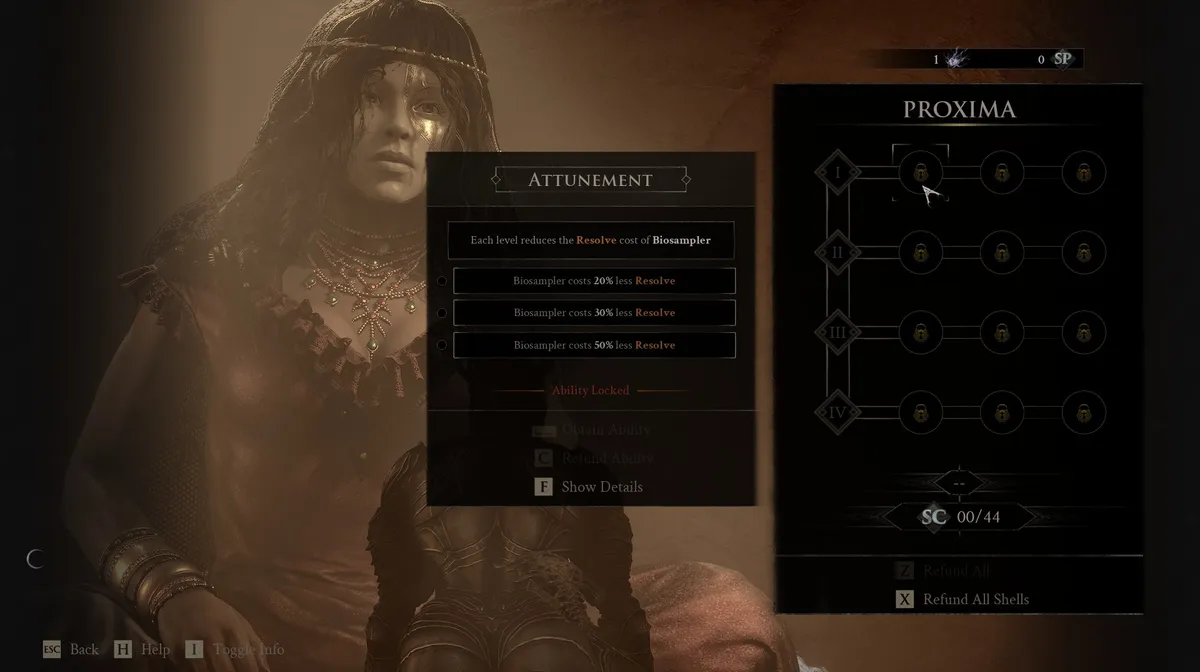
- Biosampler (active): Proxima fires a hook from her left arm, pulling enemies or herself into range before striking with a follow-up attack that inflicts Lightning.
- Grafted Armour (passive): Proxima has a base 15% chance to mitigate melee or ranged damage. Mitigated damage is reduced by a base 50% and prevents stagger.
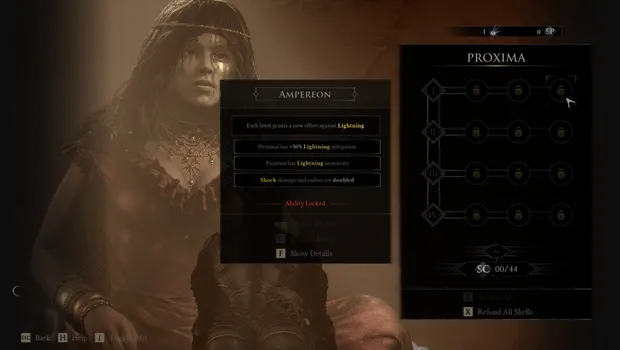
Lightning deals damage-over-time that builds into a shockwave if stacked enough times on the same target.
Proxima, The Broodseer's complete Ability upgrade tree

Eredrim, The Venerable
Eredrim is built around staggering enemies and controlling a fight rather than simply outlasting it.
- Shoulder Bash (active): Eredrim lunges with his shoulder, slamming into enemies and dealing Break Damage.
- Ethereal Diapason (active): Eredrim smashes his Diapason to create a blinding shockwave that deals Break Damage to all enemies in range.
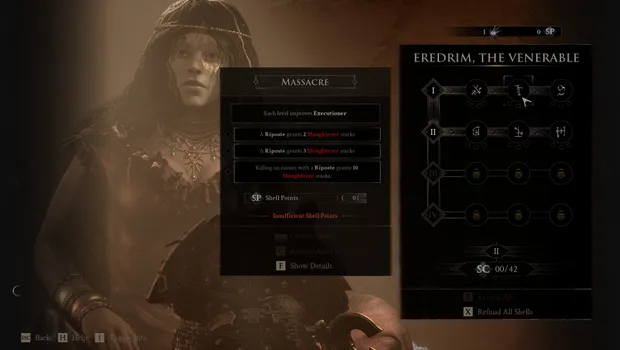
- Executioner (passive): Eredrim executes enemies on low health and gains Slaughterer stacks by performing a Riposte. Stacks are lost upon resting or being severed.
Each Slaughterer stack pushes the health percentage at which an enemy can be executed a little higher, making executes easier to land the more you build up.

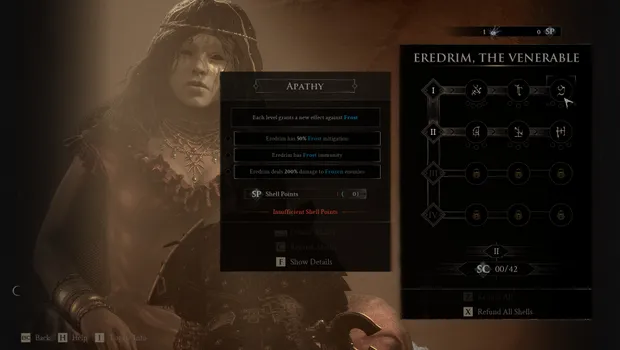
Eredrim, The Venerable's complete Ability upgrade tree
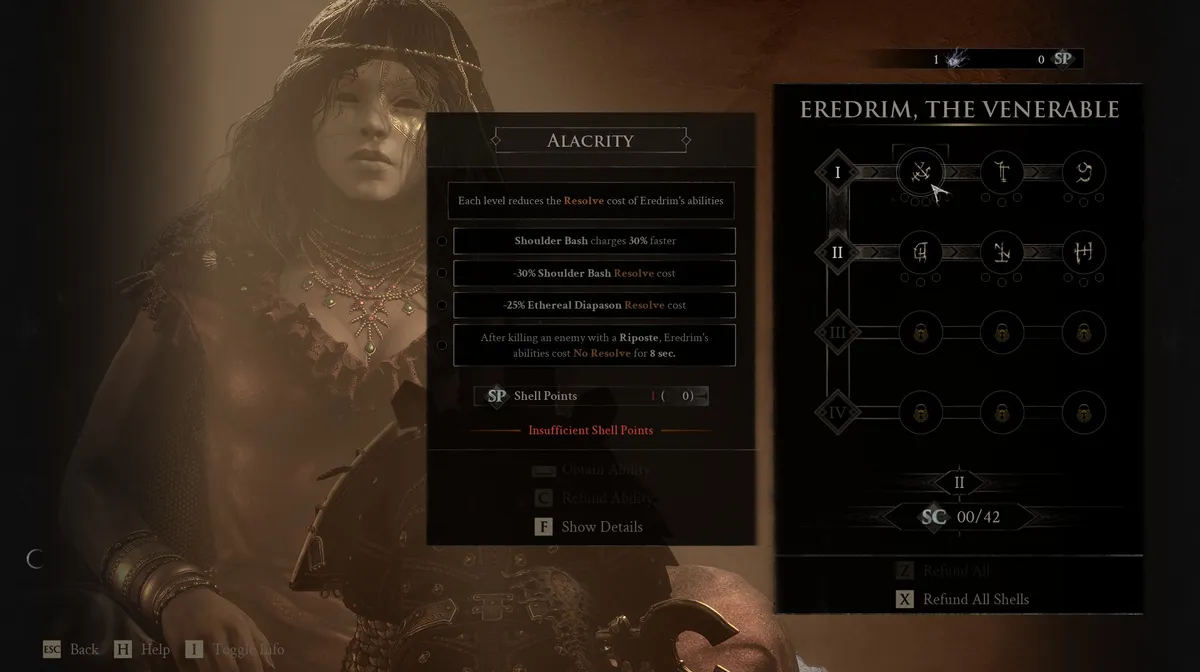
Gragu, The Insatiable
Gragu leans on sustain and burst stagger damage, trading a conventional heal for something a little stranger.
- Staggering Blow (active): Gragu charges a devastating punch that makes the victim heavy stagger. The longer the charge, the higher the damage dealt.
- Revered Heart (active): A Revered Heart used by Gragu to restore a portion of Health. It is possible to replenish its power by slaying foes.
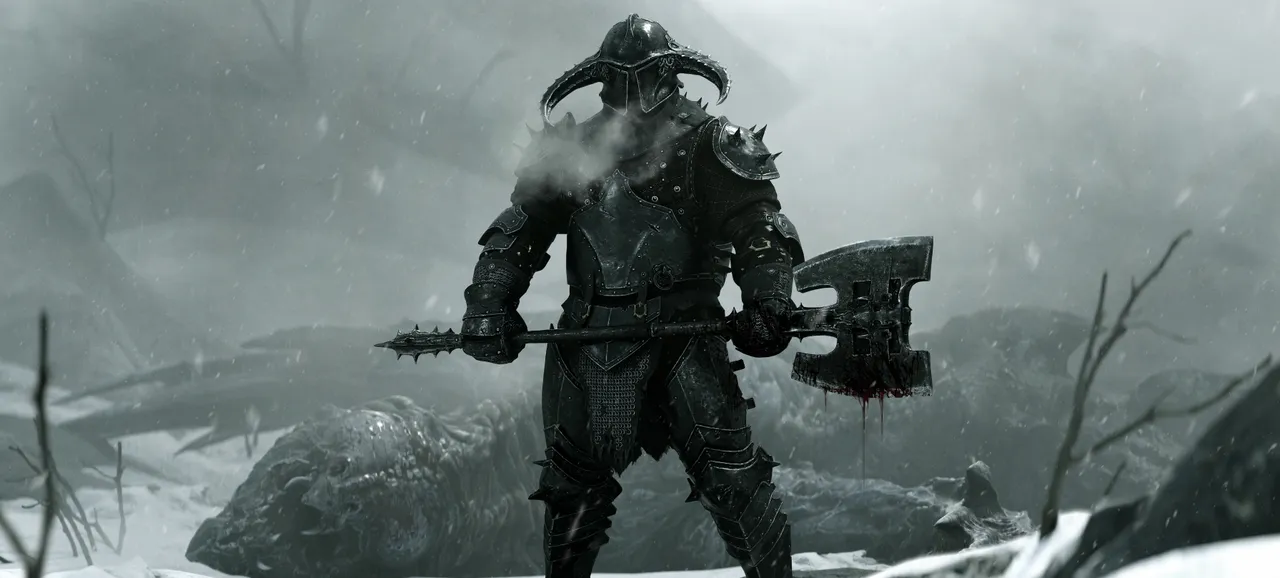
Gragu, The Insatiable's complete Ability upgrade tree
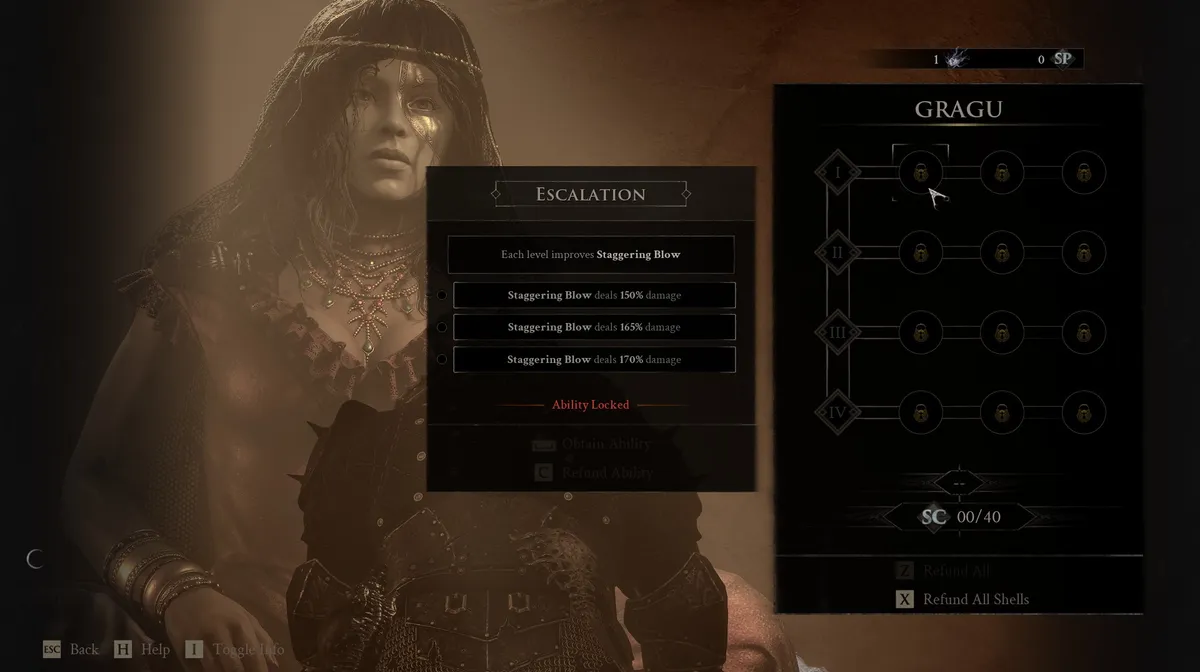
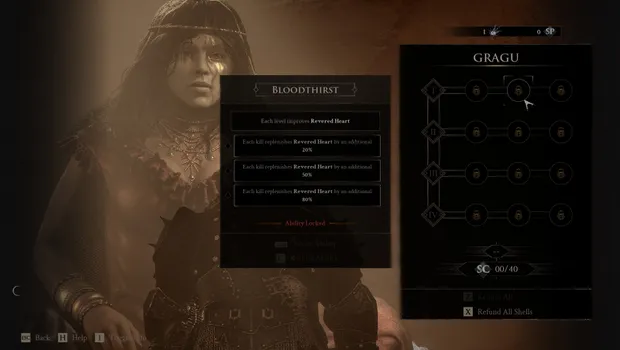
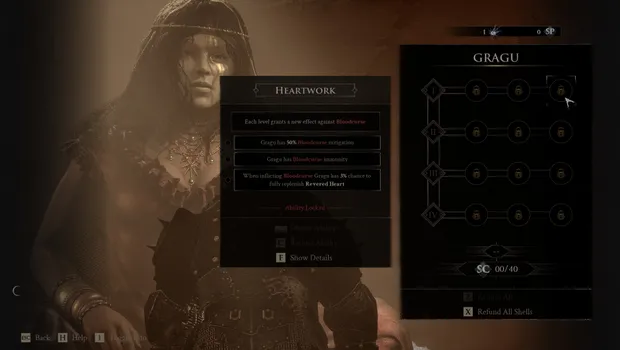 Lazlo, The Justicar
Gragu, The Insatiable's complete Ability upgrade tree
Lazlo has the highest base HP of any Shell in the game, and is built for players who want to tank hits rather than dodge around them.
- Retribution (active): Lazlo heats his armour, unleashing a Shockwave. Repeated use causes Overheat, triggering a stronger shockwave that inflicts Burn stacks but temporarily disables his armour.
- Fortified Plate (passive): Lazlo has a base 10% damage reduction as long as his armour is on.
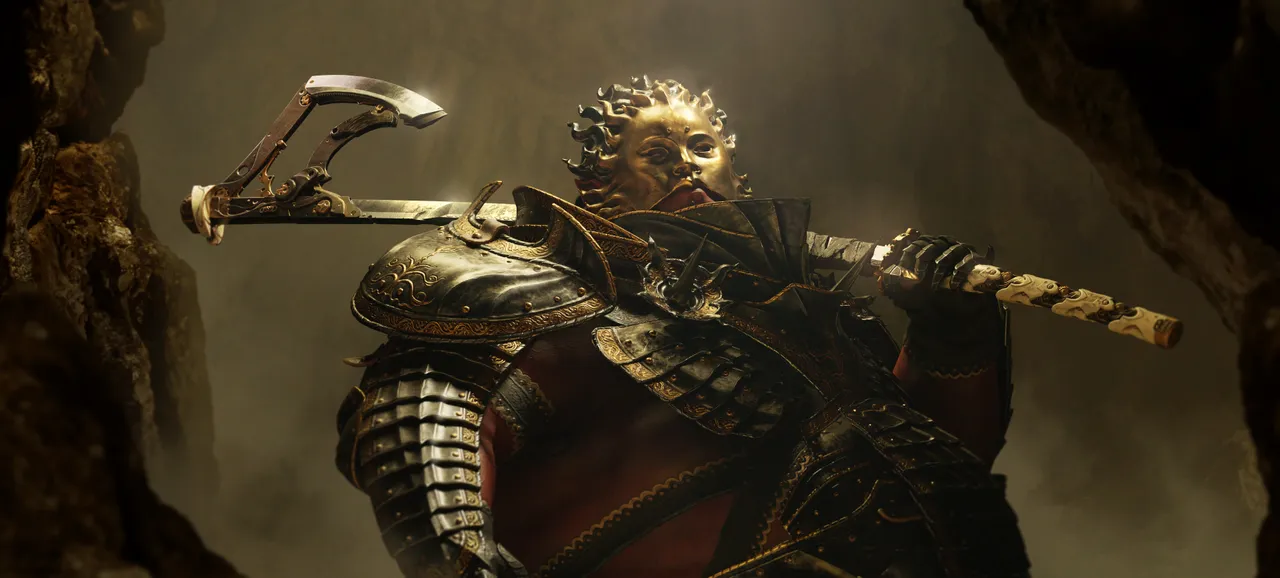
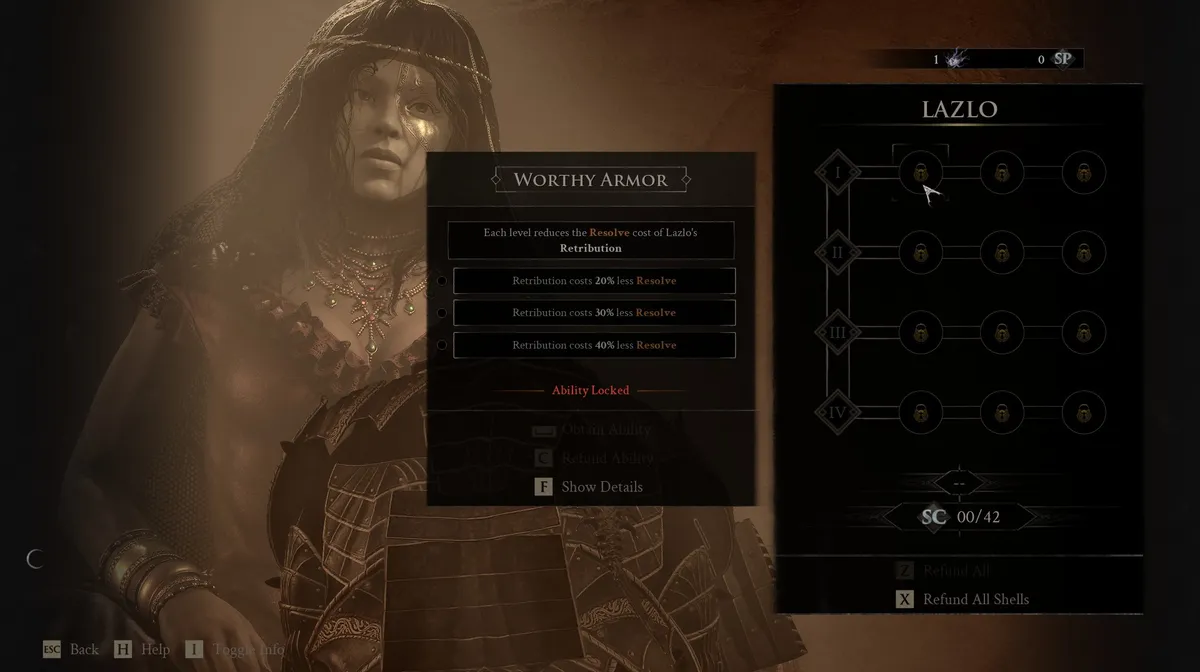
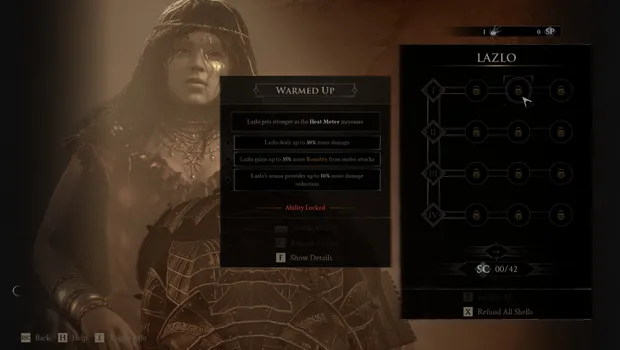
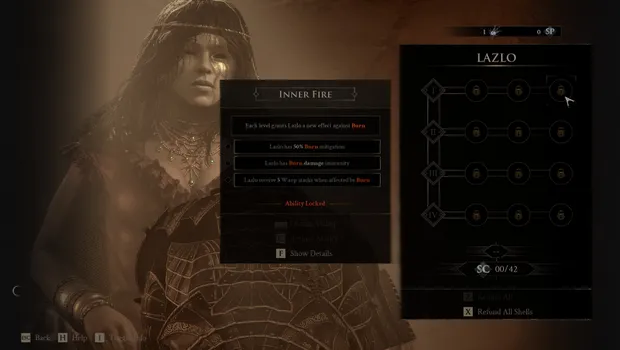
Lazlo, The Justicar's complete Ability upgrade tree
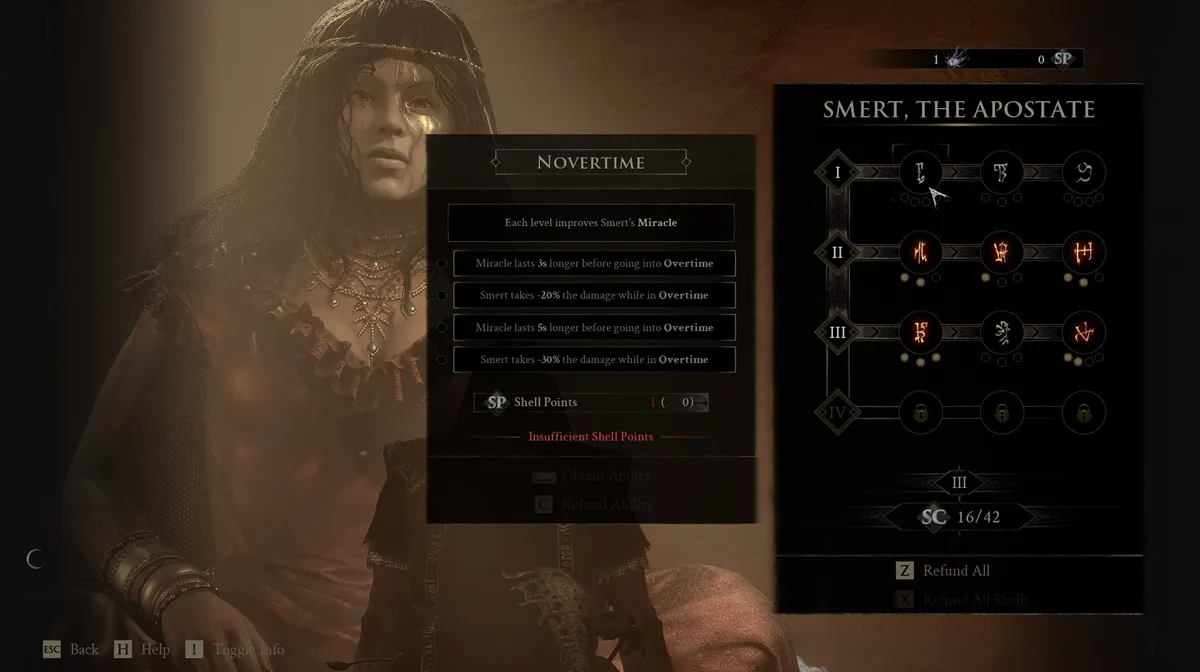
Smert, The Apostate
Smert is a high-risk, high-reward Shell built around gambling with his own health total. He also has a unique dodge animation, as well as an unarmed playstyle (Fight Stance) once the Shell is sufficiently upgraded.
- Miracle (active): Smert halts time, entering a Fight Stance. Unarmed attacks apply Chaos stacks that detonate for damage when time resumes. Miracle can be pushed into Overtime at the cost of Health.
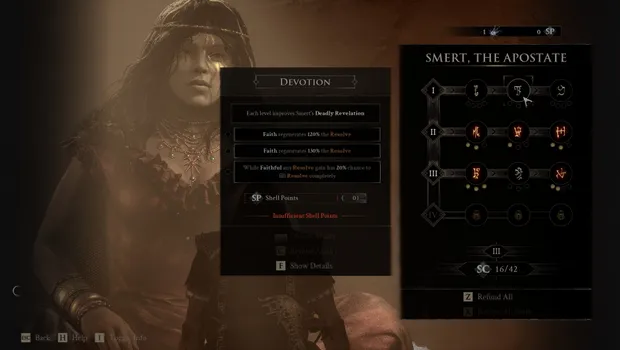
- Deadly Revelation (passive): At 10% health or lower, Smert has Faith.
Chaos inflicts a random effect once it wears off. While Faith is active, landing melee hits gives back extra Resolve on top of the usual amount.
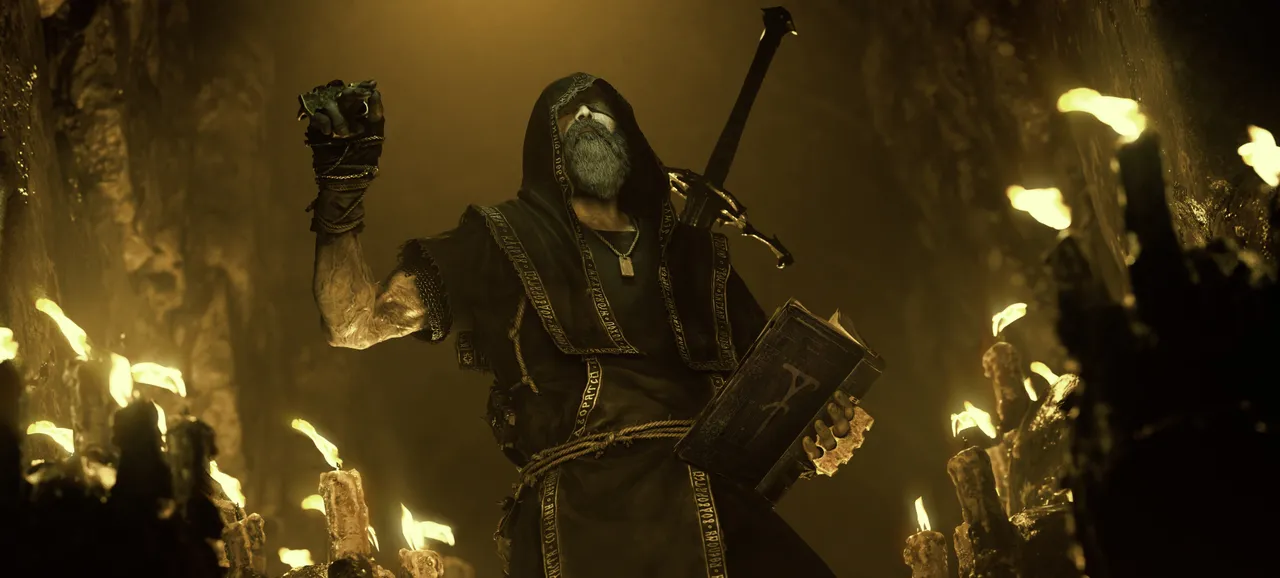
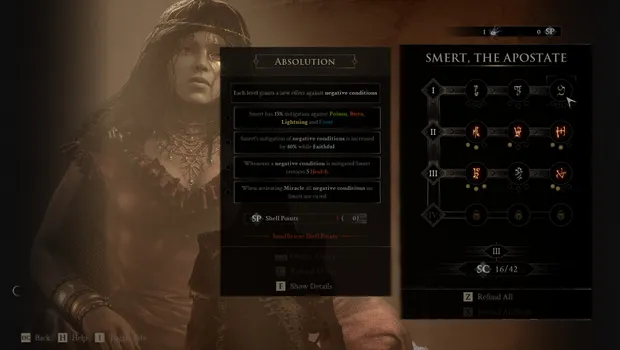
Smert, The Apostate's complete Ability upgrade tree
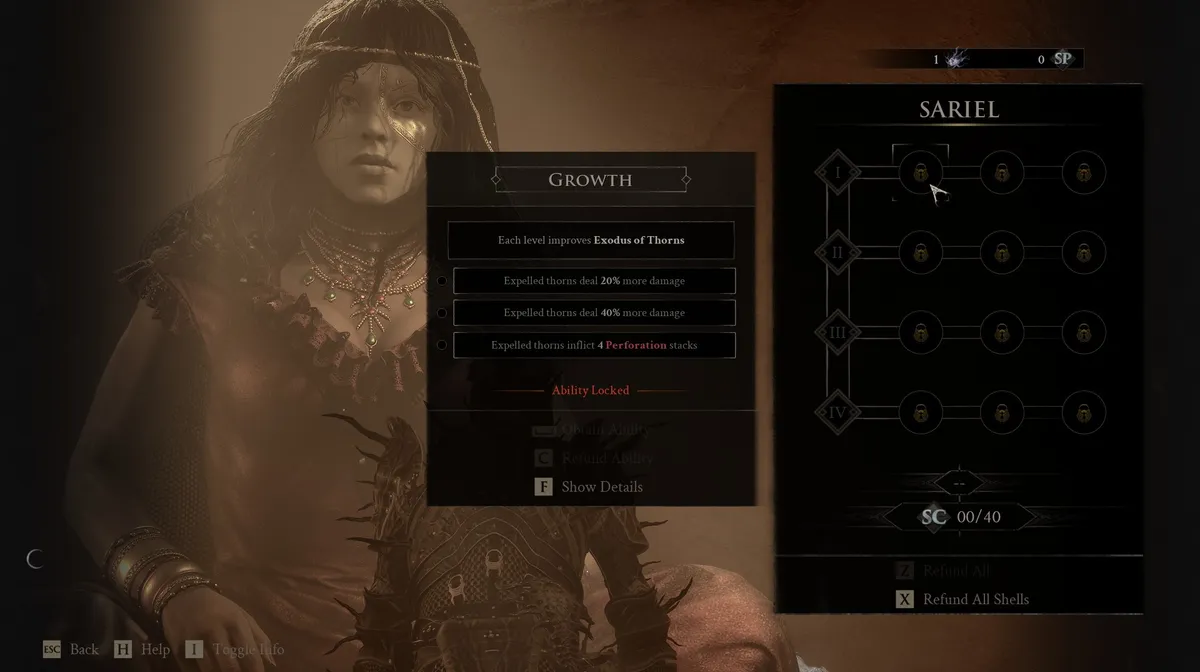
Sariel, The Endless
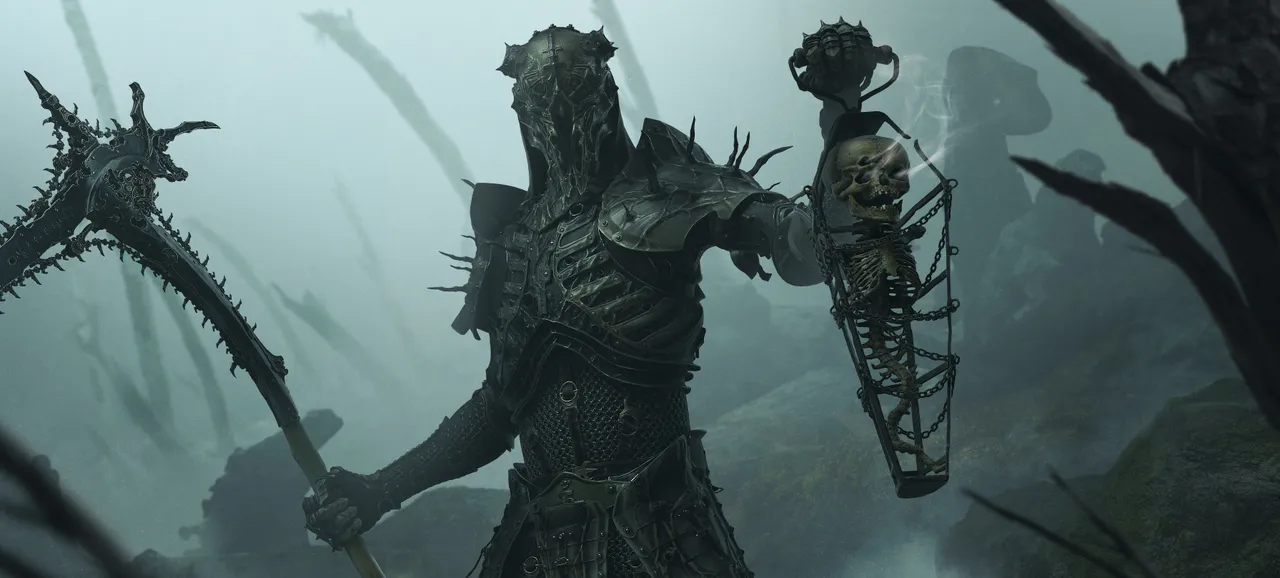
Sariel rewards leaning into damage rather than avoiding it, converting pain into power the deeper into a fight he gets.
- Exodus of Thorns (active): Sariel expels parasitic thorns that hunt nearby enemies, inflicting Curse stacks. Each activation inflicts Pain on Sariel.
- Purge (passive): When Sariel has no Pain, 50% of any incoming damage becomes Pain. When Sariel is at max Pain, Sariel dodges faster.
Stack Curse high enough and the target's next melee attack against you is nullified and reflected back at them. Pain, meanwhile, converts a portion of Sariel's own health into Grey Health, which vanishes the moment he's hit but can be won back by landing melee attacks of his own.
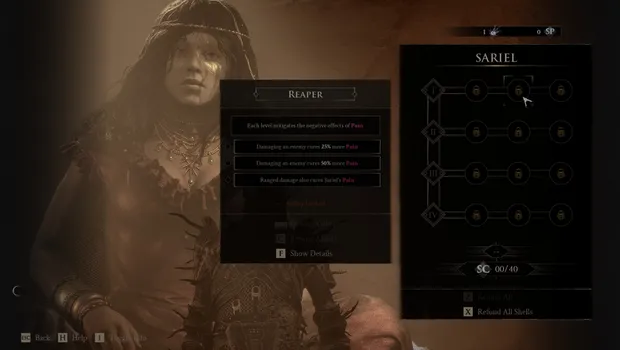
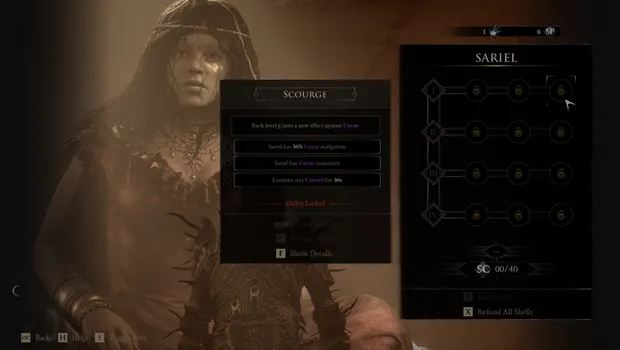
Sariel, The Endless' complete Ability upgrade tree
Genessa, The Wayward
Genessa suits players who prefer to control a fight from a distance rather than dive into the middle of it.
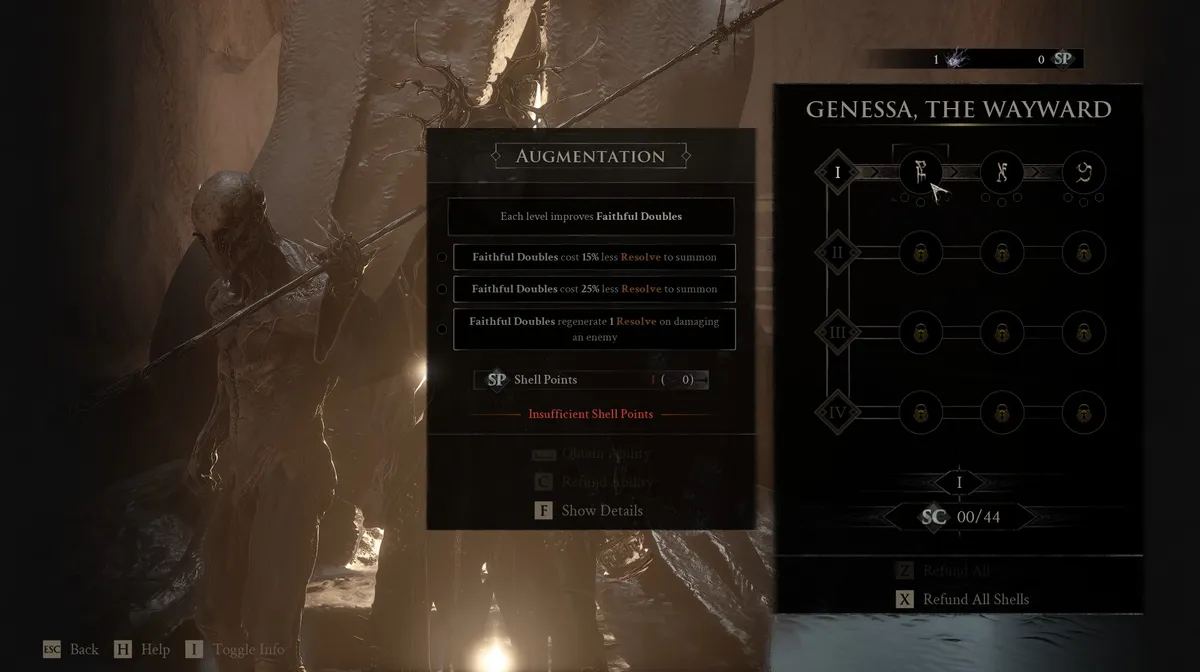
- Faithful Doubles (active): Genessa summons Faithful Doubles which perform a Weapon attack and then vanish.
- Duality (passive): When Genessa's health is depleted, she becomes Stray instead of being severed from the Harbinger.
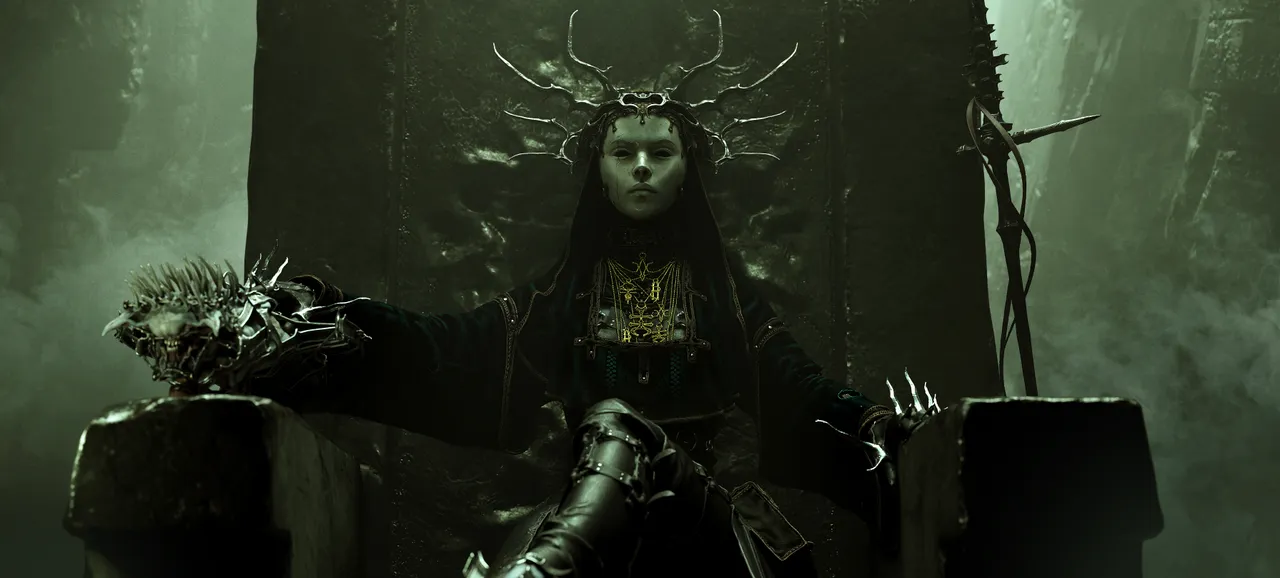
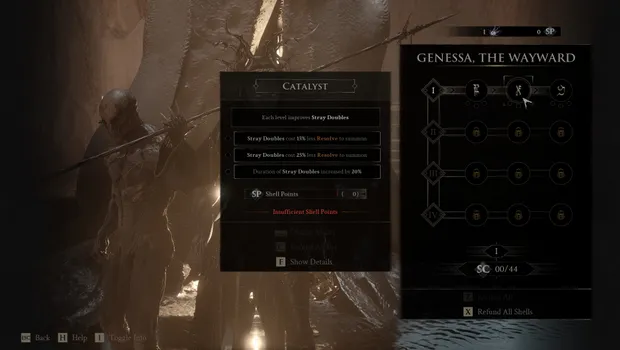
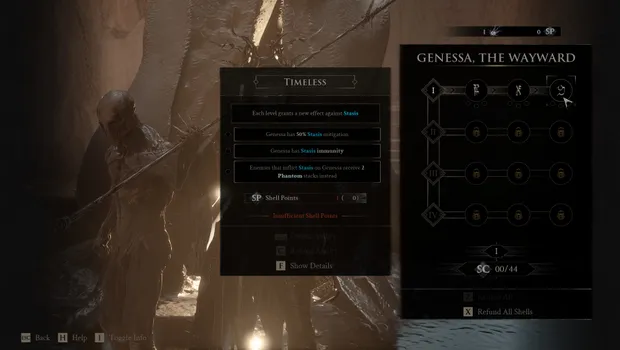
Genessa, The Wayward's complete Ability upgrade tree
DON'T MISS!