Trending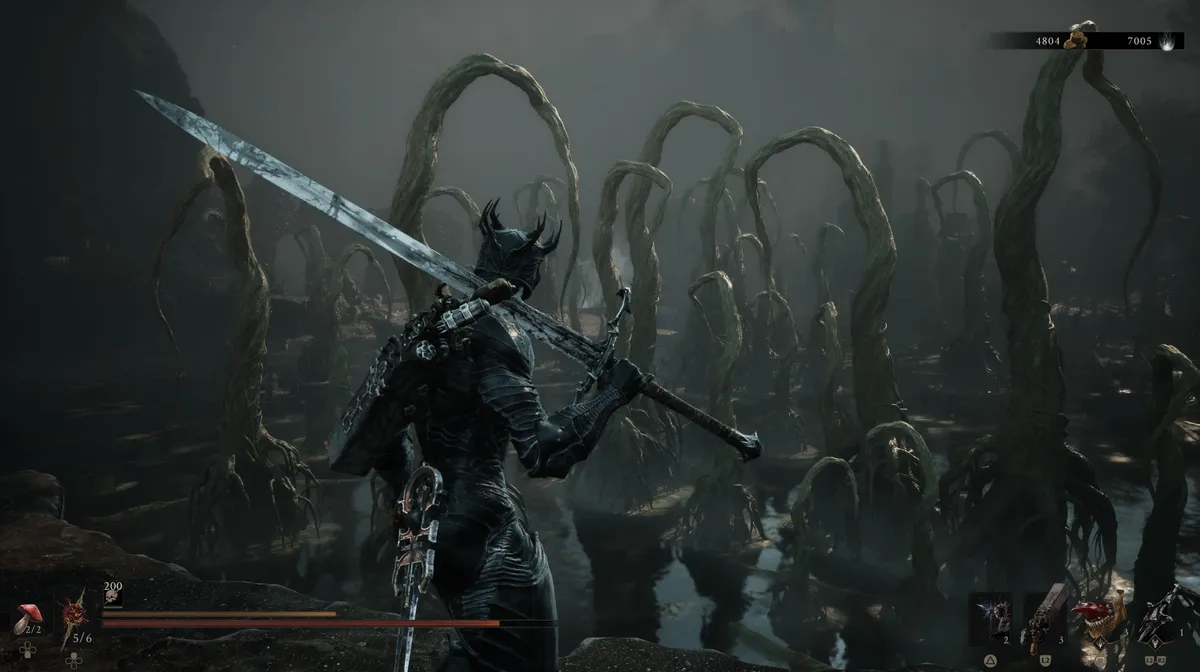
Mortal Shell 2, developed by Cold Symmetry, doesn't hold your hand once the tutorial ends. After reaching Marrow Keep and speaking to the NPCs there, you'll head to the roof to try fast travel for the first time, which drops you into Fainweald, the game's first open region, complete with a map. From there, you're on your own. This guide covers the full route through Fainweald and into the harder Ruins of Mammon, including which corrupted gates to prioritise, where the tougher enemies act as level checks, and what to spend your resources on along the way.

Step 1: reach Fainweald and activate Widow's Overlook
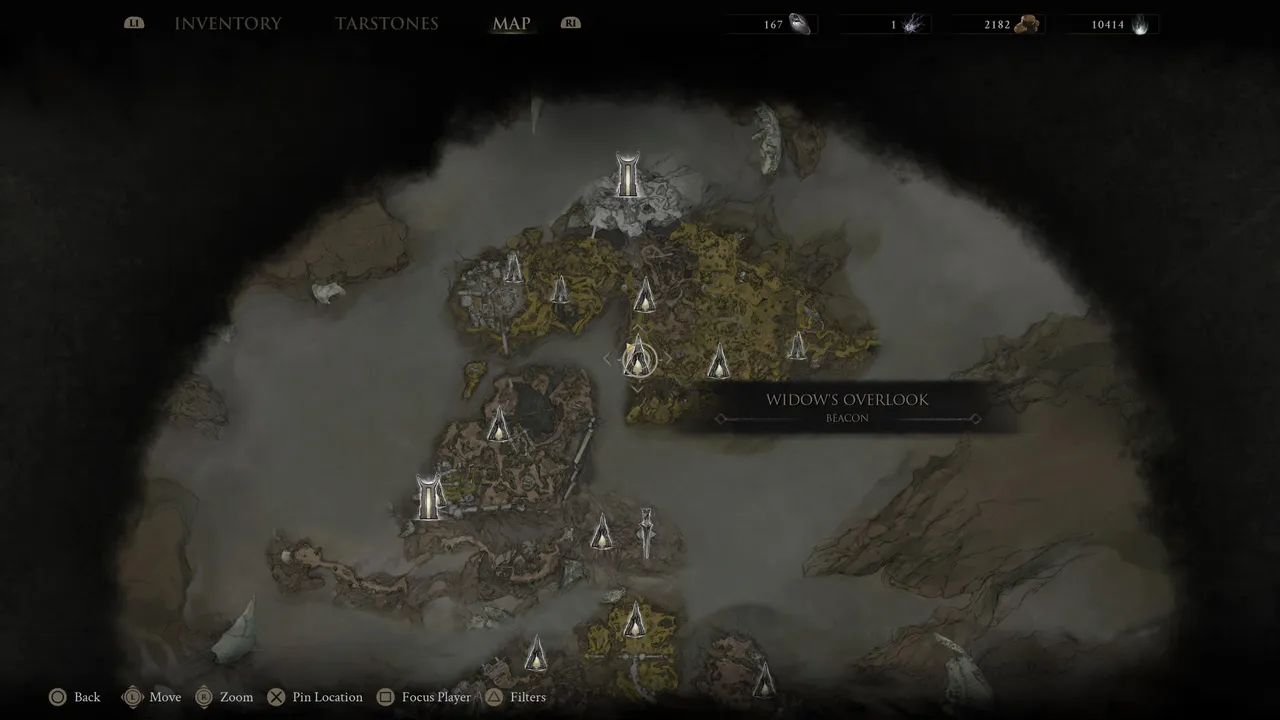
Once you land in Fainweald, Widow's Overlook is the first beacon you'll come across. From here you can head south or north. Go south first. The area beyond Widow's Overlook to the south is easier overall, with weaker enemies, and it's the better place to build up levels before tackling the north. Also, the game will let you take one of the new shells that are on the story progression path: Tiel to the south and Proxima to the north. It's hard to miss those because they are pointed out on the map. Picking up and inhabiting a shell is a wise move before progressing further because with a shell, Harbinger takes way less damage and has a second chance after the shell breaks.
Step 2: beat the first miniboss to the south
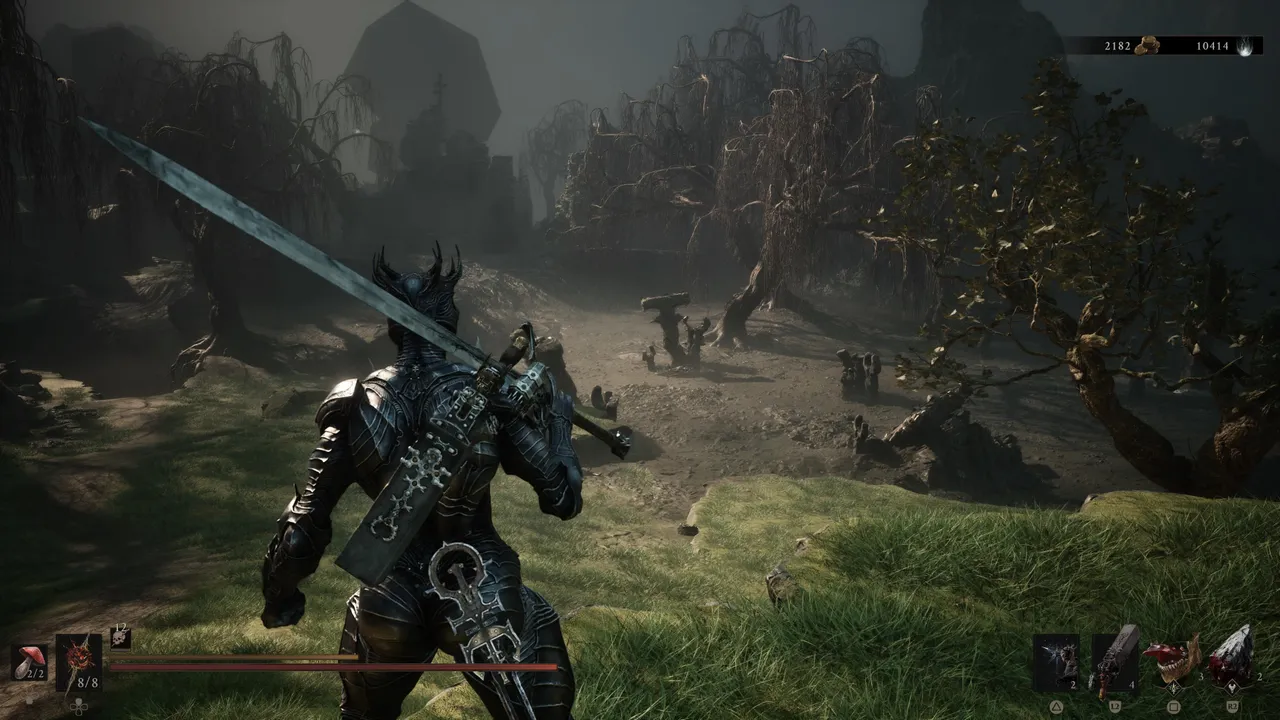
South of Widow's Overlook you'll run into the game's first miniboss. It's not a major fight in the grand scheme of things, but this early in the run it'll test you. Beat it, then decide which direction to explore next.
Step 3: open up the map and settle into Mushroom Village
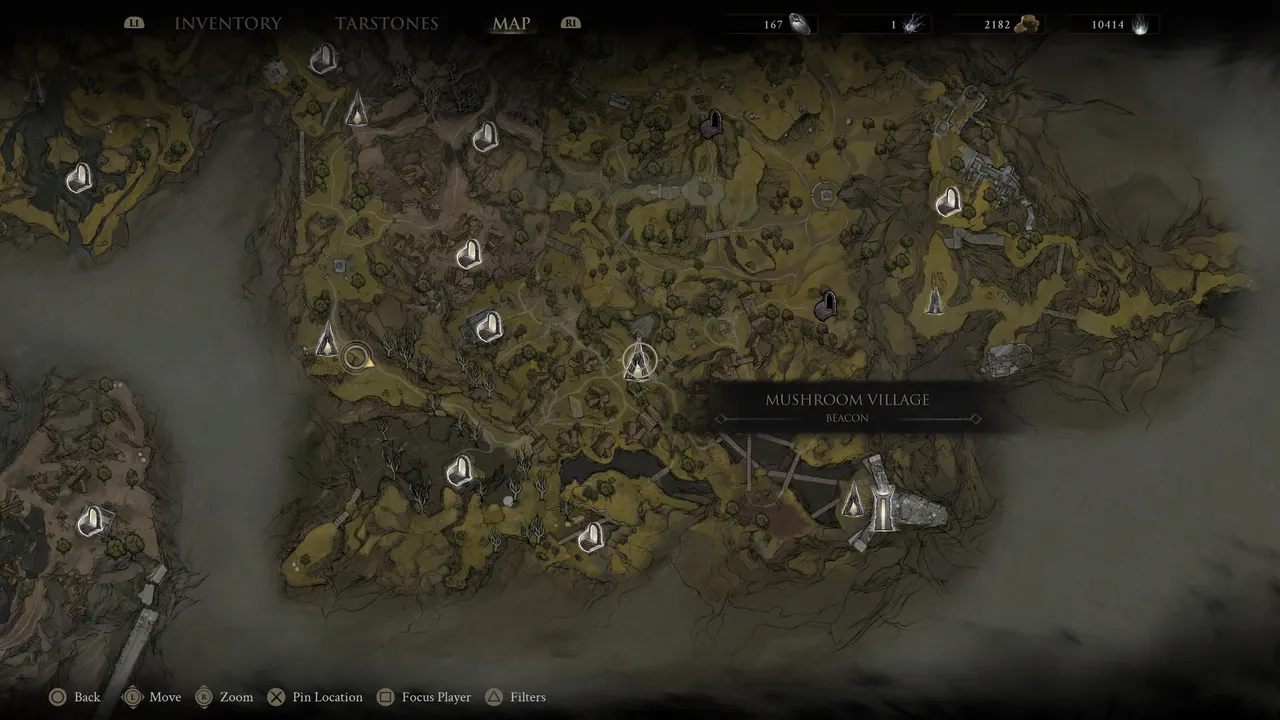
South of the miniboss is the first map extension, guarded by Ruk, a bird you can speak to. All map extensions are marked, so you won't miss them. Head into Mushroom Village and activate the beacon there. It's a strong base for exploring the entire southern region, dungeons included, before you're ready to move on.
Step 4: cleanse the eastern gate and beat Magdalena, the Lady of the Woods
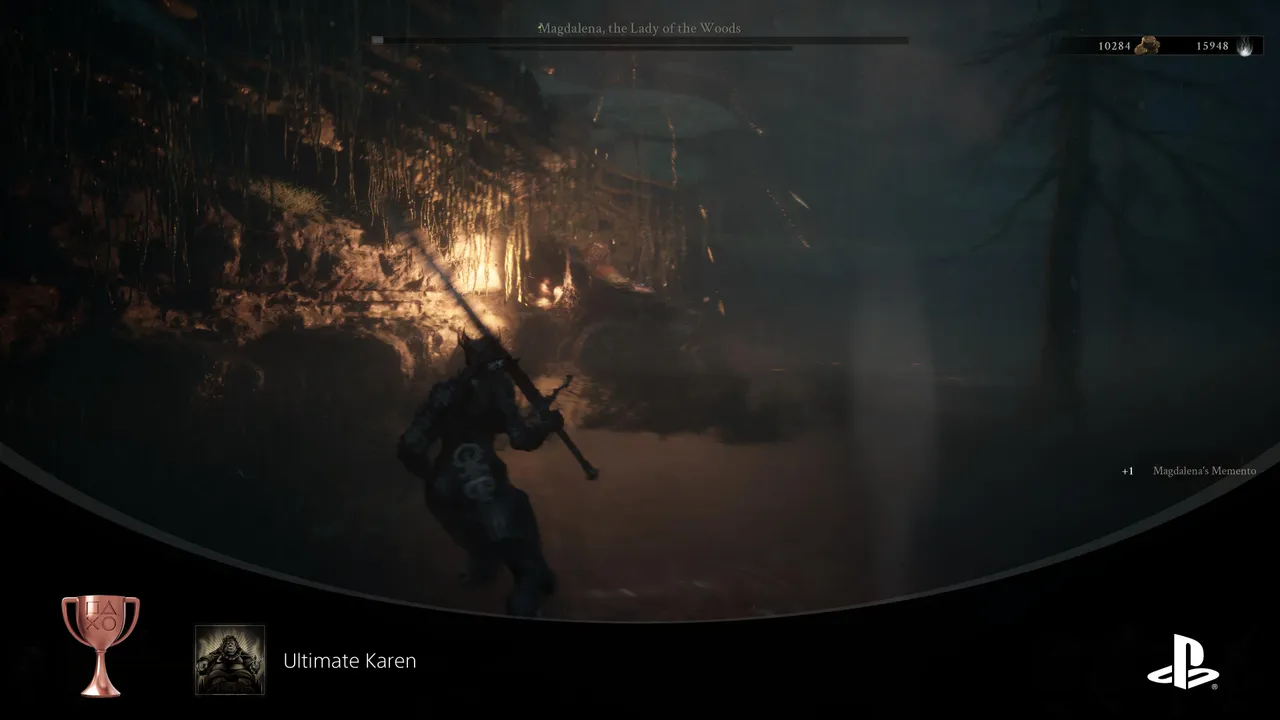
East of the Mushroom Village beacon, the game introduces corrupted gates. There's a beacon right next to this one, so activate and cleanse both. Cleansing gates earns you Ova, which you'll need to unlock the Mether's Breath ability later. This particular gate leads to Magdalena, the Lady of the Woods, a fairly easy boss. If you're struggling, a summon will smooth things out. Beating her earns you 26 Ova and sends you back to Marrow Keep to deposit it.
Step 5: head north from Widow's Overlook to Blackridge Pass
With the south handled, it's time for Fainweald's northern half. Blackridge Pass sits directly above Widow's Overlook, so activate that beacon next. This region is tougher than the south, so take your time exploring dungeons and farming Gloom to level up before pushing further.
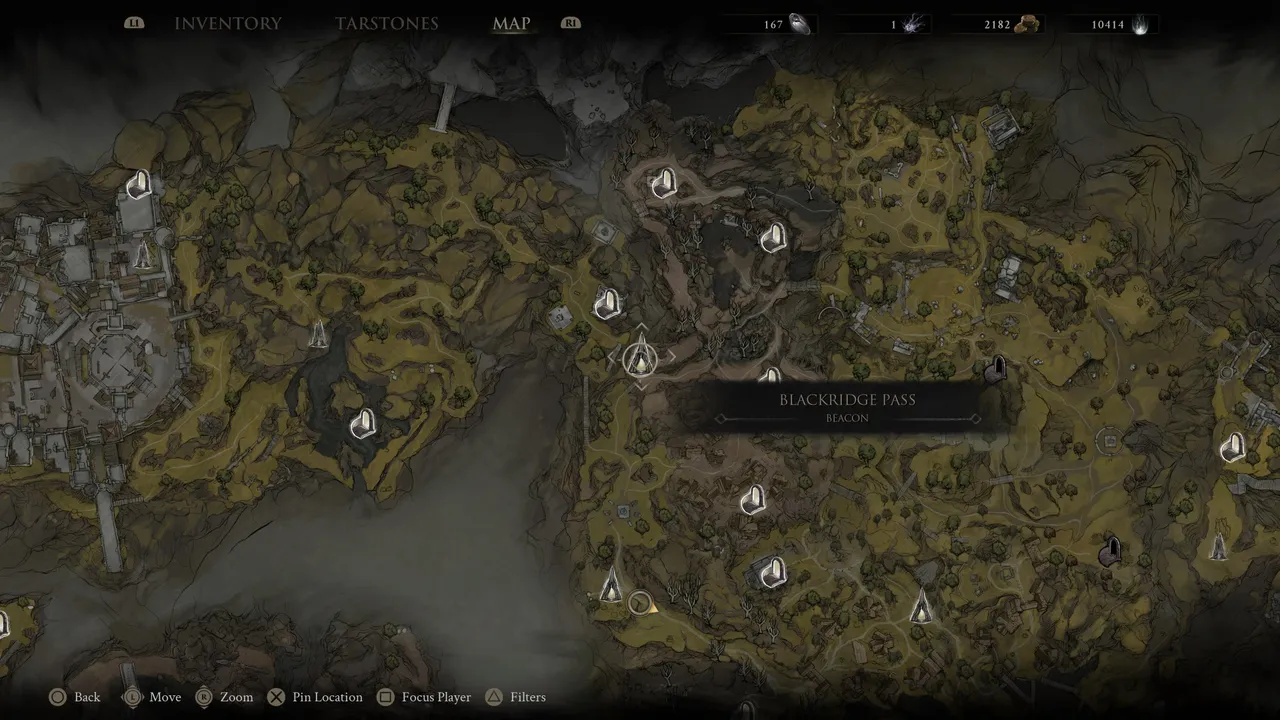
Step 6: clear the gate at the northern edge of the map
At the very top of the map is another corrupted gate. Clear it and beat the boss behind it, then head for the area east of Widow's Overlook. You'll reach it via the teleporter on the map's southern edge, directly below Widow's Overlook.
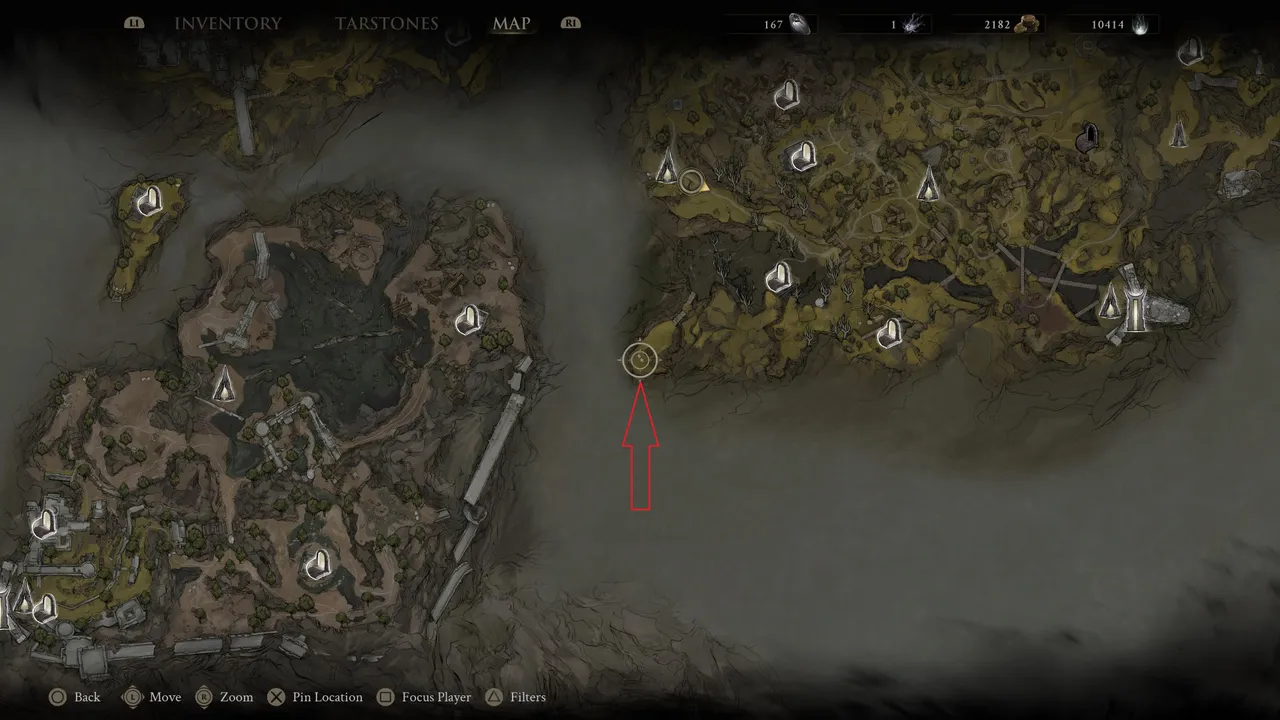
Step 7: cross east to the Outskirts of Nochte
Once through the teleporter, activate the Outskirts of Nochte beacon and make your way to the gate on the eastern edge of this area. Clearing it sends you back to Marrow Keep automatically. Deposit your Ova at the syphon, then take the lift up to the roof.
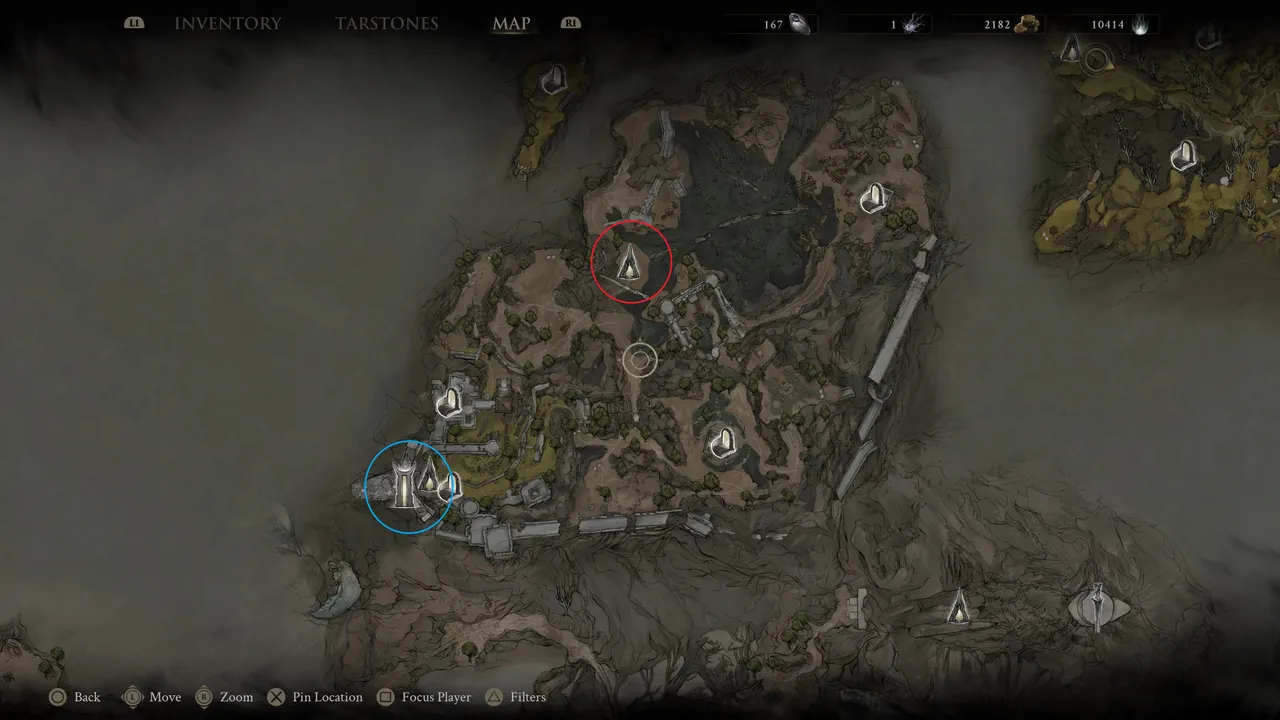
Step 8: cross over to the Ruins of Mammon
With Mether's Breath now active, use it on the roof to clear the far side of the teleporter, which opens the route south to the Ruins of Mammon. This region is noticeably harder than Fainweald, so aim for at least level 20 before heading in, higher if you can manage it.
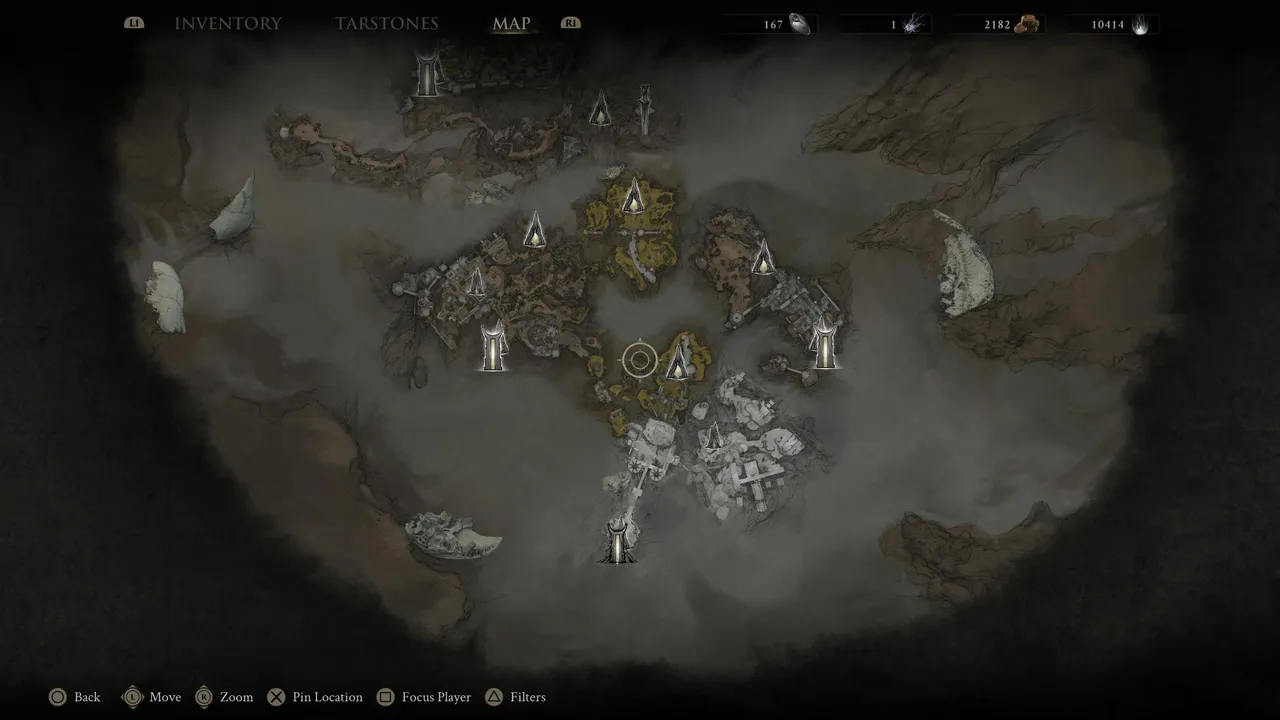
Step 9: clear the Ruins of Mammon and collect every shell
The Outskirts of Mammon beacon is your landing point, and the common soldiers patrolling nearby double as a skill check. If you can drop them without much trouble, you're ready to press south. If not, that's your cue to go level up first. The pattern here matches the rest of the game: pick an area, work through to its gate, clear it. There are only two gates in Mammon. Once both are down and you've tracked down every shell, which you can locate by buying their positions from Zhirelle in Marrow Keep, return to Marrow Keep to trigger the endgame.

Quick tip: Hold off on buying shell locations from Zhirelle until your Glimpse is mostly spent on upgrades you actually need. Glimpse is finite, and shells aren't going anywhere, so there's no rush to track them all down early.
DON'T MISS!