Trending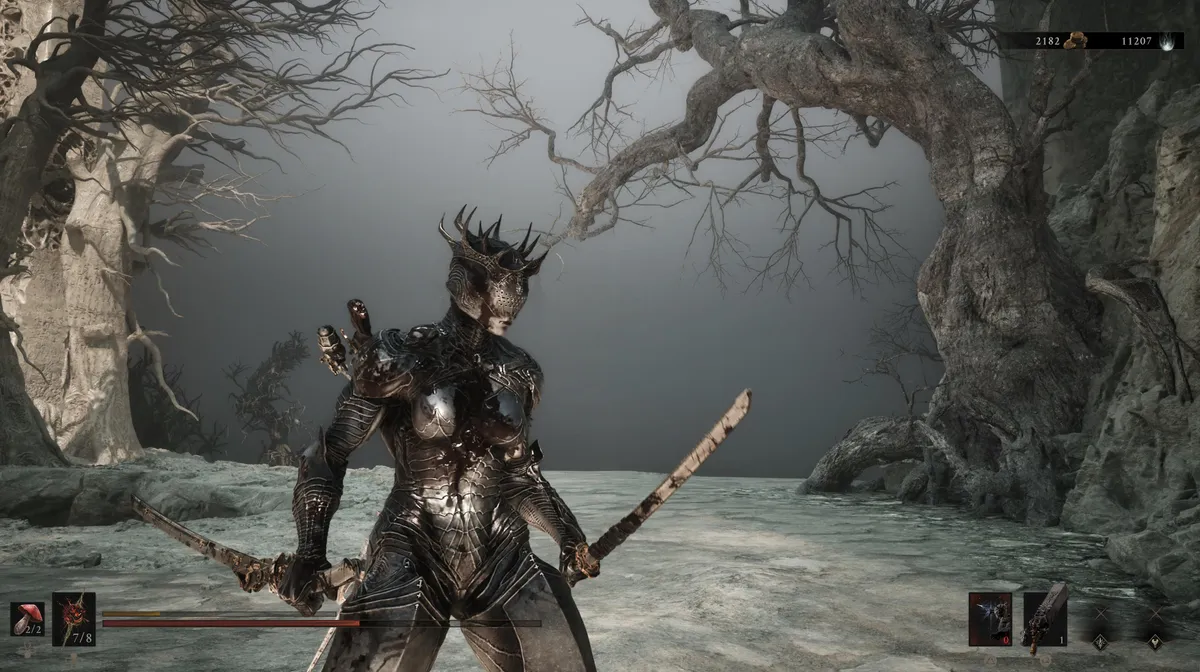
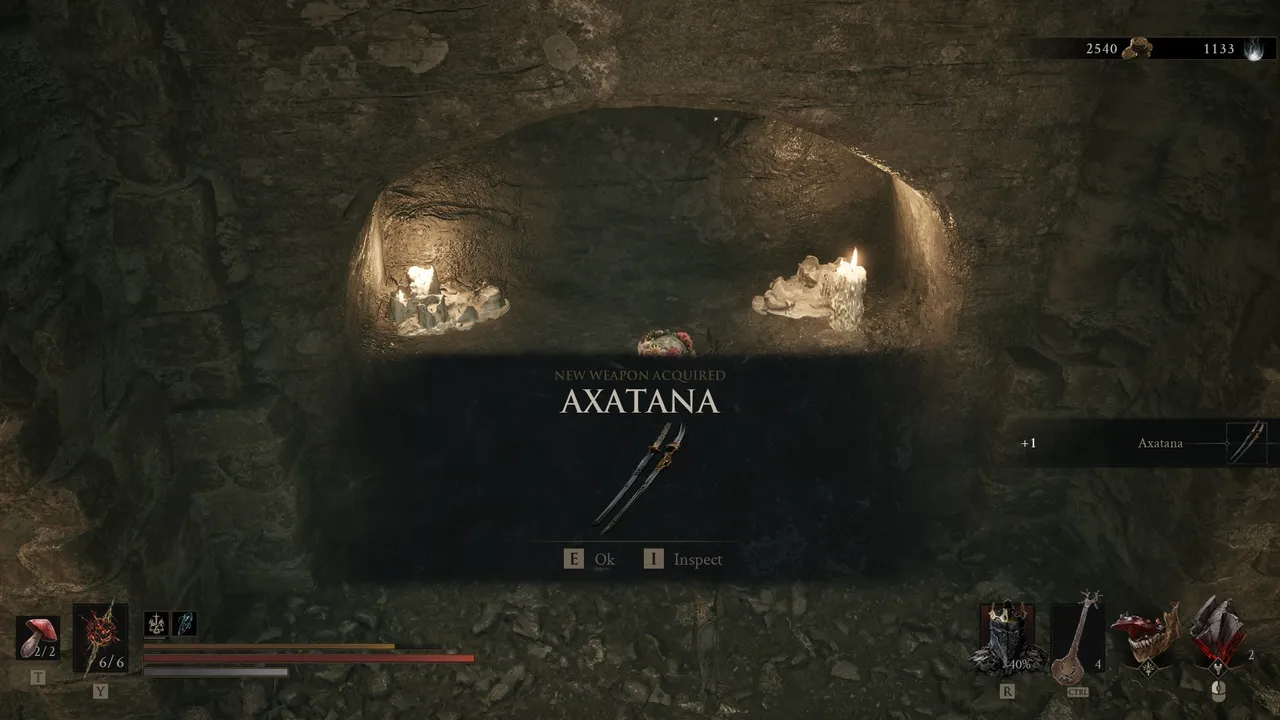
The Axatana is a dual-wield weapon in Mortal Shell 2 that switches between two combat modes depending on which attack type you use. Light attacks use a pair of katanas, while heavy attacks shift to an axe, giving you a genuinely versatile fighting style that suits players who like to mix up their approach mid-combat.
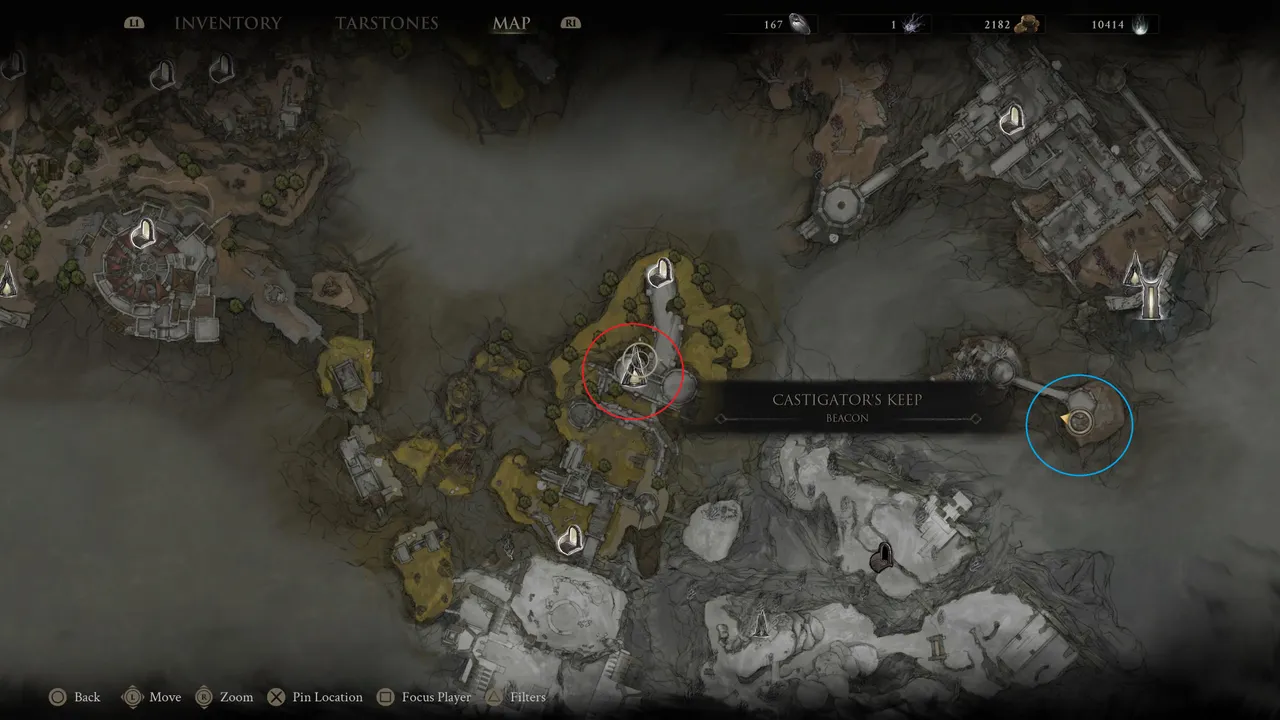
Finding it, however, requires navigating a route that is unlike how almost every other weapon in the game is obtained. There is no dungeon marker to follow, although Merrick can point you there if you decide to spend hard-earned coin on his map. You'll need to chain together a series of teleporting gates on a small island reached from the Castigator's Keep beacon.
Step 1: Start at Castigator's Keep and descend to the catwalk
Fast travel to the Castigator's Keep beacon, which sits in the central area of the map between the Fainweald region and the eastern zones. From the beacon, descend the stairs next to it and run past the first enemy that spawns rather than engaging it. You'll reach a walkway that functions like a catwalk stretching ahead of you. Follow it until you reach the first teleporting gate and step through it.
Step 2: Chain the teleporting gates across the island
The first teleporter drops you into an area with a significant number of enemies. You can fight or run as you see fit, but on the opposite side of this area is another teleporter. Use it, and you'll land in a third area, which also has enemies. Deal with them or push through and look slightly to the left for a jumping teleporter. Step onto it, and it will launch you upward to a higher section.
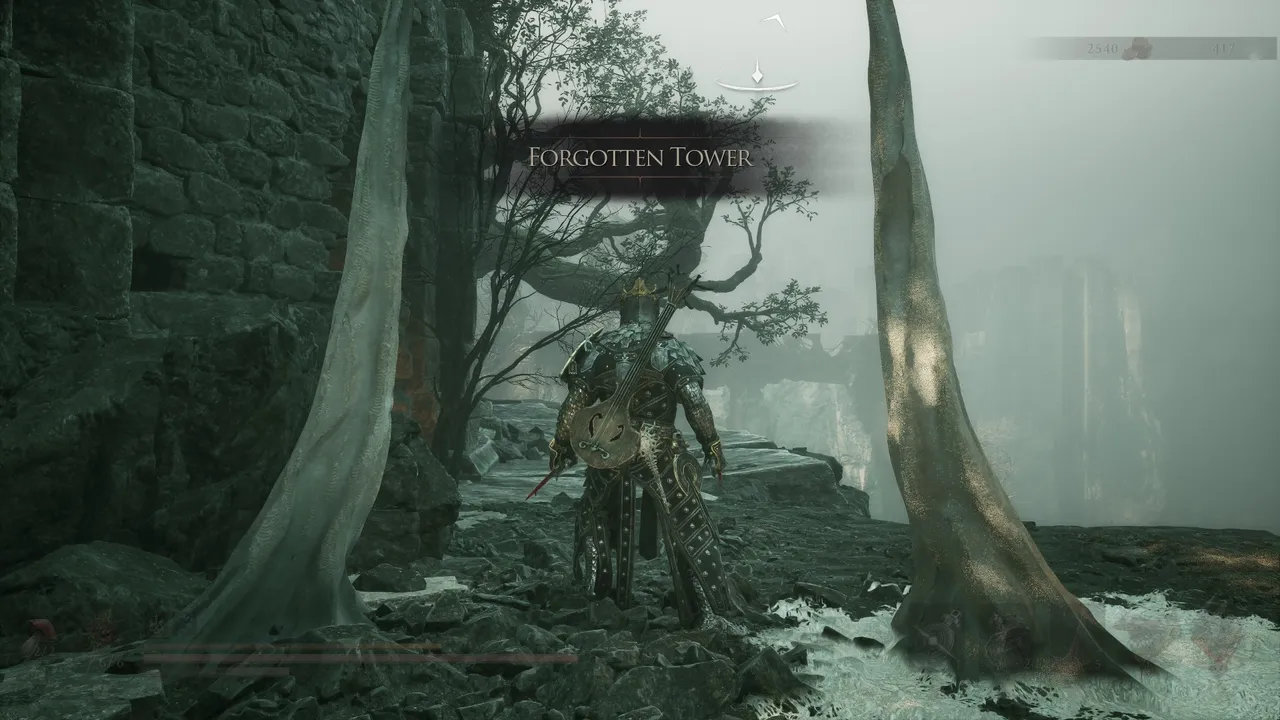
Once above, continue heading to the right. This section has yet more enemies, and they are numerous enough that running past them cleanly is genuinely difficult. It is worth clearing at least the ones in your immediate path before pressing on. At the far end of this section you'll find another teleporter, this time offering two destination options. Take the one on the right. This drops you directly into the area called Forgotten Tower, where the Axatana is locked away.
Step 3: Open the cage and defeat the guardian
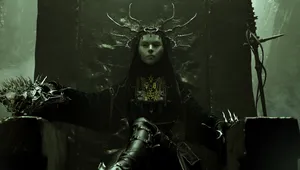
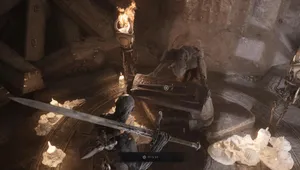
Once you land, look around for a switch near one of the gates. Pressing it opens the cage. Inside is a dual-dagger-wielding enemy who guards the weapon. She is fast, hits hard, and can be genuinely dangerous if she gets into close range and lands a full combo. The recommended approach is to use ranged attacks, though be aware that she will always dodge the first shot you fire. After that initial dodge, she becomes more susceptible to ranged pressure, so keep your distance, bait out her movements, and punish from range. Once she's down, pick up the Axatana from the table inside the room.
Quick tip: Before committing to the teleporter chain, make sure you have enough of a yellow bar for the ranged attacks. The guardian at the end is considerably easier to handle from a distance, and going in with a nearly empty sidearm makes the fight much harder than it needs to be.
DON'T MISS!