For those seeking a challenge in Dragon’s Dogma 2, the Tomb of Al’Guttos presents a thrilling opportunity. This elusive mini dungeon nestled in Battahl promises formidable foes to conquer and exclusive treasures to claim.
However, as with any daunting trial, thorough preparation is essential to avoid succumbing to the lurking dangers within. So we are here with this guide on how to navigate this treacherous tomb and emerge victorious against its formidable boss.
Prerequisites for the Tomb of Al'Guttos
While many encounters in the game can be overcome through sheer power, the Tomb of Al’Guttos demands a more cautious approach. Within its depths lie numerous high-level adversaries, including skeleton warriors, sorcerers, zombies, and a particularly formidable mini-boss.
To stand a chance against these formidable foes, it's advisable to ensure both you and your pawns are at least level 30 before embarking on this perilous journey. This ensures you'll be adequately matched to the challenges that await.
Additionally, be prepared for encounters with enemies proficient in freezing spells; stock up on warming salve potions to counter these debilitating attacks, particularly when your party finds itself frozen in place.
Lastly, you should carry at least two Waking Stones in your inventory. Given the formidable nature of the adversaries within, there's a significant risk of succumbing to their onslaught. Having these stones on hand will allow you to swiftly revive fallen comrades, minimising the need to backtrack through the treacherous dungeon.
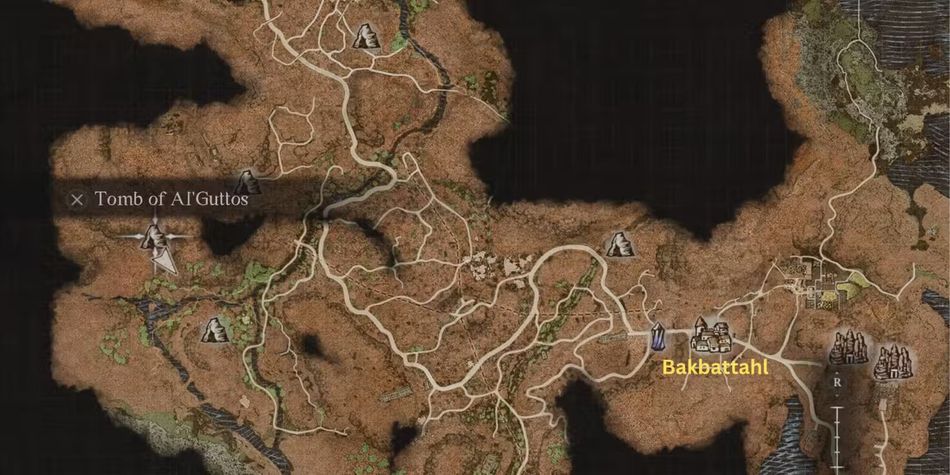
Location of the Tomb of Al'Guttos
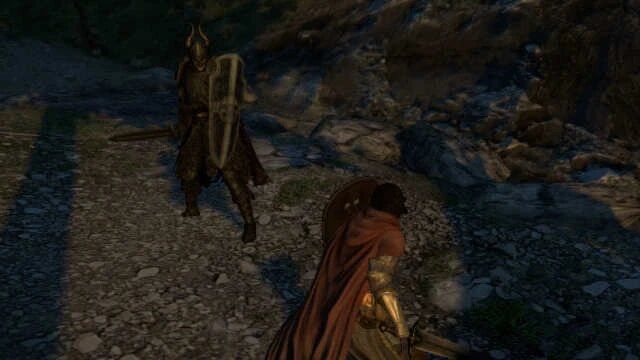
Located on the western fringe of Battahl, the Tomb of Al’Guttos can be easily identified on the world map. Keep following the river's course towards the tomb. Here you will be met with a host of challenges, including numerous poisonous saurians and bandits strewn along the path.
Fortunately, upon arrival at the tomb, a respite awaits; here, you can camp and recuperate before delving into its depths, eliminating any concerns about prior injuries sustained during the journey.
As you enter, you'll encounter three primary chambers within the tomb. The initial chamber sprawls in various directions and hosts an array of skeleton warriors and sorcerers.
The second chamber, resembling a cramped catacomb, teems with the undead menace of zombies.
Finally, the third chamber, nestled in the tomb's northwest corner, serves as the arena for your showdown with the formidable boss. Remember to periodically save your progress after navigating each area to ensure you're prepared for whatever trials lie ahead.
The Last Hurdle Before the Boss
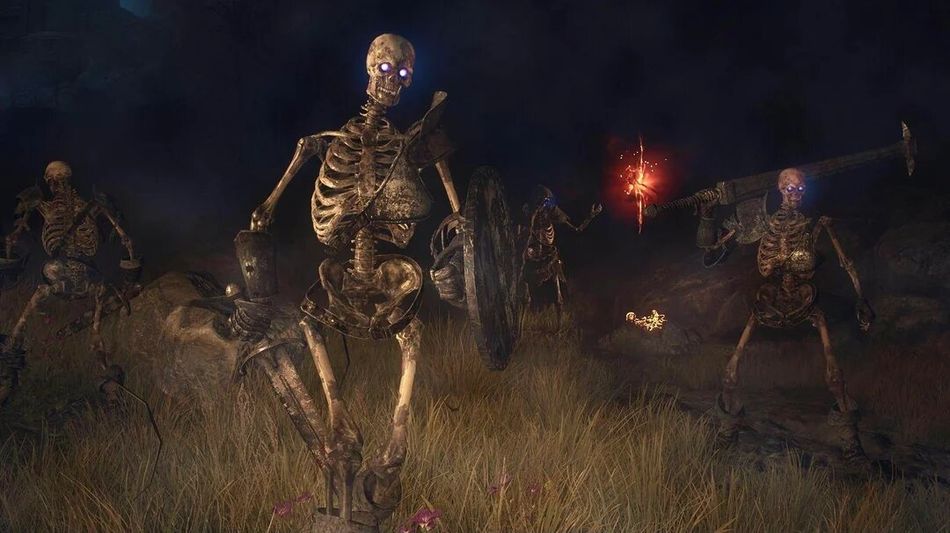
Undoubtedly, the most formidable adversaries preceding the boss encounter are the skeletons inhabiting the initial chamber. Initially appearing manageable, they swiftly emerge from every conceivable hiding spot, posing a significant threat.
The skeleton sorcerers, in particular, warrant immediate attention due to their ability to immobilise you with freezing spells, leaving you susceptible to the warriors' onslaught. Prioritise dispatching the sorcerers while your allies engage the warriors, thereby ensuring a smoother passage without depleting your supply of Waking Stones prematurely.
Moving into the catacomb section ahead, you'll encounter a handful of lethargic zombie adversaries. This area presents a minimal challenge as long as you remain vigilant against surprise attacks. Employ tactics to incapacitate the zombies swiftly, deliver finishing blows to neutralise them efficiently, and traverse this area unscathed.
The Battle at the Tomb of Al'Guttos
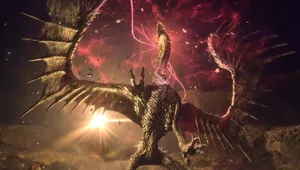
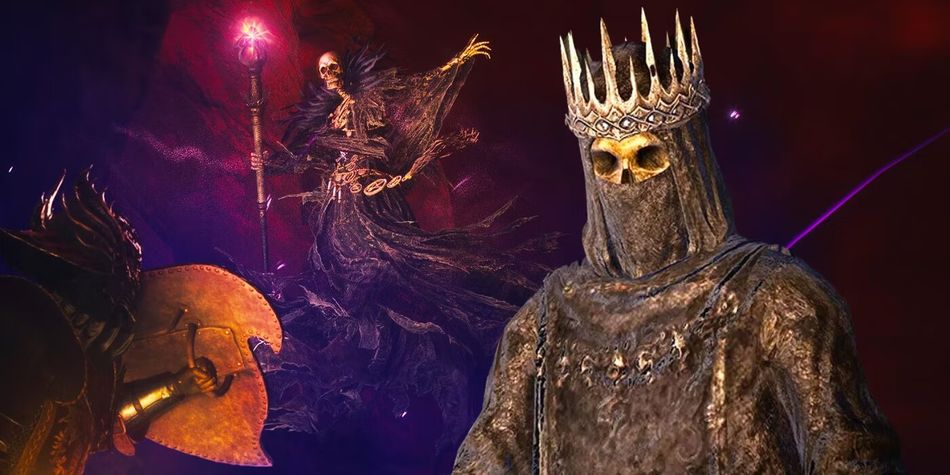
Undoubtedly, the most daunting aspect of this entire mini-dungeon lies in the climactic boss encounter. Within the final chamber, you'll confront the formidable Lith, Al’Guttos himself, accompanied by his spectral presence, casting spells from above.
Alongside him stands The Skeleton Lord, a formidable adversary wielding a greatsword, renowned as the most challenging and elusive of all skeleton-type foes in the game. Compounding the challenge, Al’Guttos' wraith summons additional minions, including skeleton sorcerers, warriors, and zombies, to assail you.
Engaging The Skeleton Lord proves arduous, as he resists attempts at stunning, and relentlessness in his assault with his hefty blade. While your allies contend with the skeleton minions, divert the bulk of your focus to The Skeleton Lord. Upon depleting his health, Al’Guttos' Lith descends, briefly vulnerable to your onslaught, before soaring back into the air to revive The Skeleton Lord for another bout.
While facing off against the Skeleton Lord and the minions, endeavour to target the Lith directly to potentially stun him and seize the opportunity to inflict significant damage. The relentless assault of the minions, however, makes this task more difficult and calls for prioritisation in order to reduce incoming damage.
This cycle must be repeated several times to deplete all of Lith's health bars and vanquish him permanently. Each successive round escalates in difficulty, with the minion adversaries growing more formidable.
In the final phase, the Lith summons explosive zombies capable of swiftly incapacitating you and your allies. Swiftly dispatch these volatile threats, evading their explosions, before redirecting your focus to the Skeleton Lord and Lith to secure victory.
Rewards obtained in the Tomb of Al'Guttos
As you progress through the initial chambers, eliminating the grunts, you'll gather a wealth of valuable resources such as astracite, scrap iron, putrid gold teeth, and quality ore. Each of these materials possesses its own rarity, making collecting them worth the hassle.
However, the pinnacle of rewards awaits upon the defeat of Al’Guttos in the climactic showdown. Following his demise, you'll have the opportunity to claim his coveted armour for your arsenal.
Among these prized relics are the Visionary Mask, Saint Idreum’s Stole, and the Enigmatic Robe, revered as some of the most coveted armour pieces tailored for the Trickster Vocation.
The Tomb of Al'Guttos is definitely a standout quest, as it offers a tonne of rewards as well as the all-powerful armour that all players would want to get their hands on. We hope our comprehensive walkthrough for this quest has helped you get your own copy of that armour.
DON't MISS: