Trending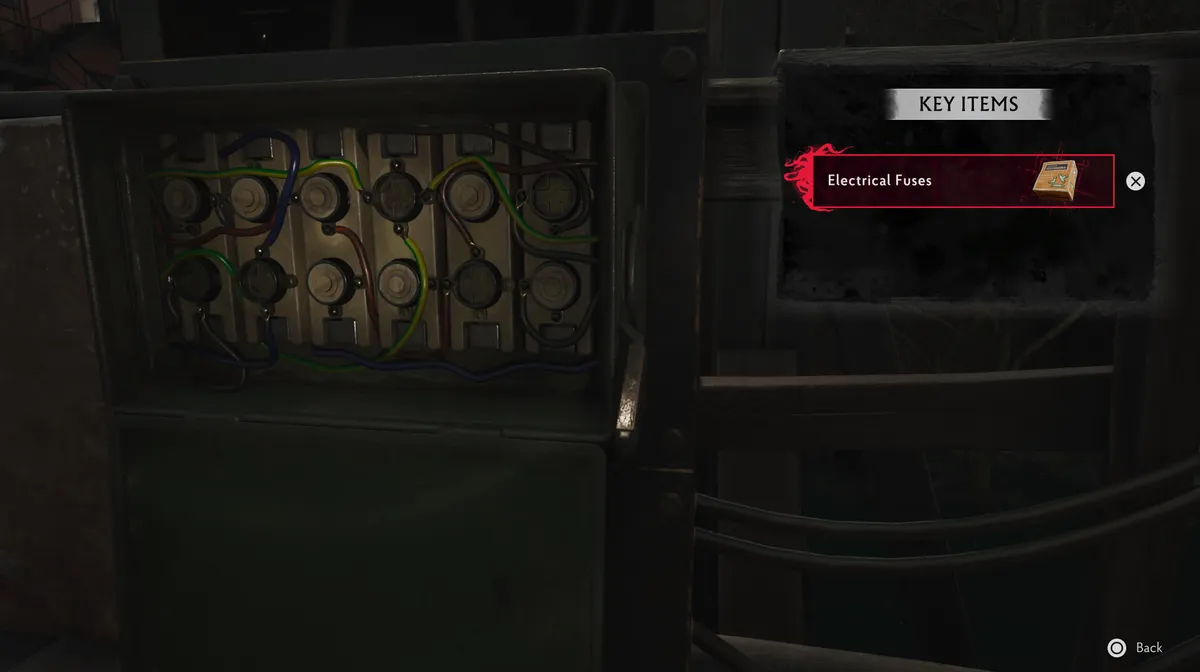
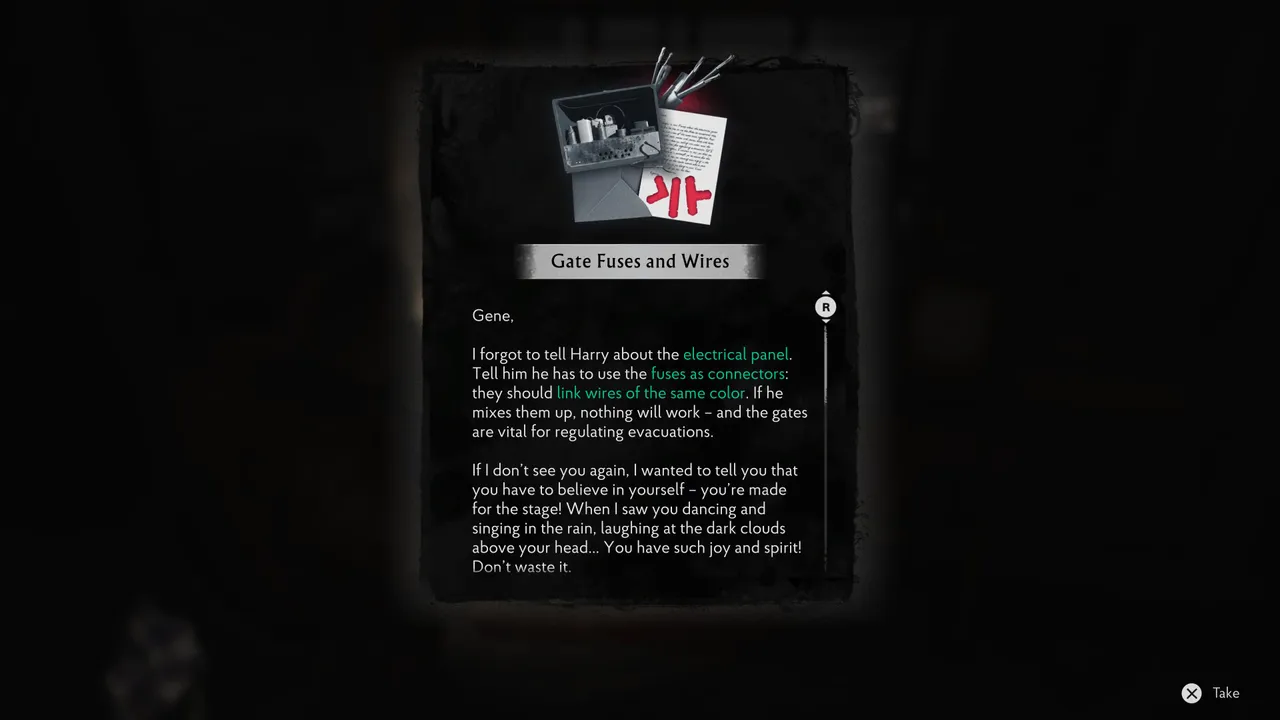
The Sinking City 2 is a Lovecraftian investigation horror game developed by Frogwares , the studio behind the original The Sinking City and the Sherlock Holmes series. Early in the game, your primary objective is to lift the first flood gate in order to exit the opening area. To do it, you need to locate a set of three electrical fuses, bring them to the fuse box, and install them correctly. A note found in the area, "Gate Fuses and Wires", provides the key instruction: use the fuses as connectors between the wires, and link wires of the same colour. If you mix them up, nothing will work.

Step 1: Find the three fuses
The fuses are found by following the linear path through the opening area. You do not need to go out of your way or search any hidden rooms for them. Keep moving forward along the main route and you will eventually reach the Allen Radio Store. The fuses are located inside. Once you pick them up, they are added to your Key Items as Electrical Fuses, and the game prompts you to return to the fuse box.
Step 2: Return to the fuse box and install the fuses correctly
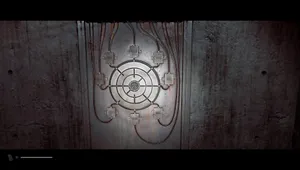
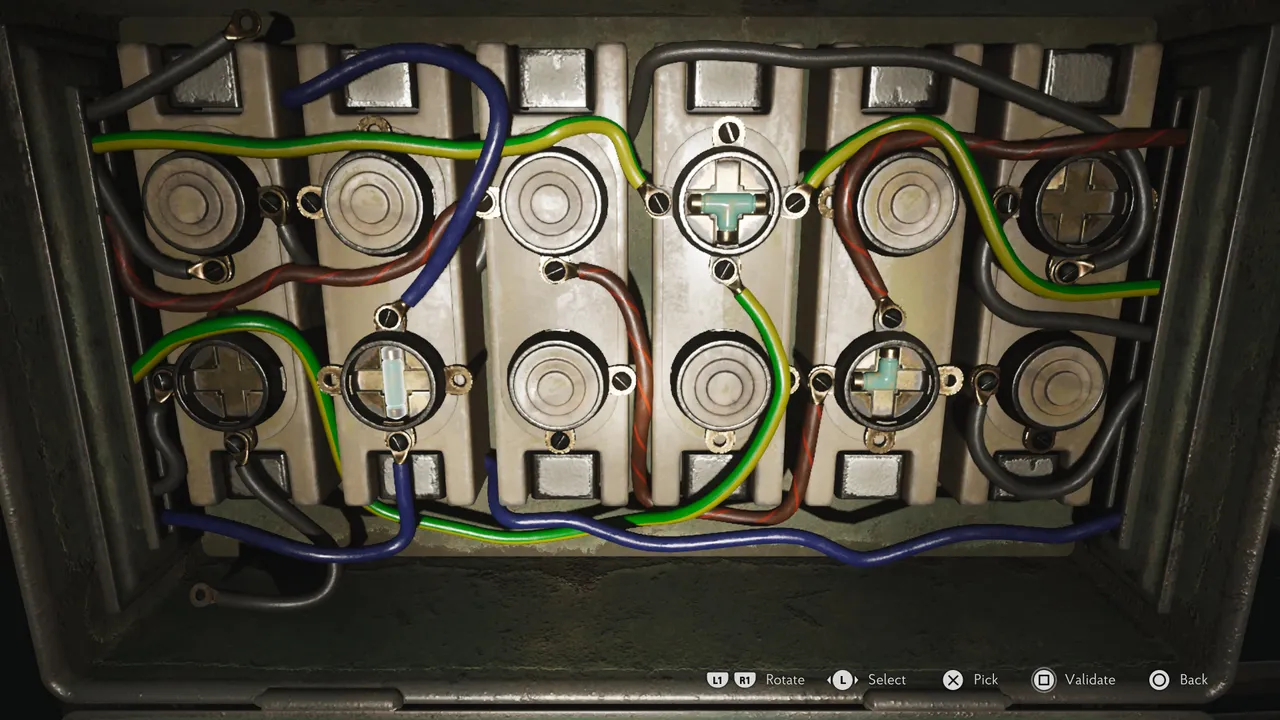
Head back to the fuse box. When you interact with it, you will see the panel showing three sets of coloured wires, each requiring a fuse connector to complete the circuit. The wires run in three colours: blue, green, and red. The rule from the note applies here: each fuse must connect wires of the same colour, and the shape of the fuse determines which slot it fits into.
The correct configuration is as follows:
- The straight two-ended fuse goes on the blue wires on the left side of the panel
- The three-ended fuse goes on the green wires in the middle
- The remaining two-ended fuse goes on the red wires on the right side
Use L1 and R1 to rotate fuses and the left stick to select which slot you are working on. Once all three fuses are placed correctly, press the confirm button to validate the configuration.
Step 3: Pull the switch and raise the floodgate
With the fuses correctly installed, interact with the switch located next to the fuse box. The floodgate will rise and the exit will open, allowing you to leave the opening area and continue into the game.
Quick tip: Read the "Gate Fuses and Wires" note carefully before touching the panel. The colour-matching rule it describes is the entire puzzle, and knowing it going in means you won't waste time rotating fuses into positions that can never work.
DON'T MISS!