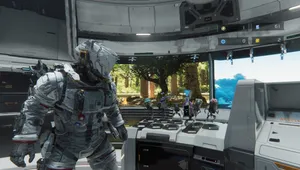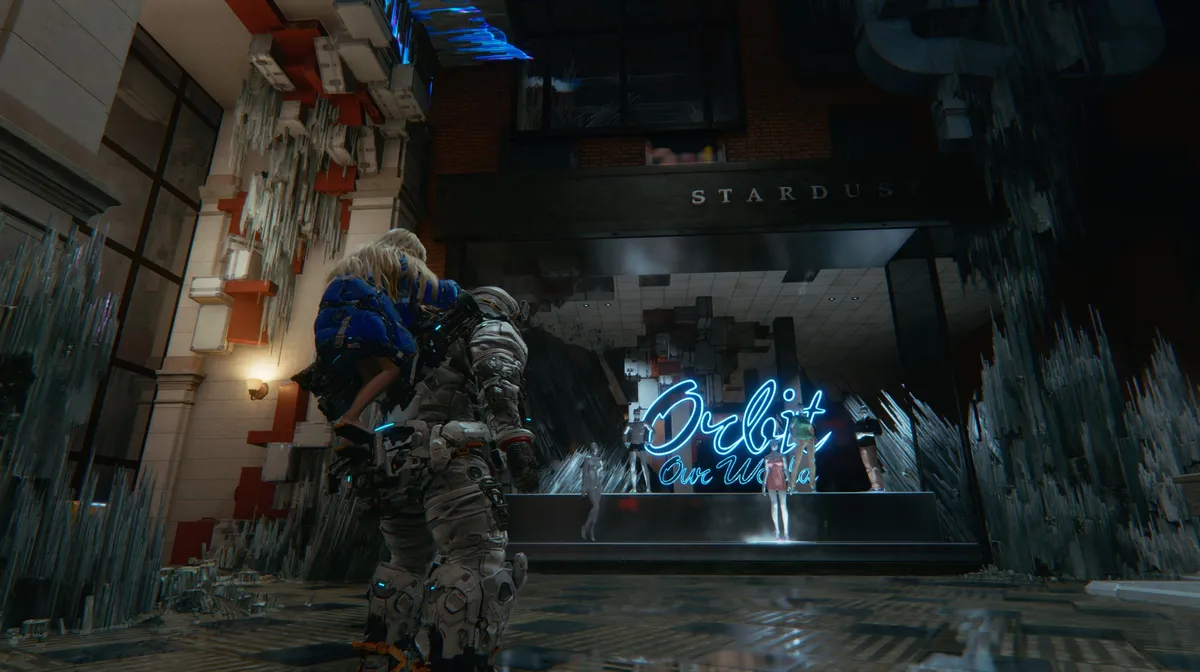
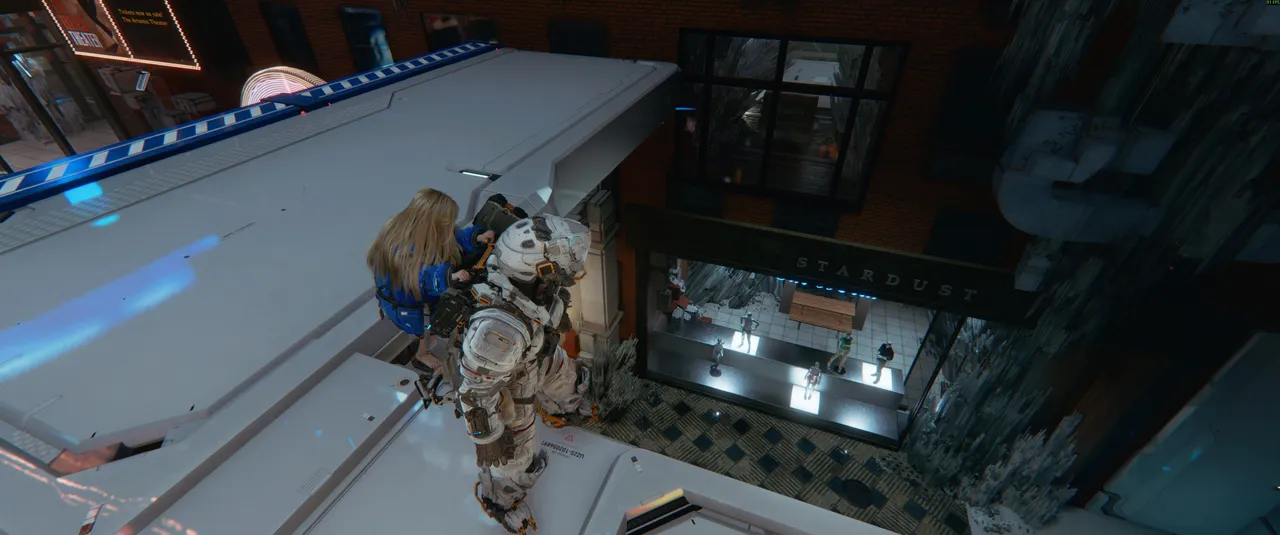
The Shopping District is a mid-game area in Pragmata's lunar facility that recreates a slice of Earth's consumer culture, complete with shop fronts and mannequins frozen in place. One of the area's safe boxes is tucked away above the Stardust shop window, the same one Diana will prompt you to stop and chat about on the main story path, making it impossible to miss. Reaching the box requires finding a hidden route that branches off just after the area's beacon.

Step 1: Complete the hand elevator section and reach the beacon
Progress through the Shopping District as normal, raiding the hand elevator and continuing to the area's beacon. You need to reach and activate the beacon first; the door that follows won't open until you do.
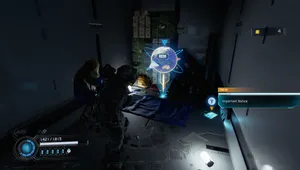
Step 2: Open the two boxes and read the document
Once the door opens after the beacon, you'll enter a room containing two additional boxes. Open both and read the document inside before moving on.
Step 3: Head up the stairs to the SEC .06 door
Continue up the stairs from the document room until you reach a door marked SEC .06, lit up in red. Don't go through it yet.
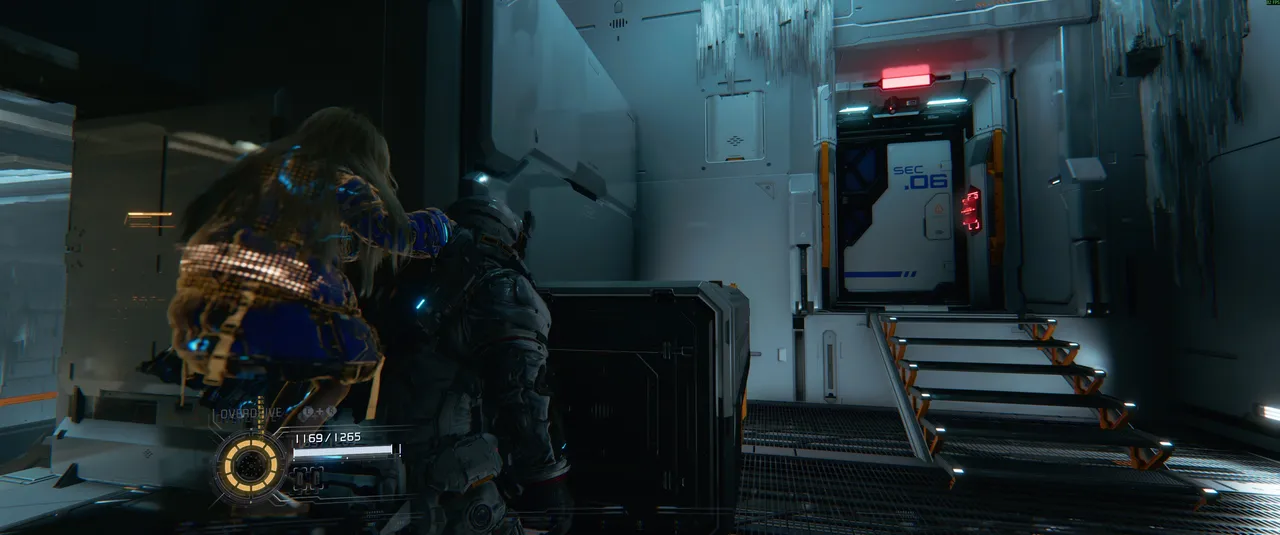
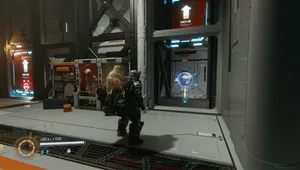
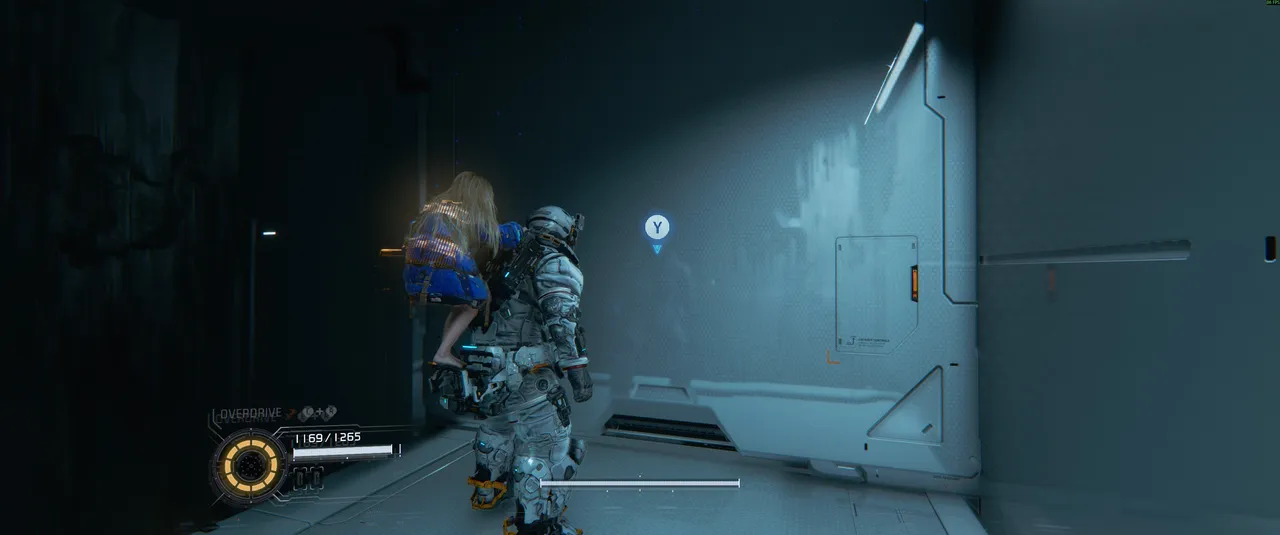
Step 4: Climb the objects to the left of the door
To the left of the SEC .06 door, you'll find two climbable objects. Get up onto them, and you'll be standing in front of a holowall, the same semi-transparent barriers you've seen elsewhere in the Cradle. Press triangle to dispel it and step through into the hidden room.
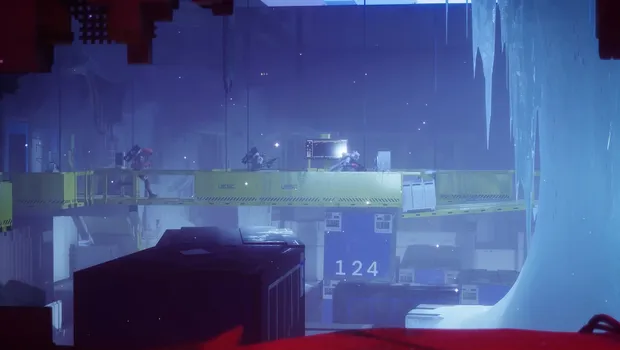
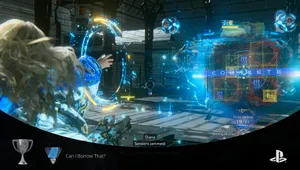
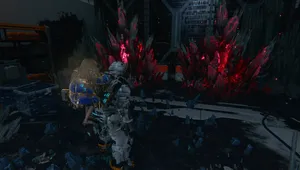
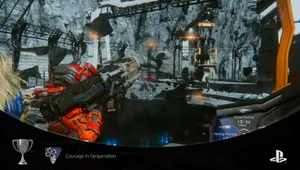
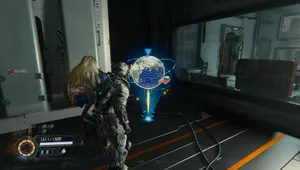
Step 5: Clear the bots and collect the safe box
The room beyond the holo-wall is tight and cramped, and several bots are waiting inside. Deal with them before doing anything else; the confined space makes it easy to get overwhelmed if you're not careful. Once they're down, the safe box is at the far end of the room. Before leaving, you'll also need to hack the lasers blocking the exit.
Quick tip: The holo-wall to the left of the SEC .06 door blends in well with the surrounding wall panelling. If you're struggling to spot it, look for the faint shimmer and the climbable objects directly beneath it; those are your clearest signs that something's up there worth finding.
DON'T MISS!