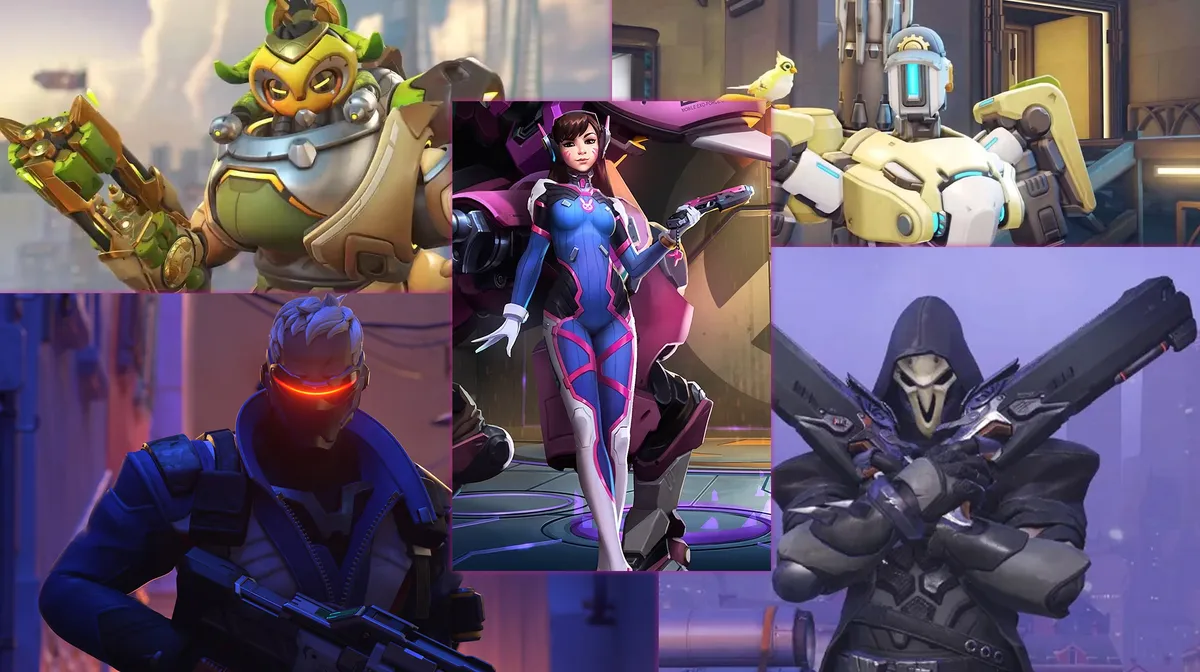
Overwatch 2 has undergone massive changes recently; removing the infamous “2” from the name, adding sub-roles, a new huge event, 5 new heroes and more to come, which brought a fresh wave of players to the game.
As a newcomer to the game, jumping in and seeing over 40 heroes to choose can feel overwhelming, as some heroes punish mistakes, demand precise aim, or require a deeper knowledge of the game, while others are more forgiving, intuitive, and perfect for learning the fundamentals.
This guide focuses on the second group, showcasing nine beginner-friendly heroes across all three roles that'll help you understand how Overwatch works.
Tank
First and foremost, the tanks. They are your team’s frontline and are used for creating space, absorbing damage, as well as protecting your squishier teammates, which might sound like an easy role but whether your tank is good or bad can easily win or lose you the game.
As a beginner, you want a tank that can survive if you make a positioning mistake while also teaching you the basics of space control, when to shield and mitigate damage, when it’s best to hang back or when you should dive.
Orisa
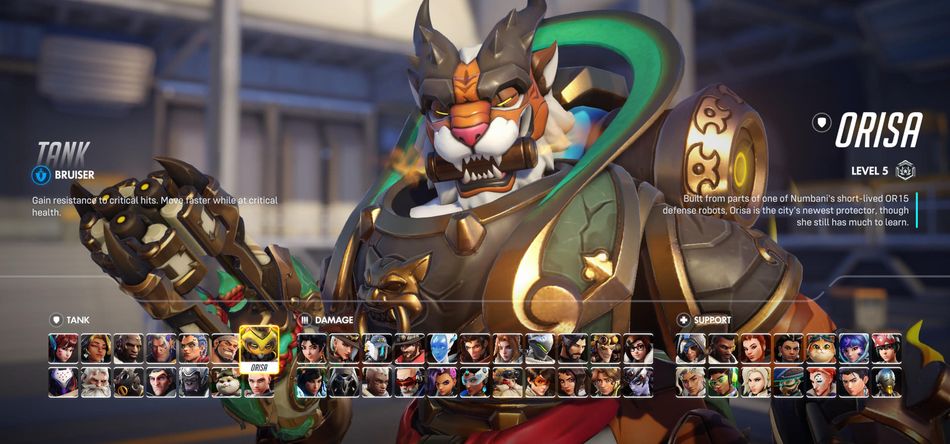
Orisa is a great starting point for the game, and coincidentally my first tank as well. She is a tank that brings a powerful mix of different defensive capabilities and has consistent damage output, making her a well-rounded tank for beginners.
What is amazing with Orisa is the fact that her weapon has no recoil so it’s easy to land your shots even if your aim isn’t that good.
Her Fortify ability is very helpful and can give you just the push to end a fight in your favour, as it negates enemy damage and their crowd-control abilities, such as Roadhog's Hook and Reinhardt’s Charge.
The Energy Javelin is perfect for catching a support running around and pinning them to the walls, giving you a powerful tool for punishing anyone that is out-of-position, while if you find yourself in the same scenario, Javelin Spin allows you to block enemy projectiles while pushing forward.
And of course, her ultimate, Terra Surge, pulls the enemies towards you while you charge up massive damage; and the longer you charge, the more devastating it becomes.
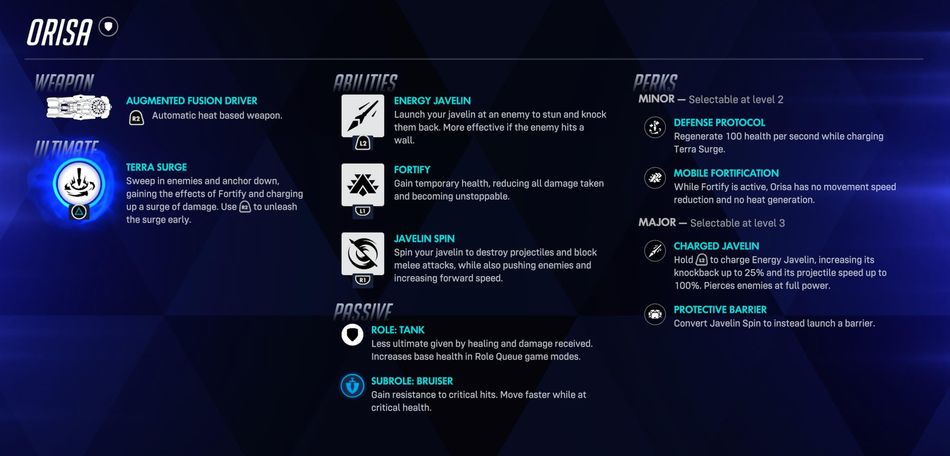
Orisa's perks reinforce her beginner-friendly nature. Her minor perks, Defense Protocol and Mobile Fortification, both enhance her durability and add to her damage stats.
For major perks, Charged Javelin adds extra damage and kill pressure, while Protective Barrier provides a deployable shield for additional team protection. It depends on what your team needs, more damage or more protection.
With Orisa, you'll naturally learn essential tank fundamentals like positioning, map awareness, and space control, all skills that carry over to every other tank in the roster.
Roadhog
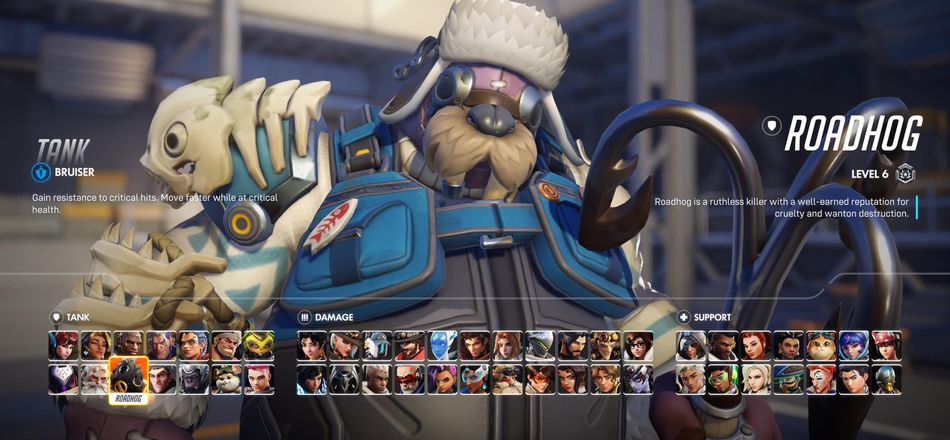
Roadhog is a tank for beginners who are more into being self-efficient, as this hero has the biggest health pool in the game, a whopping 700 HP. What makes him special, and fun, is his ability to function almost completely on his own, as his self-sustaining kit means he isn’t dependent on his supports.
Roadhog’s primary weapon fires both devastating close-range blasts and also a shrapnel ball which detonates at medium range. However, as good as that is, he isn’t famous for that, but for his Chain Hook - a skillshot that grabs and pulls an out-of-position enemy straight to your team, almost always meaning a guaranteed kill.
Landing hooks on squishy targets is extremely satisfying and can instantly turn the team fight in your favour.
Take a Breather is what makes Roadhog forgiving for new players - as it heals a massive 350 HP in just one second, and on top of that provides damage reduction while you’re using it.
As for his ultimate, Whole Hog, it unleashes a storm of scrap which knocks enemies back and deals heavy damage, perfect for clearing points or creating some space.
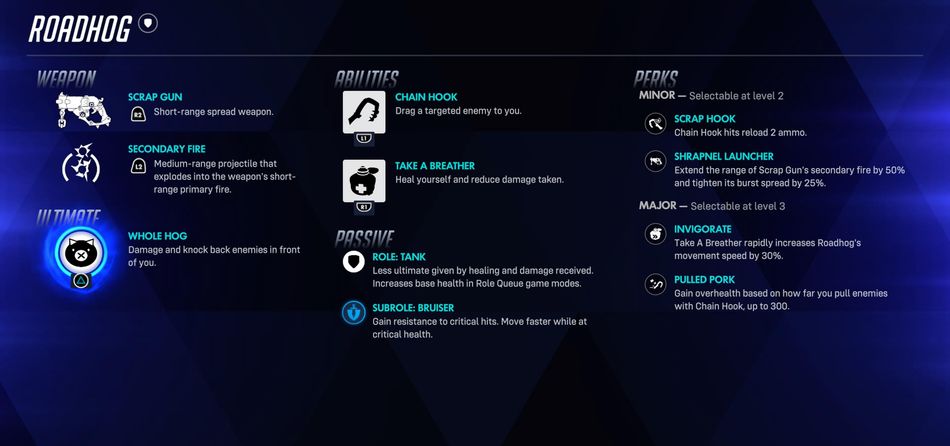
Roadhog’s perks play into his self-sufficient bruiser style. His minor perks, Scrap Armor and Pig Pen, both support his survivability, with the first one adding temporary armor when you heal while the second one creates a damaging area when you use Take a Breather.
For his major perks, Invigorate gives you more movement speed while Pulled Pork more health when you pull enemies with your hook.
Roadhog is perfect for learning how to punish enemy positioning as well as how to survive without relying on your supports.
D.Va
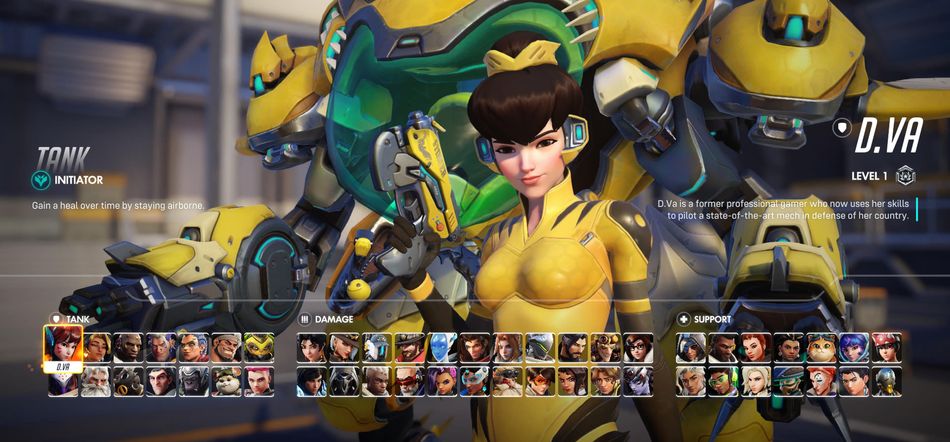
One of the fan favourites, D.Va offers mobility and a second chance at life, which is perfect for new players.
Her primary weapon, Fusion Cannons, fire continuously without any reload, letting you hold down the trigger while focusing on your positioning and movement. While individual shots won’t do a lot of damage, the sustained damage will add up especially if you dive the squishies.
Her Boosters are where it’s at - they allow her to fly around the map and are perfect whether you need to go for a dive or just make a quick exit. During your boost, you can activate Micro Missiles, which fire a barrage of small rockets that deal burst damage. These two abilities combined create an excellent close-range combo.
If you need some defense, activate D.Va’s Defense Matrix, which is one of the most powerful defensive tools in the game. For a few seconds, she will activate a barrier that absorbs enemy damage, from ultimates to basic damage abilities.
Her ultimate, Self-Destruct, launches her mech forward before it explodes in a massive area, clearing objectives and securing kills.
However, what sets her apart is her mech; which when destroyed ejects D.Va with a small health pool but a strong pistol. This passive ability is what gives you a second life, giving you a chance to survive a sticky situation.
After dealing enough damage, or simply staying alive, D.Va can call her mech back. Fun fact: calling the mech down on an enemy deals damage as well.
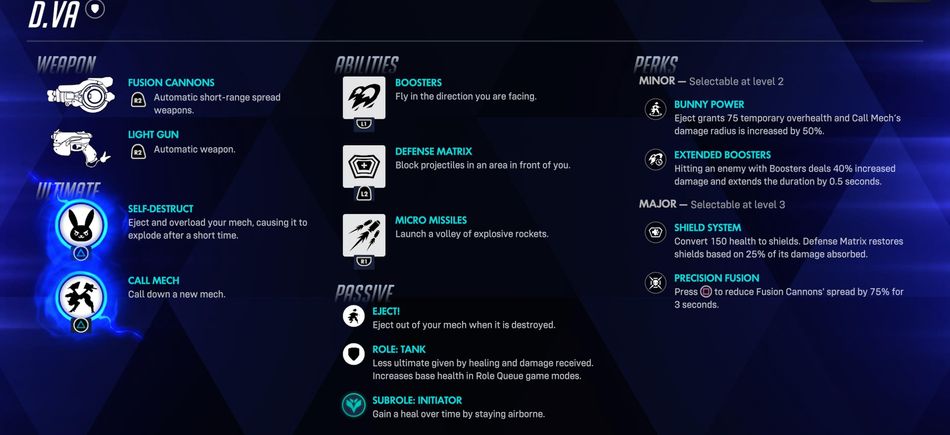
D.Va's perks enhance her mobile and aggressive playstyle. Her minor perks include Bunny Power, which increases her pilot form damage and movement speed, and Extended Boosters, which gives her longer booster duration for even more mobility across the map.
For her major perks, Shield System makes her tankier as it adds a temporary health shield when you activate Defense Matrix, while Precision Fusion tightens the spread of your Fusion Cannons for more consistent damage at range.
D.Va is a tank that teaches players about mobility, positioning, as well as when to commit to a fight and when to retreat - all crucial skills for any tank player.
Damage
Now onto the damage heroes, which are all about securing eliminations and applying pressure to the enemy team, basically trying to kill the enemy before they get to kill you.
As a new player, you will want to go for damage heroes who have straightforward weapons, forgiving mechanics, and abilities that will help get you out of a sticky situation.
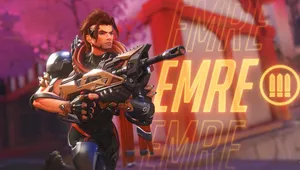
Soldier: 76
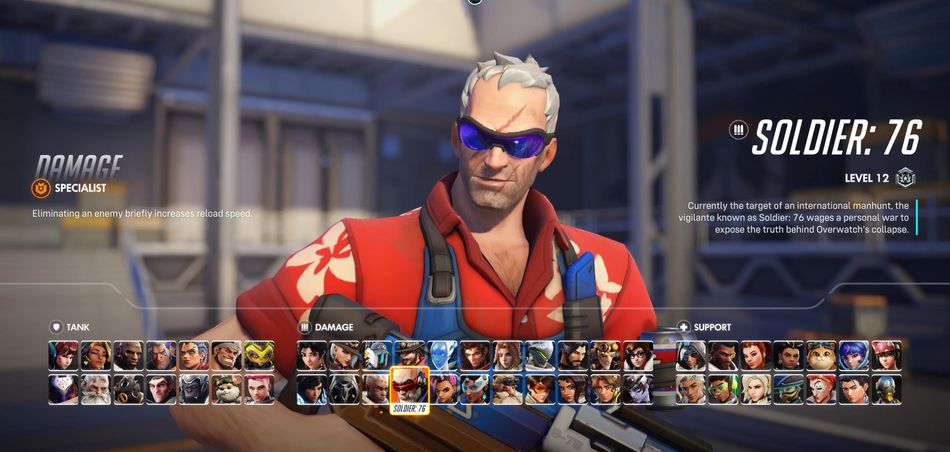
Soldier: 76 is considered one of the most beginner-friendly heroes in the entire game, as he plays like a character that is straight out of a Call of Duty game. He is a well-rounded hero with a self-sufficient kit.
His Heavy Pulse rifle is a fully automatic assault rifle, with a little bit of recoil, effective both at close and medium range. His weapon is what makes him easily accessible for anyone with FPS experience, but also forgiving for completely new players. His Sprint ability lets you get into position faster, chase down enemies, or escape danger, with no cooldown on it.
The Biotic Field will put down a healing station, restoring health to both Soldier as well as his allies. This self-healing is crucial for beginners who are still learning proper positioning. His Helix Rockets provide burst damage that you can fire while shooting your rifle, perfect for finishing off low-health targets or pressuring shields
The ultimate, Tactical Visor, is basically a shoot and win ability, there is no need to aim as it automatically locks on and tracks enemies for several seconds. This ultimate alone makes Soldier: 76 an amazing hero for beginners.
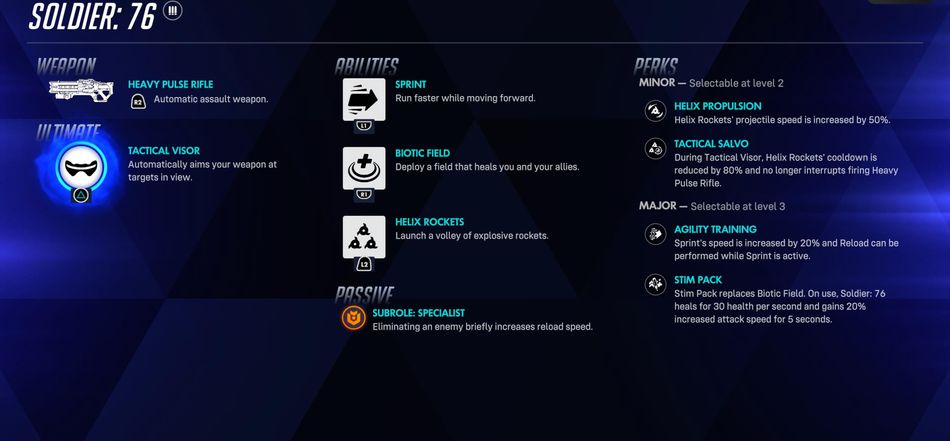
Soldier: 76's perks enhance his already versatile kit. His minor perks include Helix Propulsion, which increases the speed of Helix rockets, and Tactical Salvo, which reduces the cooldown of Helix Rockets by 80% and no longer interrupts firing Heavy Pulse Rifle during Tactical Visor.
As for the major perks, Agility Training increases your Sprint’s speed by 20% and reload can be performed during, while Stim Pack replaces Biotic Field and gives Soldier 30 health per second and 20% increased attack speed for 5 seconds.
With Soldier: 76, you'll naturally develop core damage player skills: consistent aim, smart positioning, and knowing when to use your abilities - all of which carry over seamlessly when you're ready to try other damage heroes.
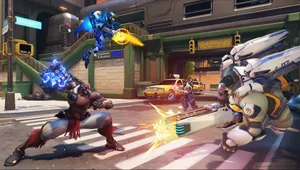
Bastion
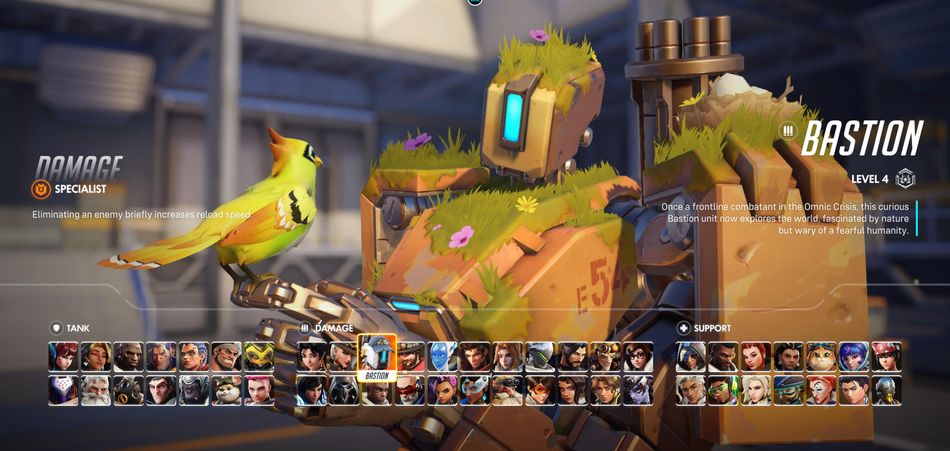
If precise aim isn’t really your thing, Bastion offers a somewhat different approach to dealing damage. This transforming robot has multiple combat modes, which you would expect from a robot, which let you adapt to different situations.
Again, there is no recoil on his primary weapon, making him a great hero to start with. Bastion is great at holding position and shredding through tanks and shields alike.
In his Configuration: Recon mode, Bastion fires a steady assault rifle, functioning similarly to other damage heroes. When he jumps into Configuration: Assault mode - that is when the party starts. You get a more or less tank that fires at insane speed and shreds through everything in front of him. His A-36 Tactical Grenade is a bouncy bomb that explodes on impact, while Reconfigure is what turns him from Recon to Assault mode.
Bastion’s ultimate, Configuration: Artillery, turns the little robot into a stationary grenade launcher. His ultimate changes your perspective and allows you to move into a bird's perspective, aim your attacks and then shoot.
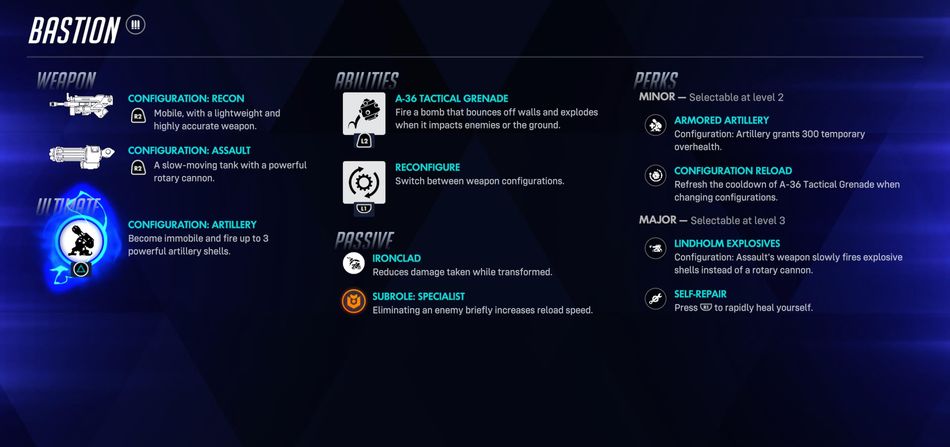
Bastion's perks amplify his area denial and damage output. His minor perks are Armored Artillery, which gives him 300 temporary overhealth, and Configuration Reload, which refreshes the cooldown of his A-36 Tactical Grenade when he changes configuration.
For major perks, Bastion has Lindholm Explosives, changing the ammunition in his Assault weapon from rotary cannon to explosive shells, and Self-Repair, which allows him to rapidly heal himself and is a nod at Overwatch 1 as that was one of his abilities.
Playing this little robot will help you understand map positioning as well as when your position is compromised and you need to move on.
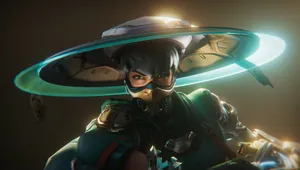
Reaper

Now, if you feel like the words edgy and mysterious describe you, Reaper is your hero. He is also your hero if you’re into sneaking around and getting up close and personal.
His real name being Gabriel Reyes, Reaper is a character that moves in the shadows and goes for the backline, armed with twin hellfire Shotguns, he is a hero that excels at flanking and punishing enemies who are out-of-positions, and his kit that offers multiple survival tools makes him a great choice for new players.
Reaper’s shotguns deal massive damage at close range, two or three well-placed shots can easily eliminate supports and other damage heroes, but he is also good at shredding through tanks.
What adds to his beginner friendliness is the fact that when doing damage, he heals himself, so the more you shoot, the more you heal.
His Wraith Form is a get-out-of-jail card, which allows him to move faster and become invulnerable. His Shadow Step teleports him to targeted locations, perfect for flanking, reaching high ground or simply repositioning.
His famed ultimate, Death Blossom, makes Reaper spin in a circle while firing both shotguns in all directions, throwing out massive area damage to everyone nearby. If used in the middle of grouped enemies, it can easily turn a fight in your favour.
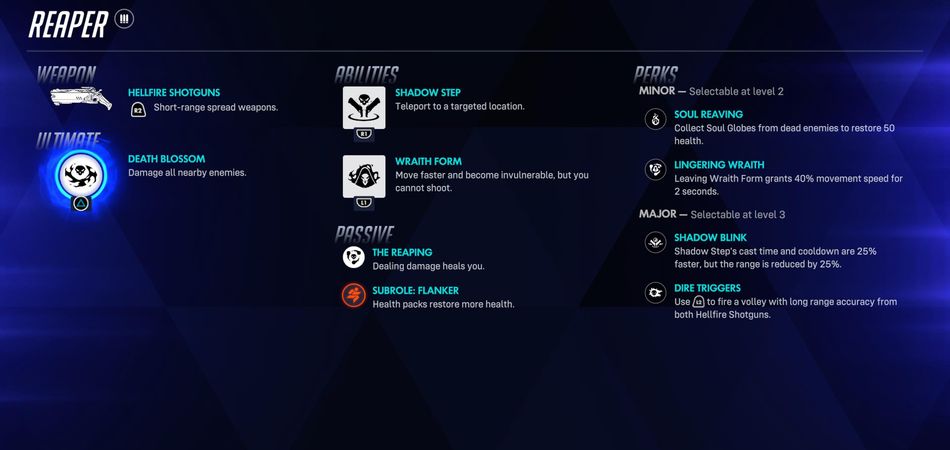
Reaper's perks support his close-range brawler identity. His minor perks are Soul Reaving, where he collects soul globes after killing enemies for 50 health, and Lingering Wraith, which gives him 40% movement speed for 2 seconds after leaving Wraith Form.
His major perks include Shadow Blink, which gives Shadow Step a 25% faster cooldown and cast time but reduces its range by 25%, and Dire Triggers, which give him a volley with long range accuracy from both Hellfire Shotguns.
With Reaper, you'll develop an understanding of flanking paths, learn to identify high-value targets, and master cooldown timing - all essential for damage players who want to swing team fights in their favor.
Support
While looked down on many times, supports are extremely important parts of any team cop, as they keep your team alive, provide crucial buffs, and can turn team fights with one well placed ability.
As a beginner support player, you want heroes with straightforward healing mechanics, good survivability, and kits that let you contribute even while you're still learning positioning and game sense.
Mercy
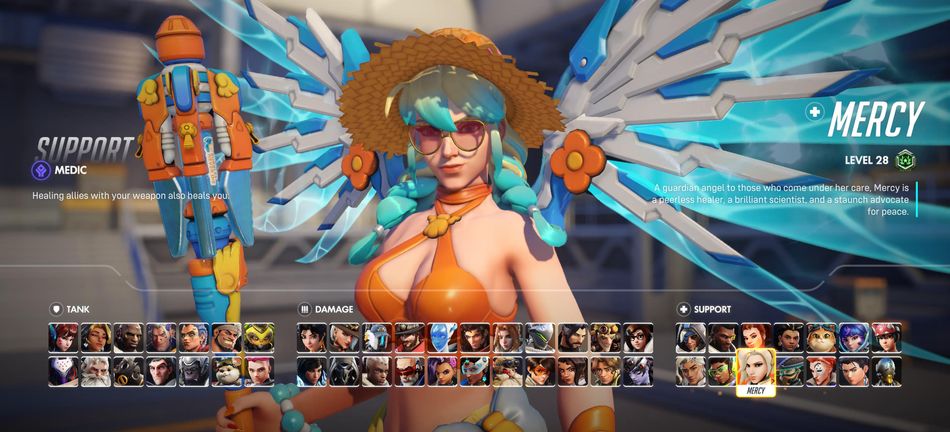
Arguably the most straightforward support hero in Overwatch, Mercy is all about focused healing and damage amplification. What makes Mercy incredibly beginner-friendly is her mobility and forgivingness.
Her Caduceus Staff is her primary tool - simply aim at a teammate and hold the button to either heal them with a steady beam or boost their damage output. There's no aiming required for healing, no resource management, and no complex ability combinations. You just pick a target and keep them alive or help them secure kills.
Her Guardian Angel ability allows her to quickly fly to any teammate within range, while her Resurrect ability allows Mercy to bring a dead teammate back to life, potentially saving crucial fights or undoing a key elimination. While it leaves you vulnerable during the casting time, it's an incredibly powerful tool that can change the outcome of matches.
Mercy is a support hero, and she is amazing at both keeping her allies alive and boosting their damage. However, if you’re feeling extra ferocious, she does have her Caduceus Blaster, a small gun she pulls out instead of her staff.
Her ultimate, Valkyrie, enhances all her abilities: your healing and damage boost beams chain to multiple nearby allies and allows you to fly freely.
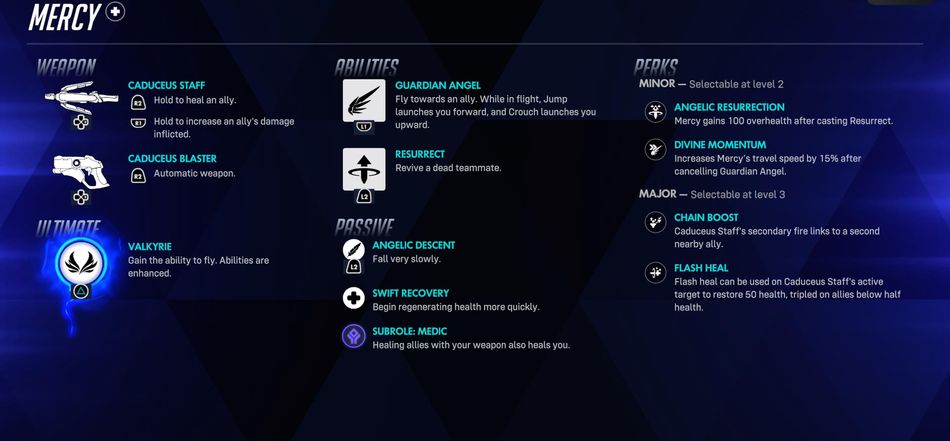
Mercy’s minor perks are Angelic Resurrection, which gives her 100 overhealth after she casts Resurrect, and Divine Momentum, which increases her travel speed by 15% after cancelling Guardian Angel.
Her major perks include Chain Boost, linking her Cadeceus Staff’s secondary fire to a second nearby ally, and Flash heal, which can be used on Cadeceus Staff’s active target to restore 50 health, which gets tripled on allies below half health.
Mercy is perfect for learning support fundamentals: prioritizing healing targets, staying alive through positioning, and understanding when to heal versus when to damage boost.
Lúcio
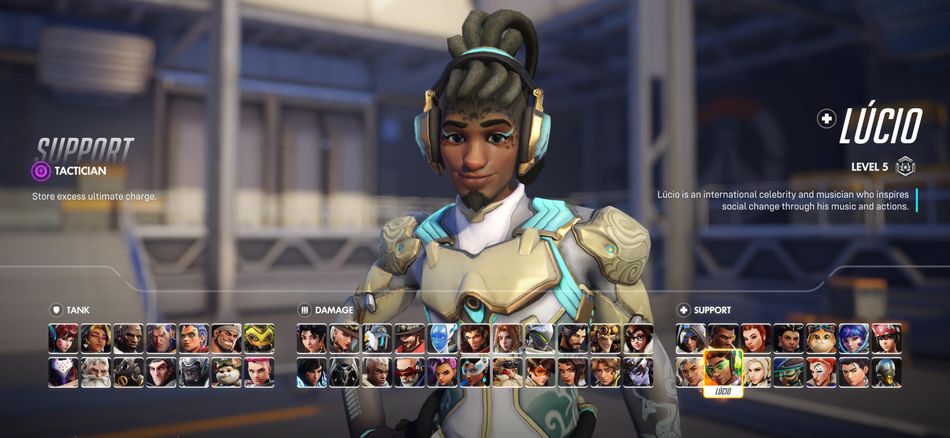
Want to provide constant value just by existing near your team? Lúcio is your hero. This Brazilian DJ is unique among supports because his healing and utility are passive - he continuously affects all teammates within his aura radius, meaning you don't need to aim or actively target allies to provide value.
Lúcio has two songs he can switch between at any time: Crossfade (Heal) provides constant passive healing to nearby teammates, while Crossfade (Speed) gives them a movement speed boost. Learning when to use which is crucial: healing during poke damage and downtimes, while speed when engaging and disengaging.
His Amp It Up ability temporarily amplifies whichever song is active, dramatically increasing either healing output or movement speed for a few seconds. What truly sets Lúcio apart is his Wall Ride ability, as he can skate along walls indefinitely, giving him incredible mobility and making him extremely difficult to pin down and eliminate.
His ability Soundwave creates a blast which deals damage and knocks enemies back, while his ultimate, Sound Barrier, provides a massive temporary shield to all nearby teammates.
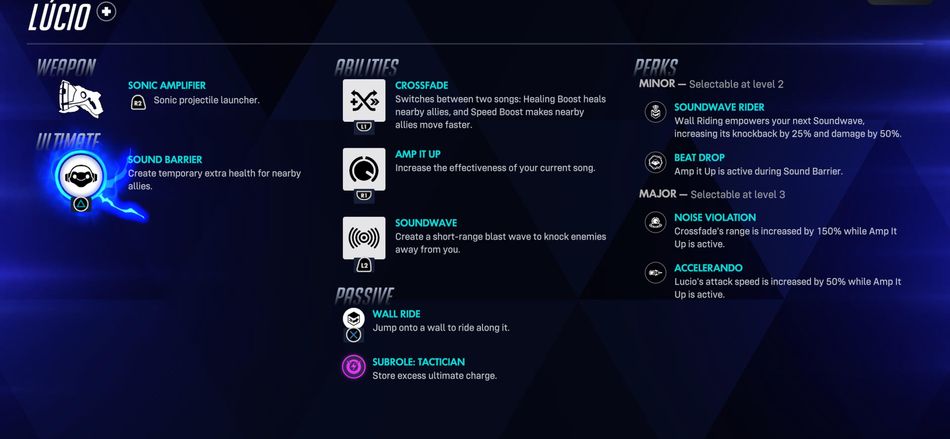
Lúcio’s playstyle benefits from his perks, both minor and major. For his minor perks are Soundwave Rider, which makes Lúcio’s signature ability, Wall Riding, empower his next Soundwave and add 25% to the knockback and 50% to the damage. His second perk, Beat Drop, makes Amp It Up active during Sound Barrier.
His major perks include Noise Violation, which increases Crossfade’s range by 150% when Amp It Up is active, while his second major perk, Accelerando, increases Lúcio’s attack speed by 50% while Amp It Up is active.
Playing Lúcio will teach you how to position relative to your time, when to time your ability, and also how to be aware of your awareness.
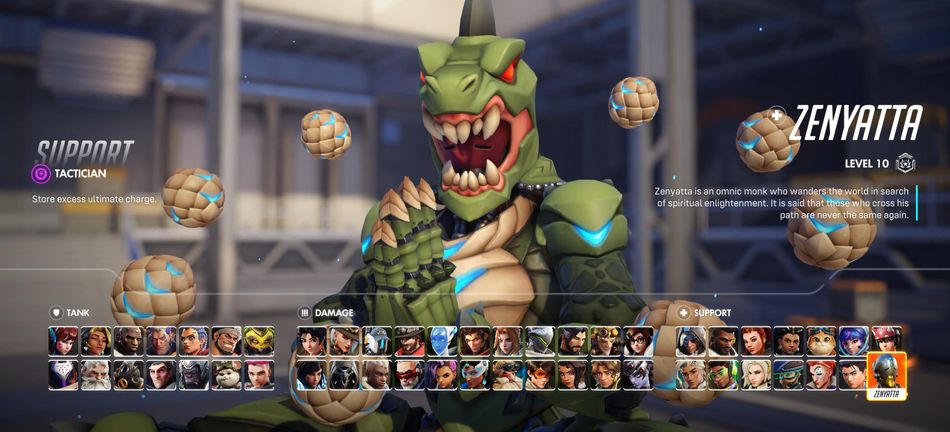
Zenyatta
If you want a support hero that blends healing with serious damage output, Zenyatta is an excellent choice. This omnic monk takes a different approach to support - rather than active healing beams or area-of-effect restoration, he uses orbs that you apply to allies and enemies.
His Orb of Harmony attaches to a teammate and continuously heals them until they're out of line of sight or you switch it to someone else. This "set it and forget it" style means you can heal allies while simultaneously dealing damage.
His Orb of Discord works similarly but attaches to enemies, increasing all damage they take from your entire team. Landing Discord on priority targets like enemy supports or key damage dealers helps your team secure eliminations faster and teaches you about target prioritization and callouts The combination of both orbs means Zenyatta provides value to his team even while focusing on other tasks.
Zenyatta's primary fire launches his orbs one at a time with no damage falloff, meaning he's effective at all ranges. His alternative fire charges up to five orbs that release at the same time and deal massive damage, perfect for eliminating enemies that aren’t paying attention.
While Zenyatta moves slowly and has no mobility abilities, his damage potential is among the highest of any support, making him surprisingly capable of defending himself. His ultimate, Transcendence, makes him invulnerable and provides massive area healing to all nearby teammates while he moves faster. It's one of the best defensive ultimates in the game, capable of countering most enemy offensive ultimates and keeping your entire team alive through otherwise lethal situations.
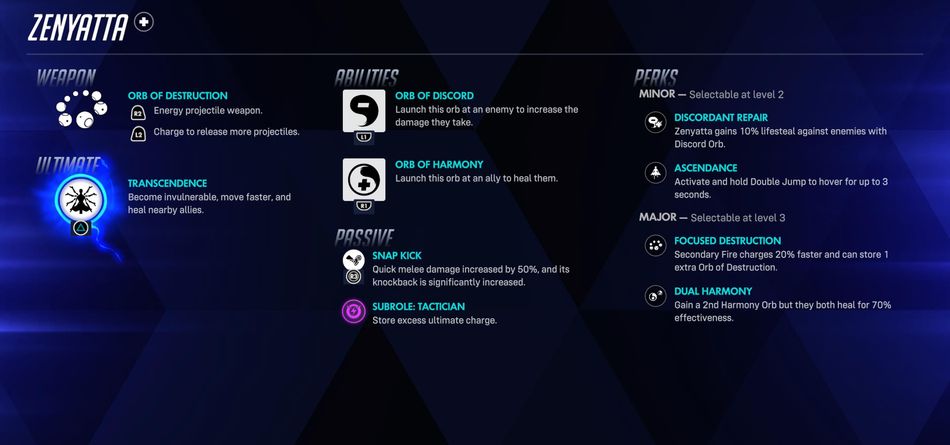
Zenyatta’s minor perks include Discordant Repair and Ascendance. The former allows Zenyatta to gain 10% life steal against enemies that hold the Discord Orb, while the latter allows him to hover for up to 3 seconds.
Zen’s major perks consist of Focused Destruction, where his secondary fire charges 20% faster and can store one extra orb, and Dual Harmony, which gives a second Harmony Orb but they both heal for 70% effectiveness.
With Zenyatta, you'll learn the delicate balance between healing teammates and fragging enemies, develop your target callout habits, and understand how to position aggressively without overextending - all traits of a strong support player.