![Marathon - Data Reconstruction [1/3] Contract Guide](https://media.altchar.com/prod/images/gm_featured_image/13fdd3b0a9d1-202602272239481.webp)
Data Reconstruction Contract in Marathon tasks you with scanning bioprinters across South Relay and Overflow, then pulling an agriculture report from a terminal in North Relay. It's the most wide-ranging contract you'll encounter in the Perimeter early on, so plan your route carefully before you drop - and keep an eye on your clock throughout.
![Marathon - Data Reconstruction [2/3] Contract Guide](https://media.altchar.com/prod/images/gm_medium_thumbnail/263a2fa242a8-marathon-dire-marsh-data-reconstruction.webp)
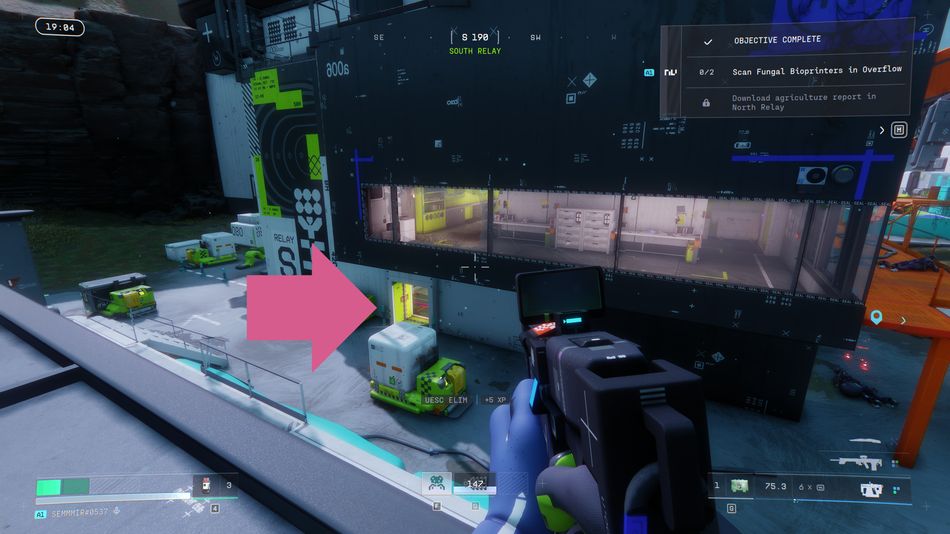
Objective 1: Scan Sparkleaf Bioprinters — South Relay
Head to South Relay first. There are two bioprinters to scan here, split across two separate buildings. The first is located in a smaller building on the left side of the area — you'll recognise the South Relay area by its large orange crane structures overhead.
The second bioprinter is inside the main building in South Relay, which is the larger of the two. Both are fairly easy to locate once you're in the right buildings, so sweep through and get both scanned before moving on.
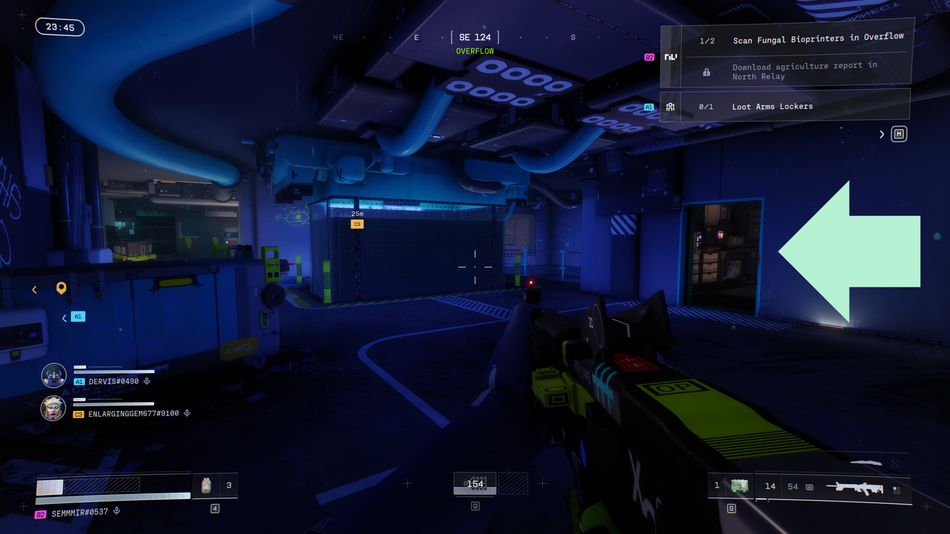
Objective 2: Scan Fungal Bioprinters — Overflow
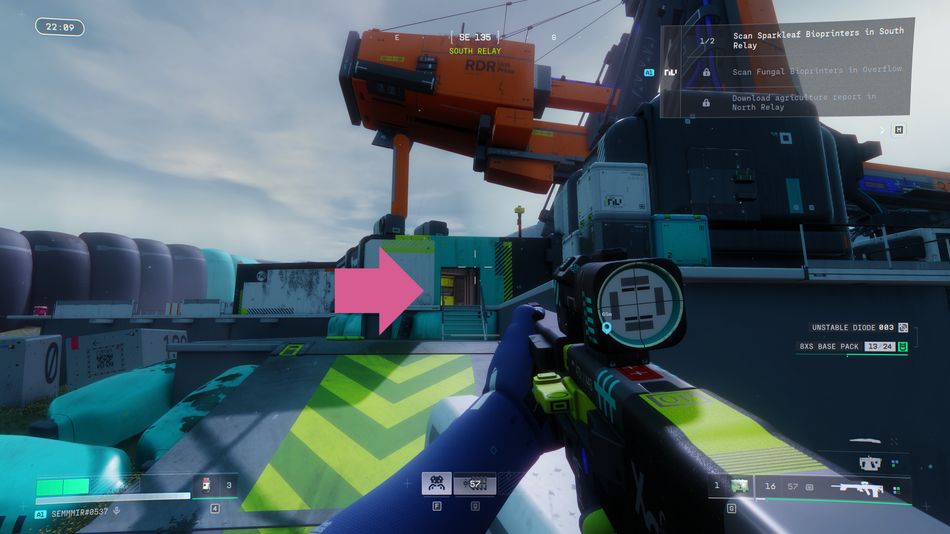
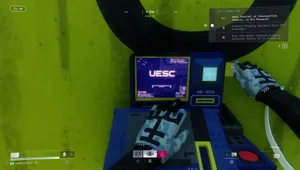
From South Relay, make your way west to Overflow and head into the main building. Both Fungal Bioprinters are on the second floor. The first is in a blue-lit section of the building - you'll know you've found the right area when the hallway takes on that distinctive blue glow. The door you need is on the right-hand side of the corridor as seen in the screenshot below.
The second bioprinter is on the north-eastern part of the same floor. The easiest way to navigate between both is to use your radar at the top of the screen - follow the SE and NE directional markers as needed, and as soon as you're in range, the green polygon objective marker will appear to guide you in.
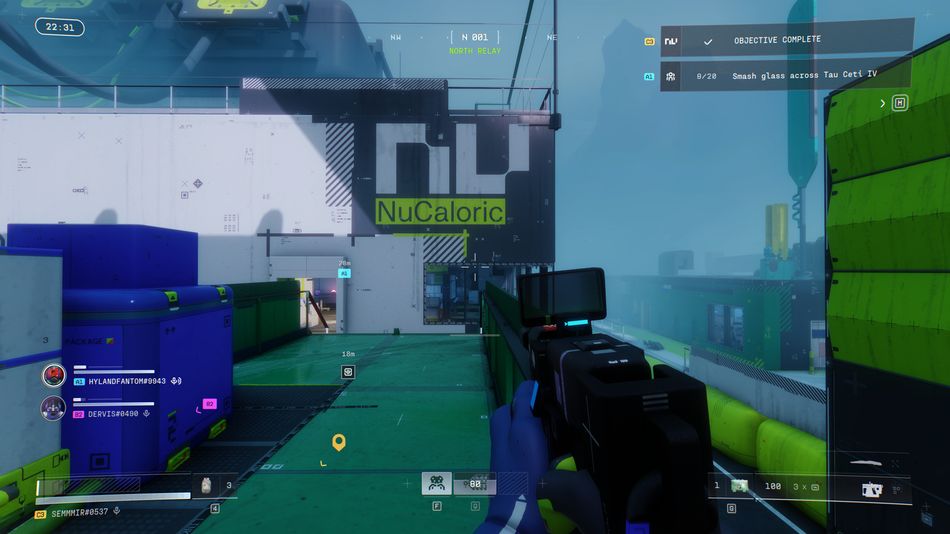
Objective 3: Download Agriculture Report — North Relay
Your final stop is North Relay in the north of the map. Look for the NuCaloric building - it's clearly branded and easy to spot.
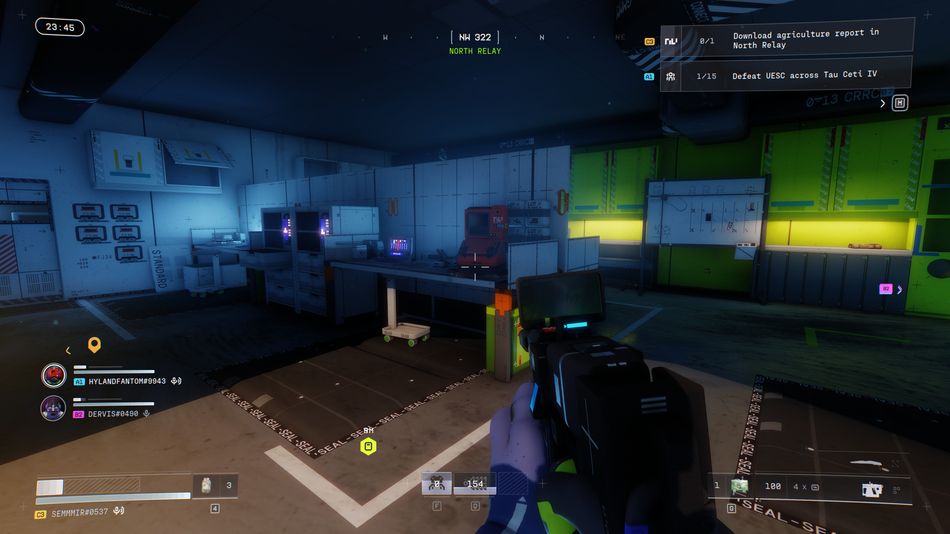
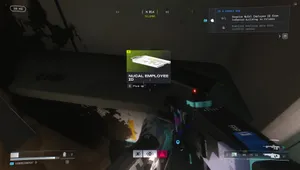
Head up to the second floor, where you'll find a red terminal unit. Interact with it to begin the download, but be ready for a complication: the power will cut out mid-download. Head back downstairs, restore the power, then return to the second floor to complete the download. Once that's done, the contract is finished.


![Marathon - Equitable Distribution [1/4] Contract Guide](https://media.altchar.com/prod/images/gm_medium_thumbnail/9fab4eb0d441-marathon-equitable-distribution-guide.webp)
![Marathon: Protect/Destroy [5/5] Quest Guide](https://media.altchar.com/prod/images/gm_medium_thumbnail/10ff401bb757-2026marathonlaunchpresskitcompressed004.webp)
![Marathon: Protect/Destroy [4/5] Quest Guide](https://media.altchar.com/prod/images/gm_medium_thumbnail/23cc0ff4f9ce-2026marathonlaunchpresskitcompressed002.webp)
![Marathon: Protect Destroy [3/5] Quest Guide](https://media.altchar.com/prod/images/gm_medium_thumbnail/b19c6f6d7c20-marathonlaunchcinematicselects01.webp)
![Marathon: Protect Destroy [2/5] Quest Guide](https://media.altchar.com/prod/images/gm_medium_thumbnail/b2685c265f9d-marathonlaunchcinematicselects03.webp)