NuCaloric's data doesn't download itself. The Survival Directive contract in Marathon sends you across two of the Perimeter's most distinct areas - the industrial sprawl of Station and the labyrinthine corridors of Overflow - to pull geological and botanical data from a pair of terminals. You'll need to hit both locations in one run, so map out your route before you drop.
Objective 1: Geological Survey - Station
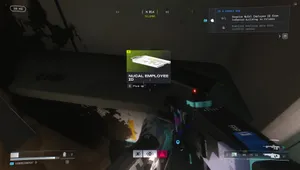
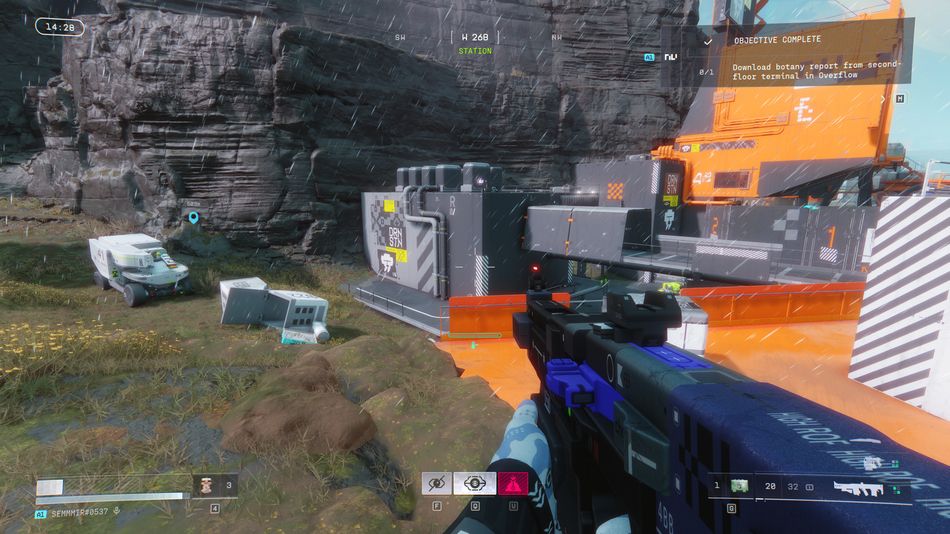
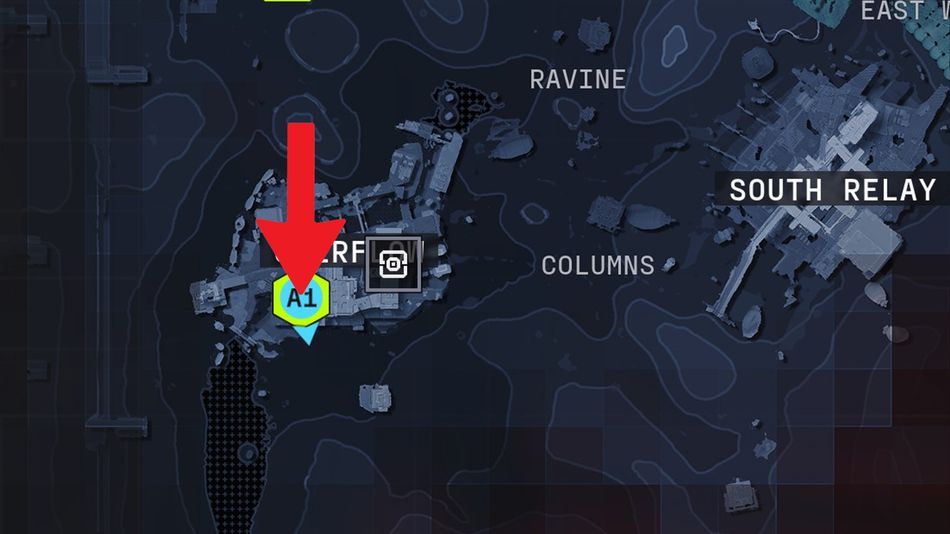
Your first stop is Station, located in the north-east of the Perimeter map. Once you arrive, you're looking for a grey building sitting directly alongside a large orange structure — the two are essentially neighbours, so the orange building acts as your landmark. Head inside the grey building, locate the terminal, and download the geological survey data. It's a relatively straightforward stop, so don't linger longer than you need to.
Objective 2: Botany Report - Overflow
With the first download sorted, make your way south-west to Overflow. The main building is clearly visible on the map, and navigation inside is simpler than it looks - keep your eye on the SW indicator on your radar at the top of the screen and follow it. It'll steer you true without much fuss.
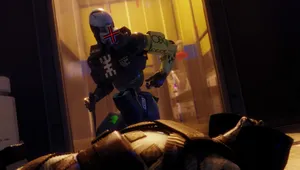
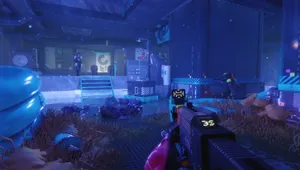
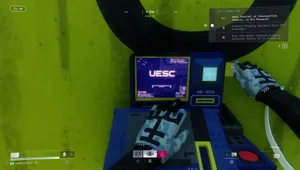
You'll know you're getting close when the environment shifts into a blue-lit section of the building. The room you need is in there, on the second floor. A word of warning, though: this area isn't empty. Robots patrol the hallways, so keep your wits about you and clear them out before you approach the terminal. Once the coast is clear, interact with it to download the botany report and complete the contract.

Quick Tip: Station is the safer of the two stops, so knock that one out first while you're fresh. Overflow's roaming robots can chip away at your health and resources, so arriving there with a full loadout gives you a much better chance of getting both objectives done in a single run.


![Marathon - Equitable Distribution [1/4] Contract Guide](https://media.altchar.com/prod/images/gm_medium_thumbnail/9fab4eb0d441-marathon-equitable-distribution-guide.webp)
![Marathon - Data Reconstruction [2/3] Contract Guide](https://media.altchar.com/prod/images/gm_medium_thumbnail/263a2fa242a8-marathon-dire-marsh-data-reconstruction.webp)
![Marathon - Data Reconstruction [1/3] Contract Guide](https://media.altchar.com/prod/images/gm_medium_thumbnail/13fdd3b0a9d1-202602272239481.webp)