The Wandering Ark is one of two new bosses introduced in Where Winds Meet Version 1.4 as part of the Hexi expansion. If you're wondering where to find the Wandering Ark in Where Winds Meet and what fresh mechanics it brings to the fight, here’s everything you need to know.

Where to Find the Wandering Ark in Jade Gate Pass
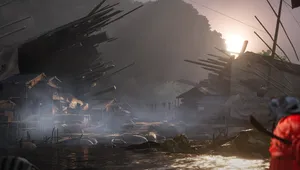
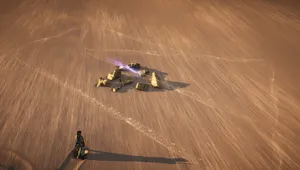
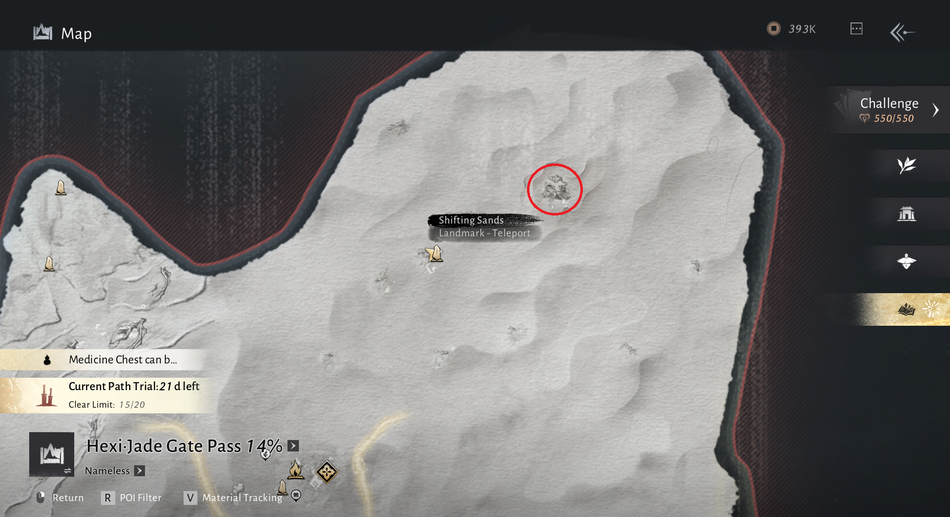
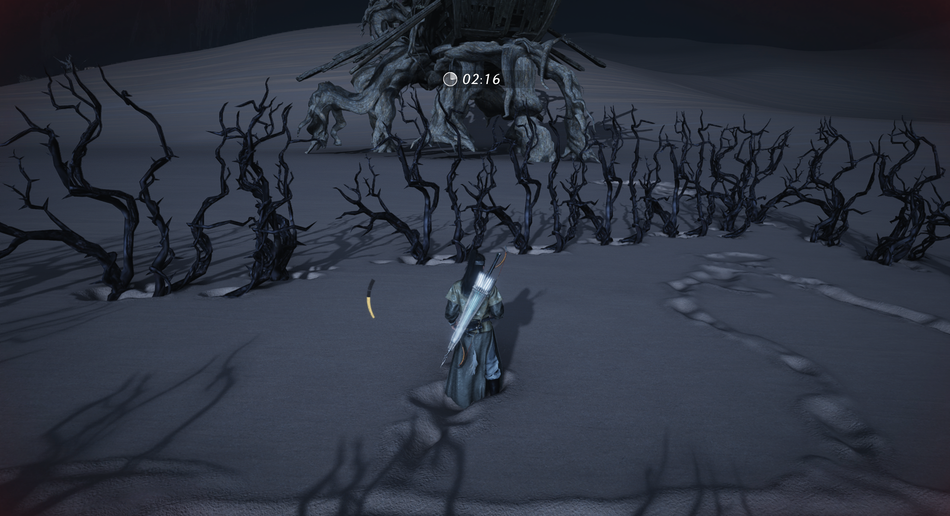
The Wandering Ark is located in the north-eastern section of Jade Gate Pass, the first region unlocked in the Hexi expansion.
To reach it, travel toward the Shifting Sands boundary stone. The path runs through a sandstorm area that significantly cuts visibility, so you may need to navigate by feel. Once you reach the boundary stone, the boss will be visible from a distance. Simply approach it to initiate the fight.
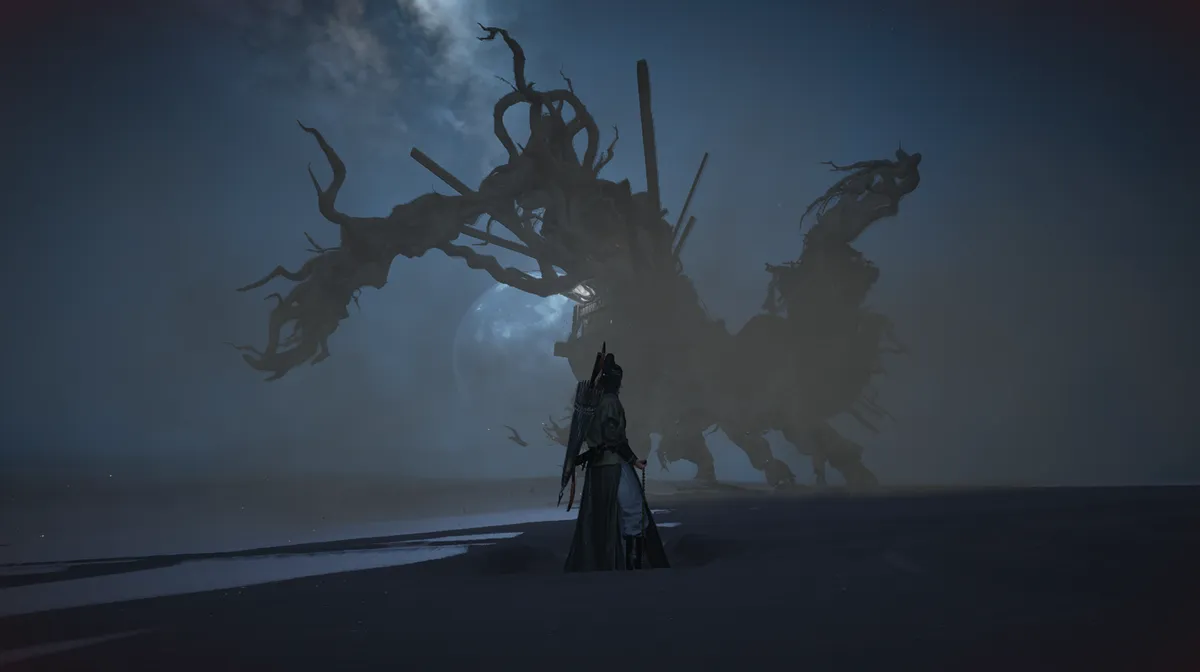
The Wandering Ark is a two-phase boss with some unique mechanics. The game will display boss instructions during the fight, but if that's too much to take in mid-combat, here's what you need to know.
The Wandering Ark: Phase 1 Breakdown
Opening Attack: Arrow Rain
Right at the start, the Ark fires a barrage of projectiles at you - Arrow Rain. These projectiles cannot be blocked or parried, so your only option is to dodge through them. Crucially, the longer you stay far away, the longer the barrage continues, so don't hang back, get in close immediately and force the Ark to rise onto its feet.
Once the Ark is up, you'll notice it has weak spots on its feet called Moonlight Withered Branches, and these should be your entire focus (with one exception noted below). You can hit other parts of the Ark, but the damage is negligible so don't waste your time, the weak spots are the only thing that matters here. During this stage, the Ark may attempt to trample you. While this can be parried, note that parrying trampling attacks does not deal Qi damage, so it's primarily defensive.
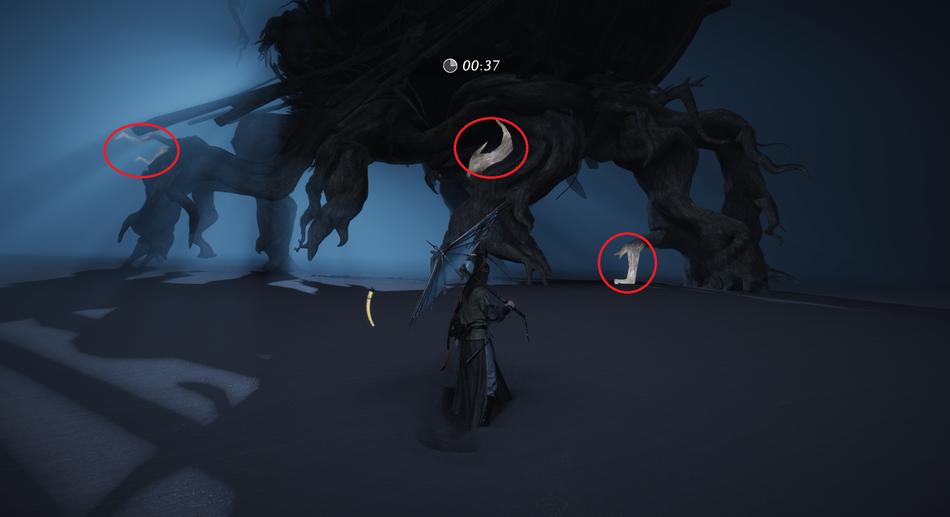
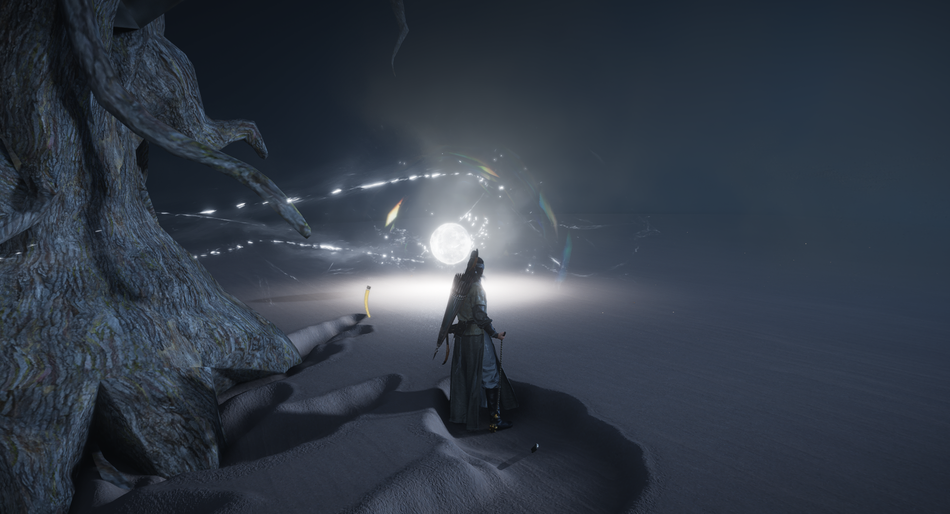
At some point during Phase 1, the Ark will leap high into the sky and crash back down. This slam can be parried, so be ready for it. After landing, the Ark drops a moon it has been carrying onto the ground. Switch targets and deal as much damage as possible while it’s sitting there.
There is one important Phase 1 exception here: the moon the Ark is carrying can be damaged outside of the slam sequence. Melee players will struggle to reach it, but Vernal Umbrella players can hit it reliably using aerial light attacks. If you’re playing Vernal Umbrella, you don’t necessarily need to prioritise the Moonlight Withered Branches. Chipping the moon directly is more efficient.
The Wandering Ark: Phase 2 Breakdown
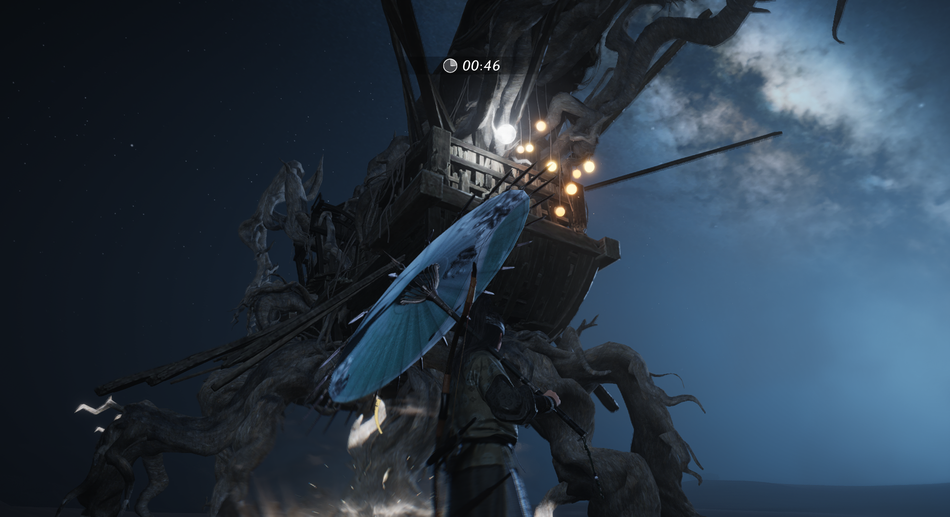
Phase 2 introduces several new mechanics to contend with. And unlike Phase 1, the moon is no longer freely targetable - it's guarded more heavily, so don’t build your strategy around hitting it directly here. Focus on handling these mechanics instead.
Thorn Formation
The Ark will conjure a thorn formation at various points throughout the phase. Dodge it and wait for it to clear.
Charge Attack
The Ark will also charge straight at you. This attack cannot be blocked, so dodge to the side rather than attempting to tank it. Worth noting that the charge drains the Ark's Qi considerably, so it's not without a cost on its end.
Moon Lantern Mechanic
The most important mechanic in this phase is the Moon Lantern. The Ark calls one down from the sky and directs it at you, which you need to dodge. The moment before the moon hits the ground, sprint away from the impact zone and then immediately use Tai Chi to collect it - you need to be fast here. Get it right and you'll hurl it straight back at the Ark for significant damage. It will then drop the moon on the ground again, at which point you can go in and hit it directly for another burst of damage.

Boat Projectiles
The Ark may also start throwing smaller boats at you as a ranged attack. Nothing too complicated - just keep moving and dodge through them.
That’s the full breakdown of the Wandering Ark fight, one of the more mechanically unique bosses in we've seen in Where Winds Meet so far. And if you're thinking about a no-hit Trial run, good luck with the thorn formation.