Trending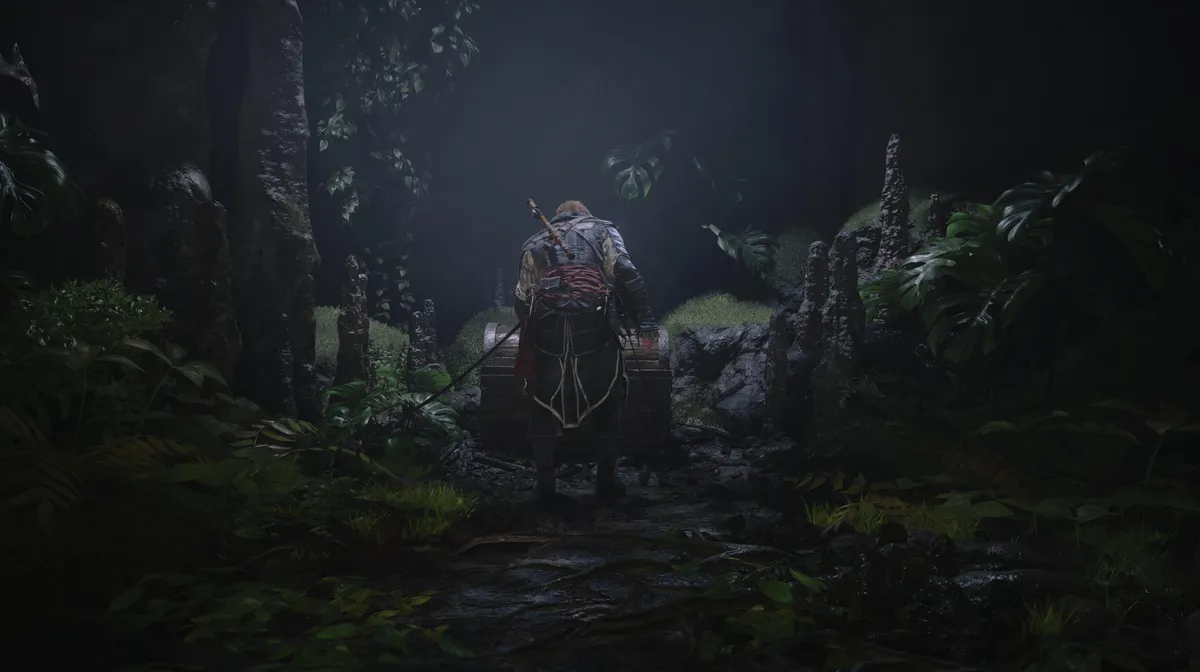
Blackbeard's Treasure is a quest that didn't exist in the original Assassin's Creed: Black Flag, making it one of the more notable additions in Assassin's Creed Black Flag Resynced. It triggers after Chapter 8, in which Edward Thatch dies, as he did in the original game.
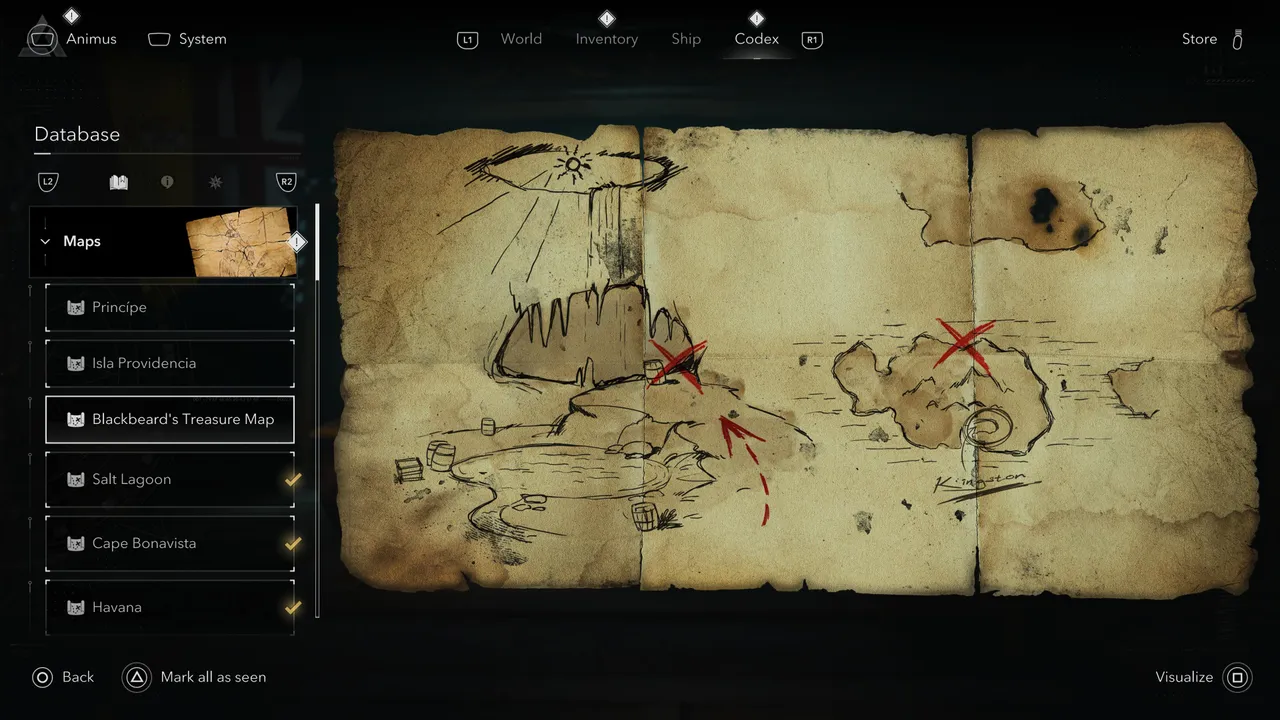
What's new is what happens immediately after: once the quest concludes, Edward Kenway receives a special treasure map left behind by Blackbeard. Unlike the other treasure maps in the game, this one has no coordinates. Instead, it offers a single hand-drawn clue, and working out what it means is the first challenge of the quest.
Step 1: Read the map and work out the location
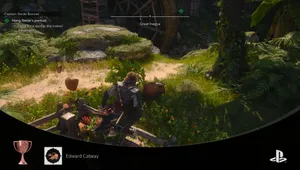
Open the map in your Codex under the Maps section of the Database tab. Blackbeard's Treasure Map shows a rough sketch of two landmasses with red X marks and arrows pointing toward a specific area. If you look closely, the word "Kingston" is written on the right side of the map, and the X sits above and to the left of it. Cross-referencing this with the in-game world map points you toward a small smuggler's location called Anotto Bay, north of Kingston. Set a course for Anotto Bay.
Step 2: Deal with the ships and find the underwater entrance
When you arrive at Anotto Bay, three pirate ships will be waiting for you. Sink them before doing anything else, as you don't want to be fighting ships and trying to dive at the same time. Once the area is clear, jump into the water and look for the diving bell sitting in the shallows near the shore. Dive beneath it and you'll find the entrance to an underwater tunnel system. This is where the quest really begins.
Step 3: Navigate the underwater tunnels
The tunnels require careful management. A shark patrols the passages and will need to be avoided a couple of times as you push through. More importantly, your oxygen supply is limited, so keep an eye out for spots where air bubbles rise to the surface. These mark areas where you can surface briefly and replenish your breath before continuing.
Don't rush this section — taking a moment to find each air pocket is far better than running out of oxygen mid-tunnel. You'll eventually exit the first set of tunnels and resurface in a chamber, only to need to dive again into a second set of passages. Work through those the same way, and you'll eventually emerge inside the smuggler's den.
Step 4: Find the hidden path inside the den
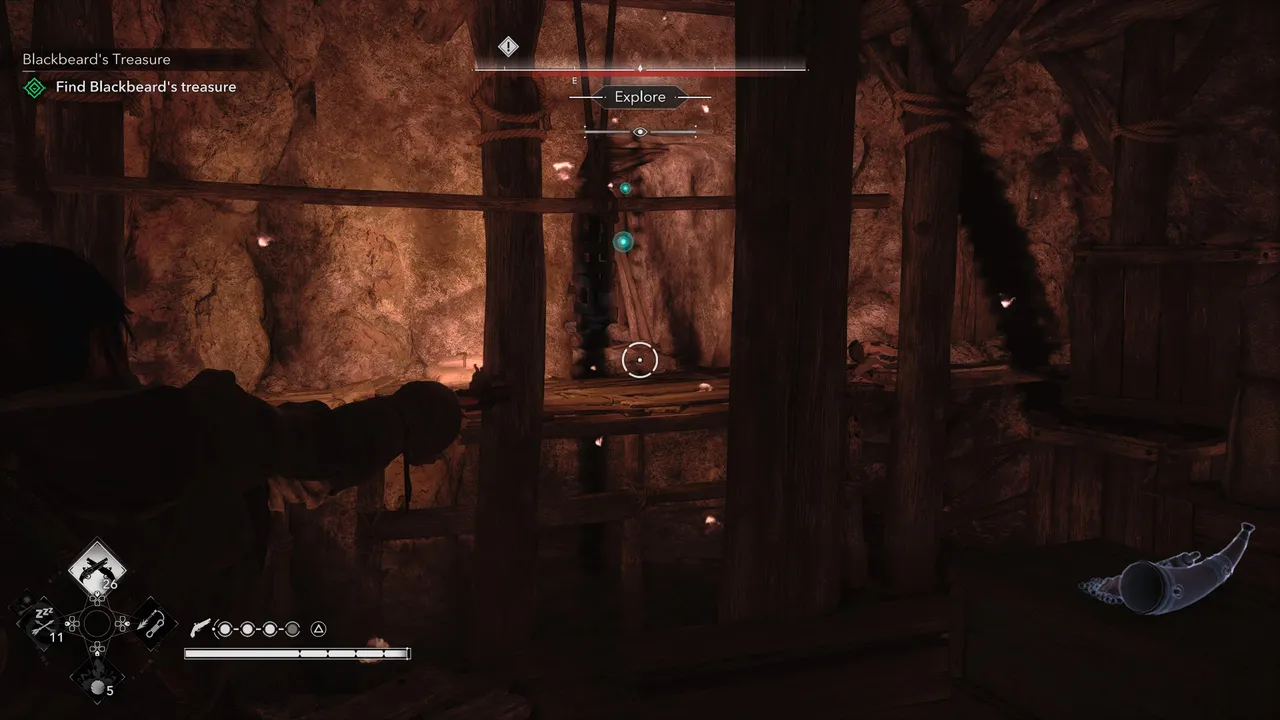
Once you're inside the den, do not jump back into the sea. If you do, you'll have to swim the entire tunnel route again from the beginning, which is not how you want to spend the next ten minutes. Instead, hold L2 to activate your scanning ability and look for the green dot on one of the walls. When you spot it, pick up one of the explosive kegs nearby and place it in front of that section of wall. Shoot the keg to blow the wall open, then follow the path beyond it. There are pirates in this section, so deal with them as you push deeper into the cave system.
Step 5: Reach Blackbeard's chest
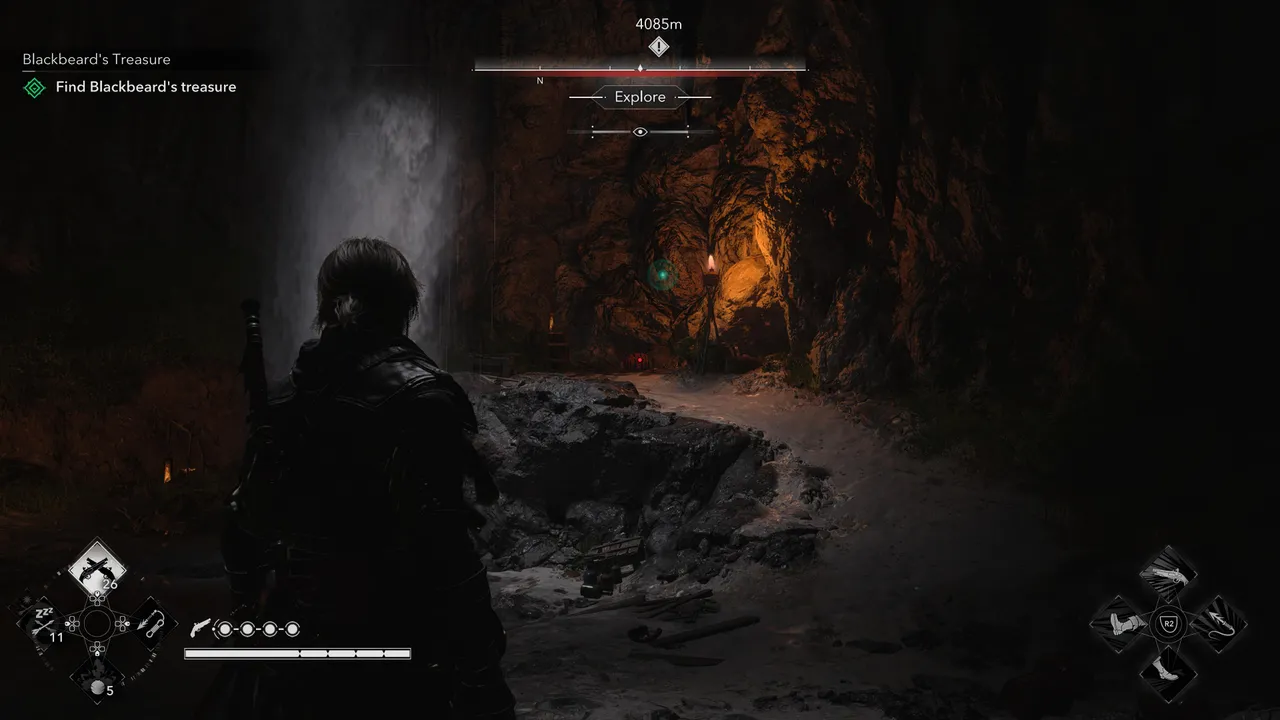
Continue along the path until you reach a large chamber with a waterfall. Scan the area again with L2 and locate the second green dot on another wall. Repeat the same process: find an explosive keg, place it against the marked wall, and shoot it. The wall collapses to reveal a hidden alcove behind it, and inside is the chest Blackbeard left for Edward. Loot it to complete the quest.
Quick tip: The moment you emerge from the underwater tunnels and find yourself inside the den, treat it as a point of no return. Explore everything before considering any exit, because dropping back into the water means retracing the entire tunnel route from scratch.
DON'T MISS!